
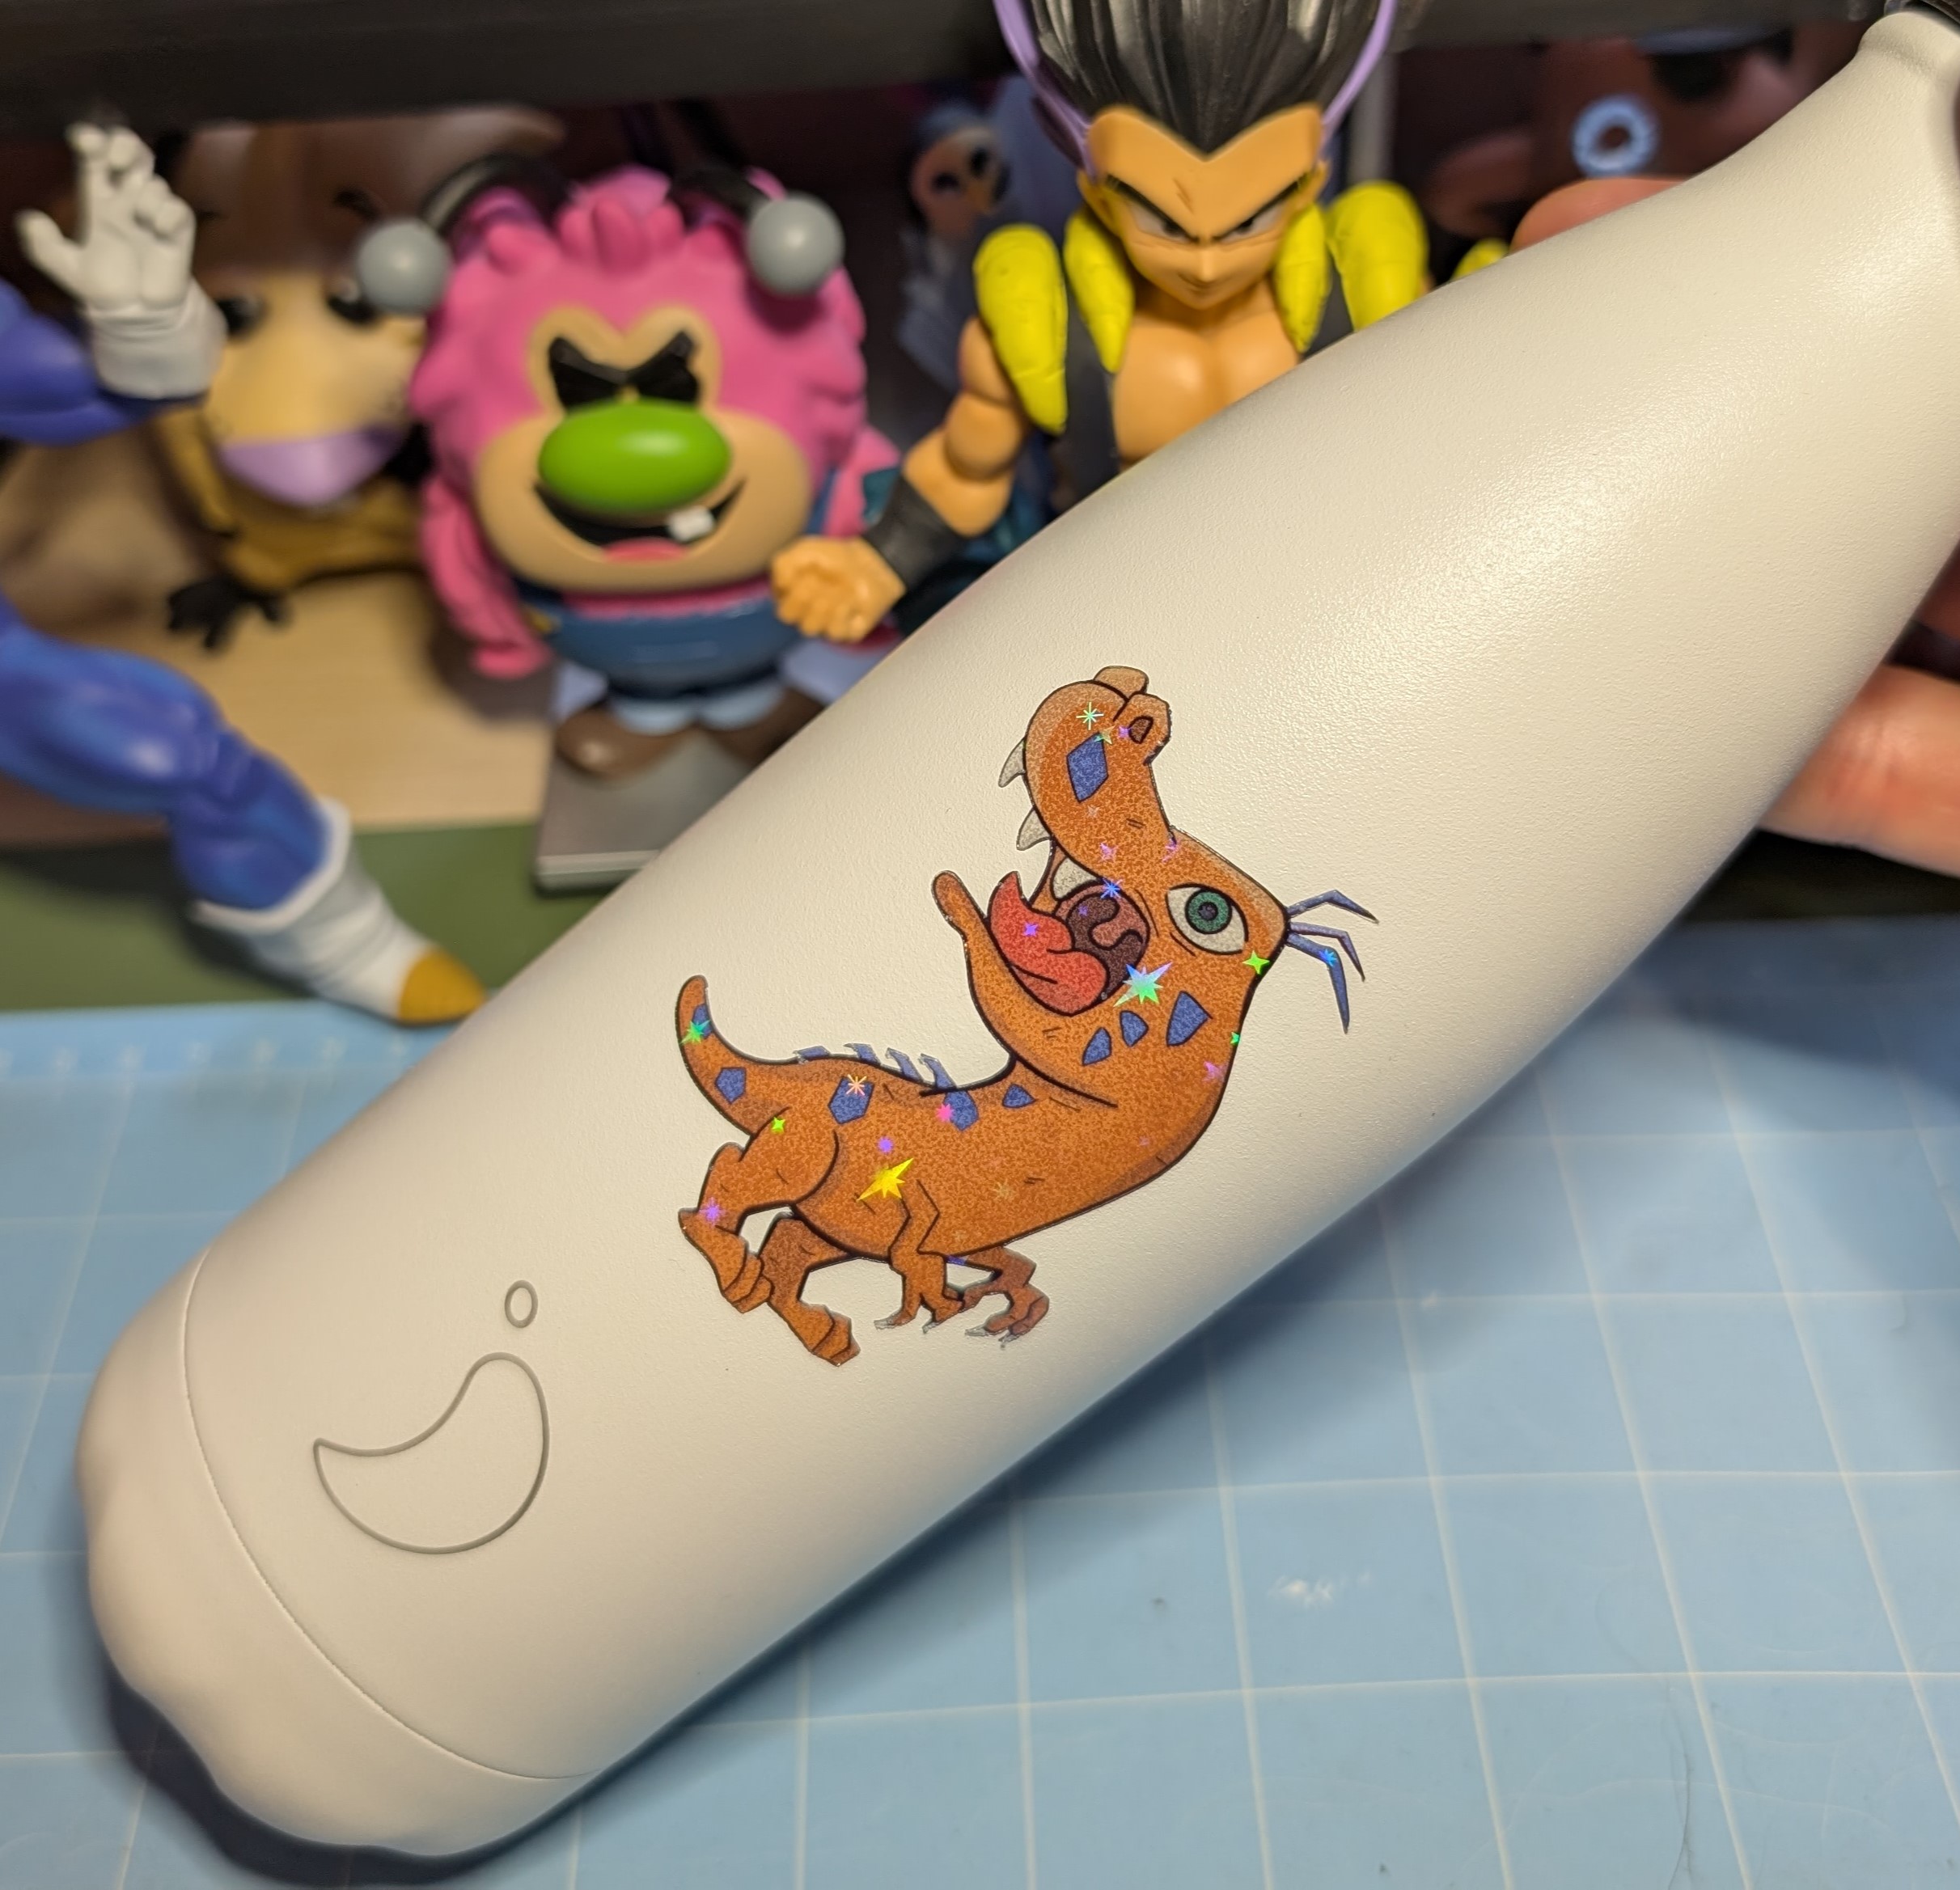
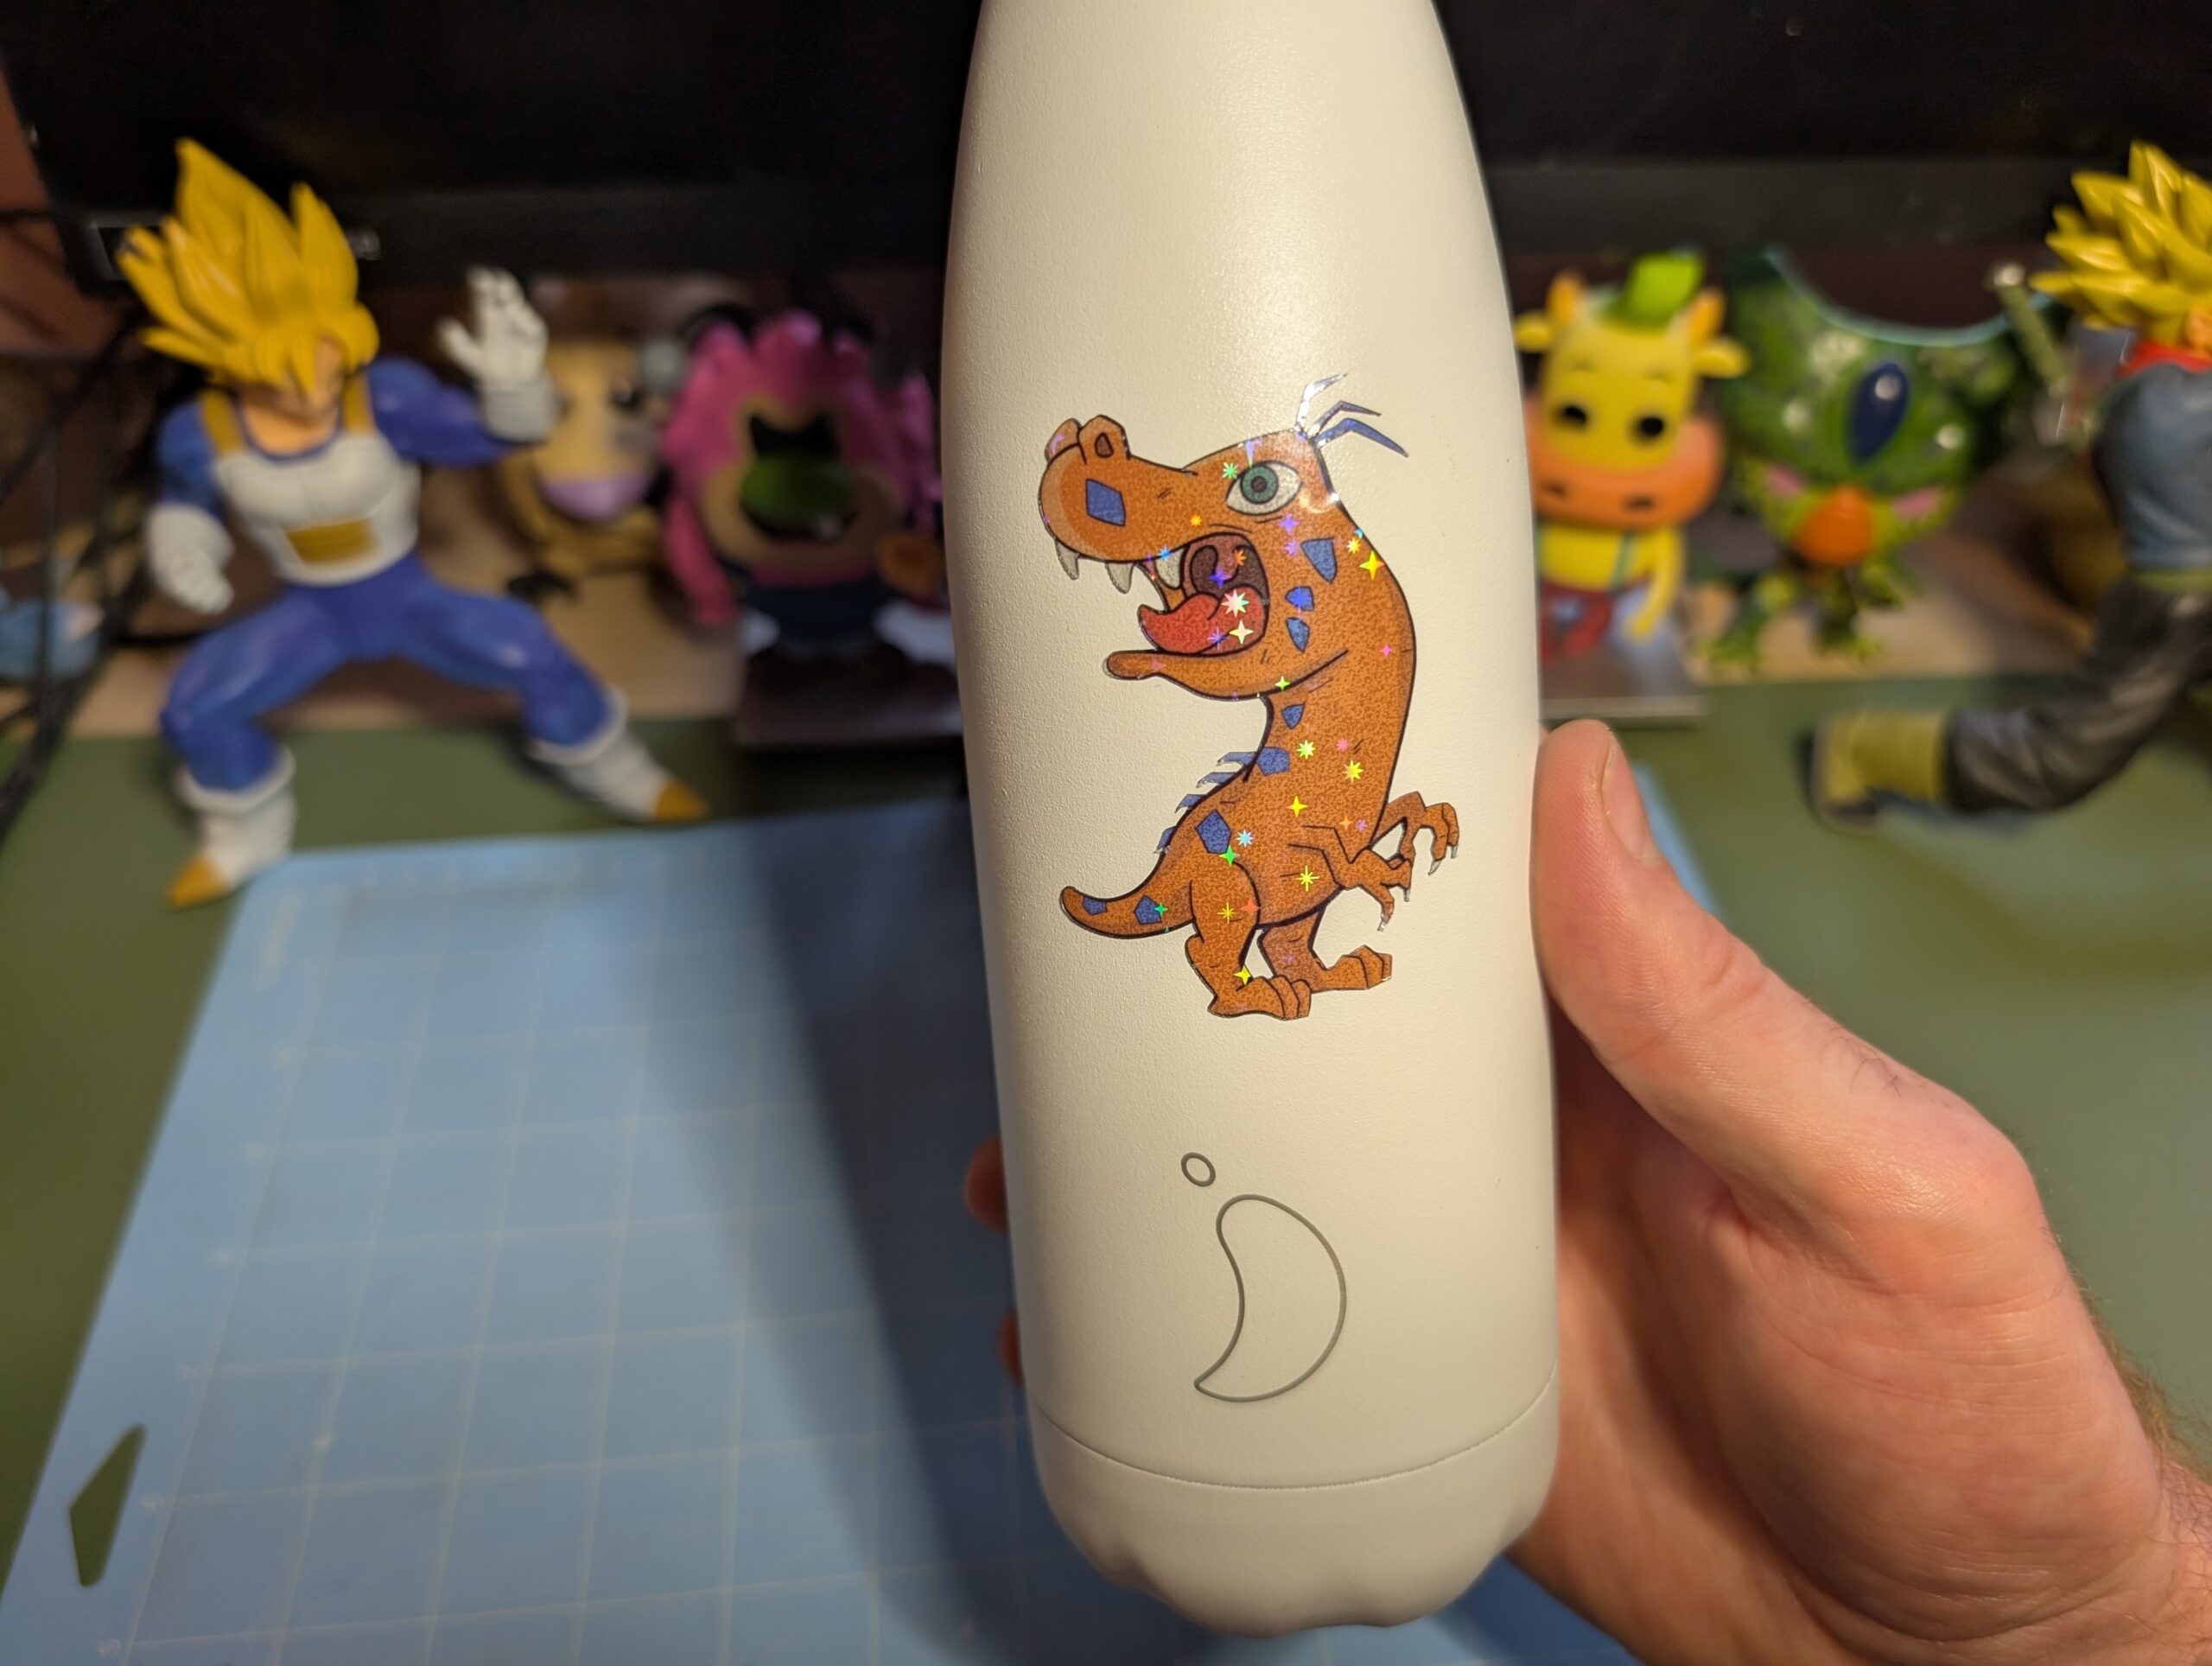
These transparent clear vinyl stickers can be applied to a variety of surfaces, from laptops to water bottles, allowing you to add a bit of your own style.
Gathering Your Supplies
Before you dive into the creative process, make sure you have all the necessary tools and materials:
- Cricut Machine: Choose a model that suits your needs, such as the Cricut Maker or Cricut Explore, the Cricut Joy doesn’t offer the print and cut feature that you’d need (I’m currently using the Cricut Explore 2, not the newest model but it does the job).
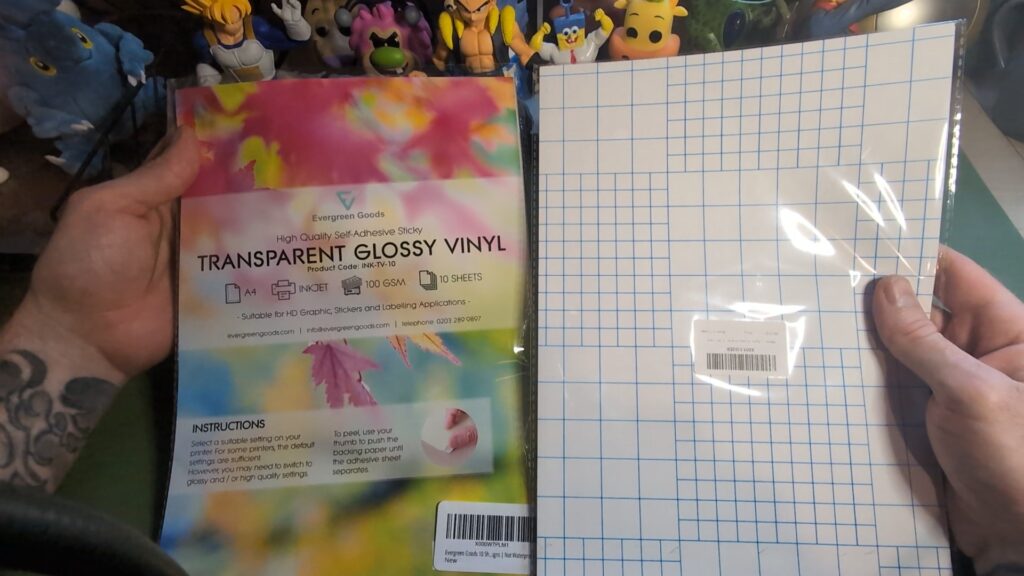
- Clear Sticker Paper: You’ll need clear vinyl sticker paper. You can easily find these on Amazon.
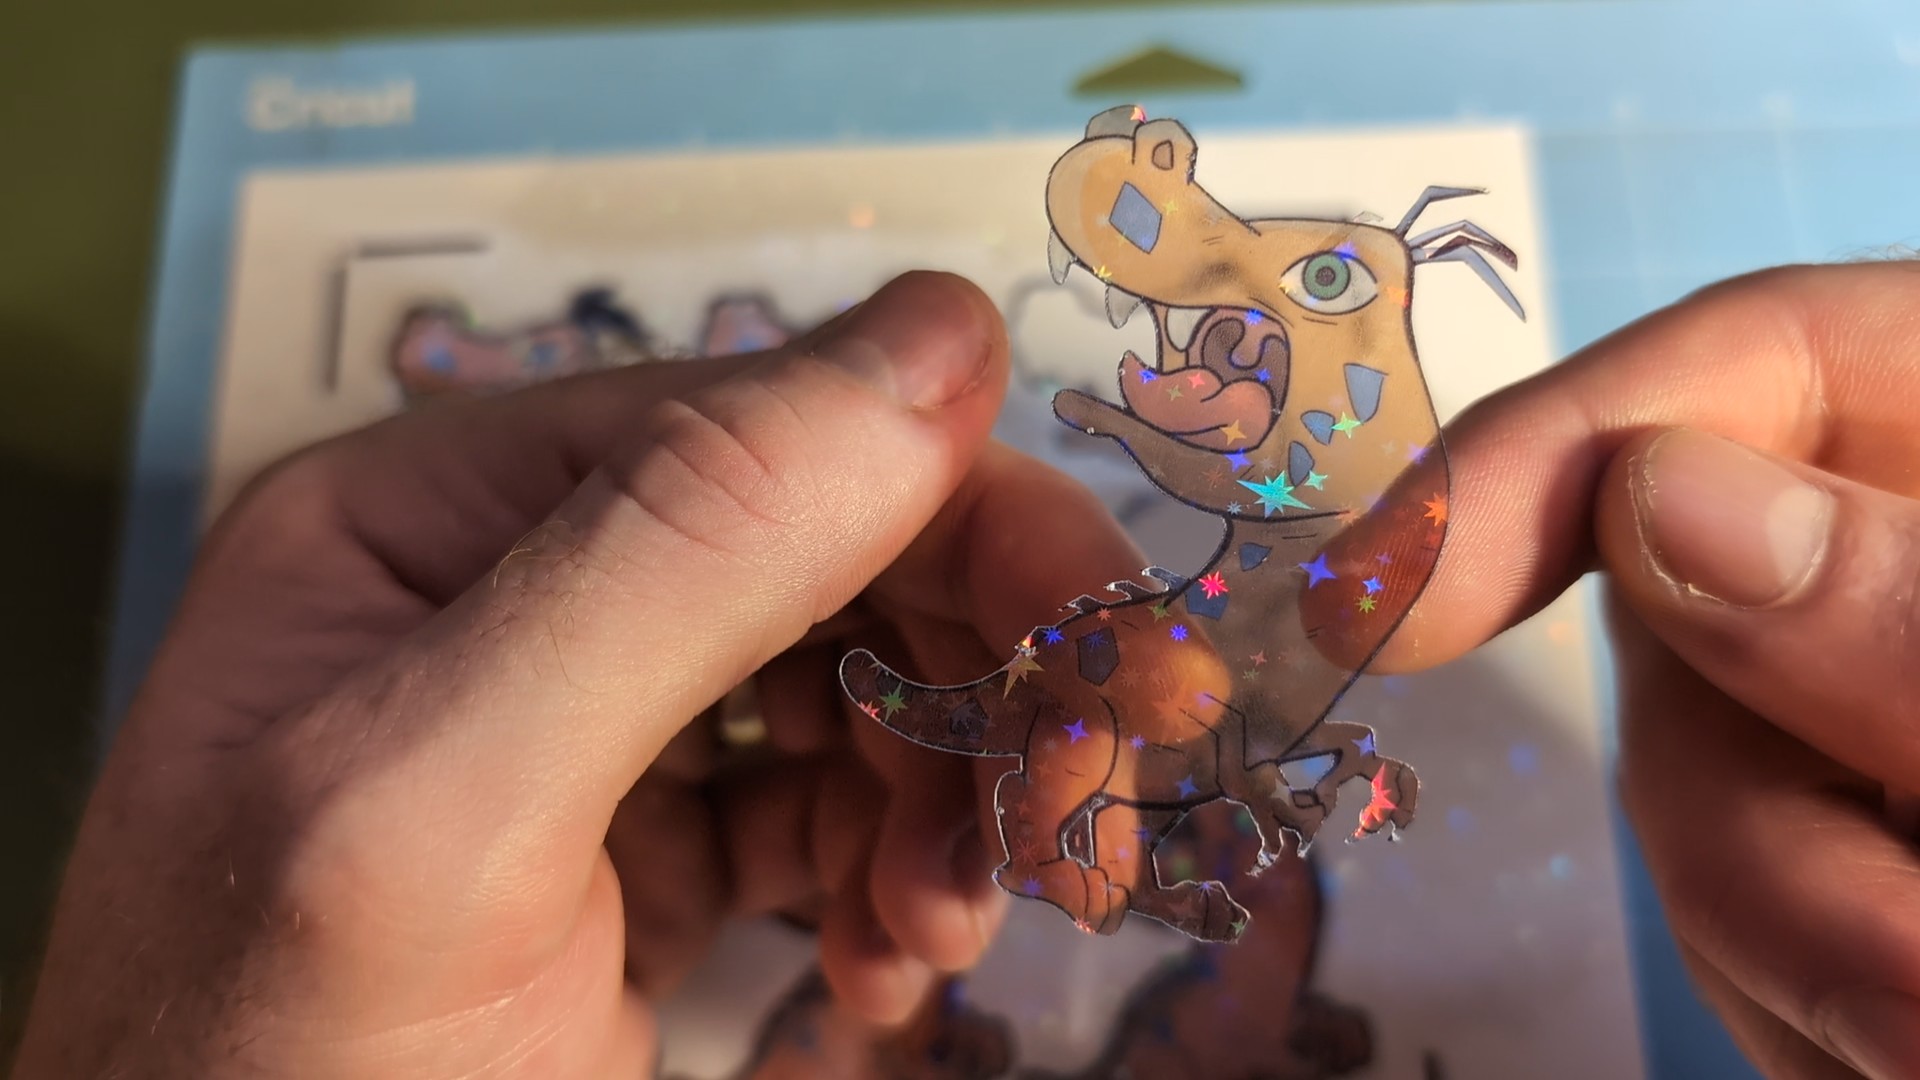
- Holographic Vinyl: To enhance the visual appeal and durability of your stickers, consider using holographic laminating film.
- Printer: A quality inkjet printer will ensure optimal color results. While a standard printer can be used, the color output may not be as vibrant or accurate. I use the HP Envy Photo – 6234.
Designing Your Sticker
Now for the fun part: designing your sticker! Open Cricut Design Space.
- Choose a Design: You can either select a pre-designed template from Cricut Design Space, upload your own PNG image, or create a unique design using Cricut’s drawing tools.
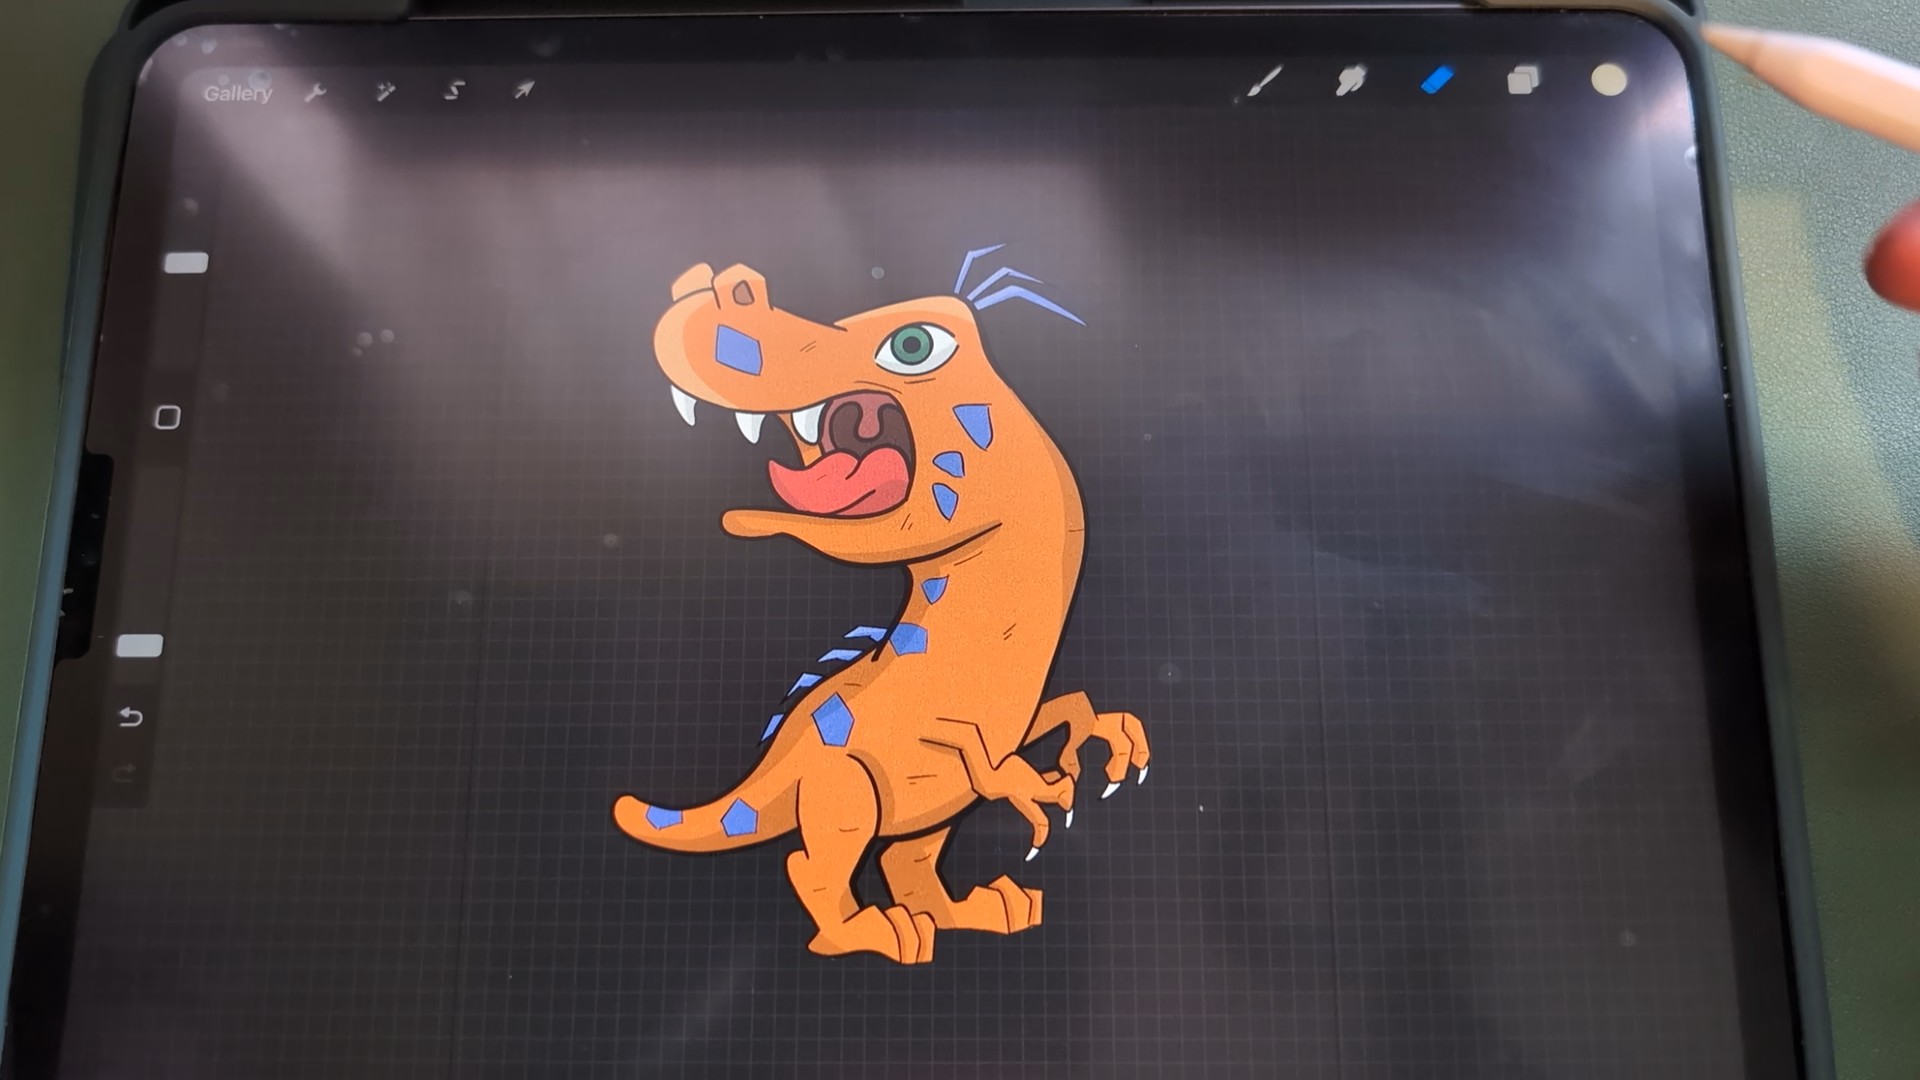
- Pro Create: If you prefer digital drawing, you can use Procreate to design your image. Once you’ve finished, export it as a PNG file and upload it to Cricut Design Space for printing and cutting.
- Adjust the Size: Resize your design to your desired sticker size. A good starting point is around 6cm in height to ensure it’s not too large or too small.
Uploading To Cricut & Settings
- Upload your PNG image to Cricut Design Space
- Select “Complex” as the image type.
- Remove the background if you need to (You shouldn’t need to if it’s a PNG)
- Choose “Print Then Cut Image”
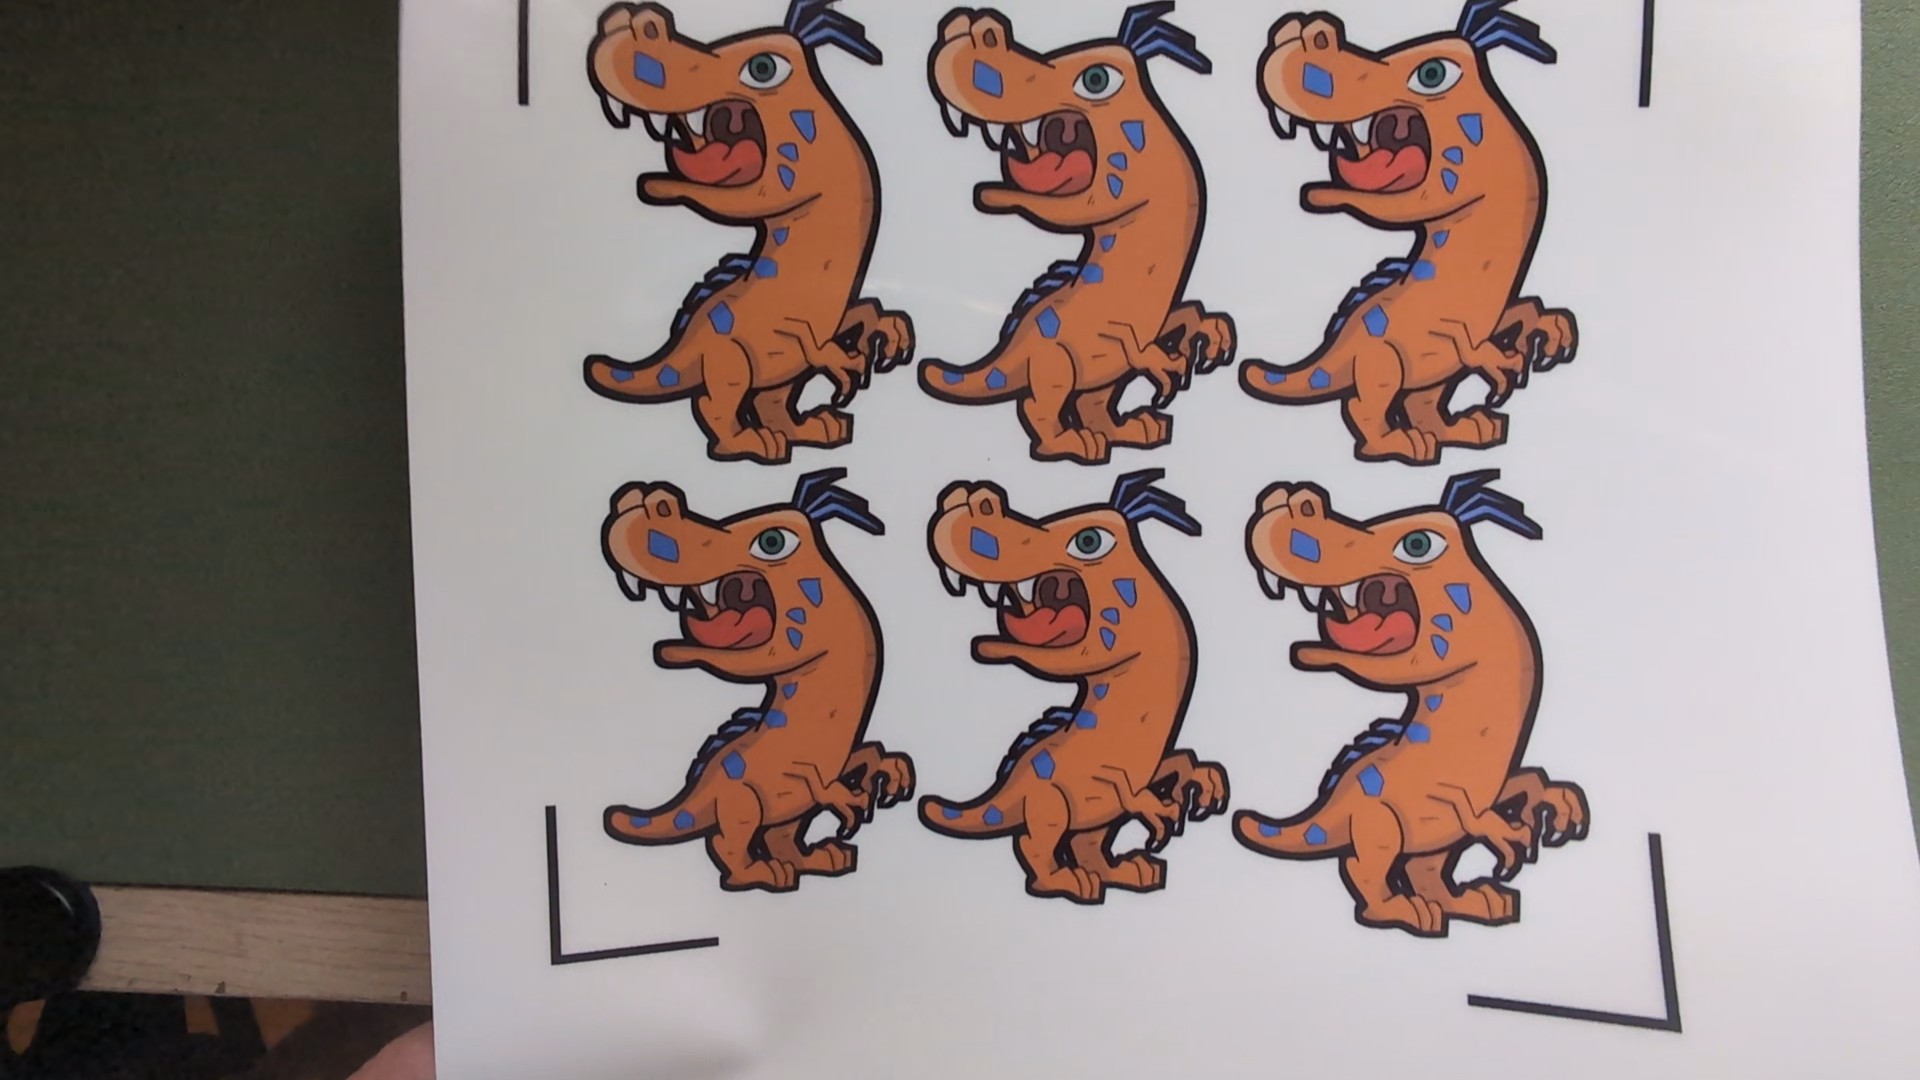
Printing the Stickers
- Click “Make It” in the top right corner.
- Select “Use System Dialog” to customize printer settings.
- Choose the highest quality print setting and select the correct paper type (e.g., glossy).
- Make sure you also select the correct paper type. I use the glossy option as most of the sticker paper I use is glossy, which provides me with good-quality images.
- Click “Print” to print your stickers with Cricut cut guides.
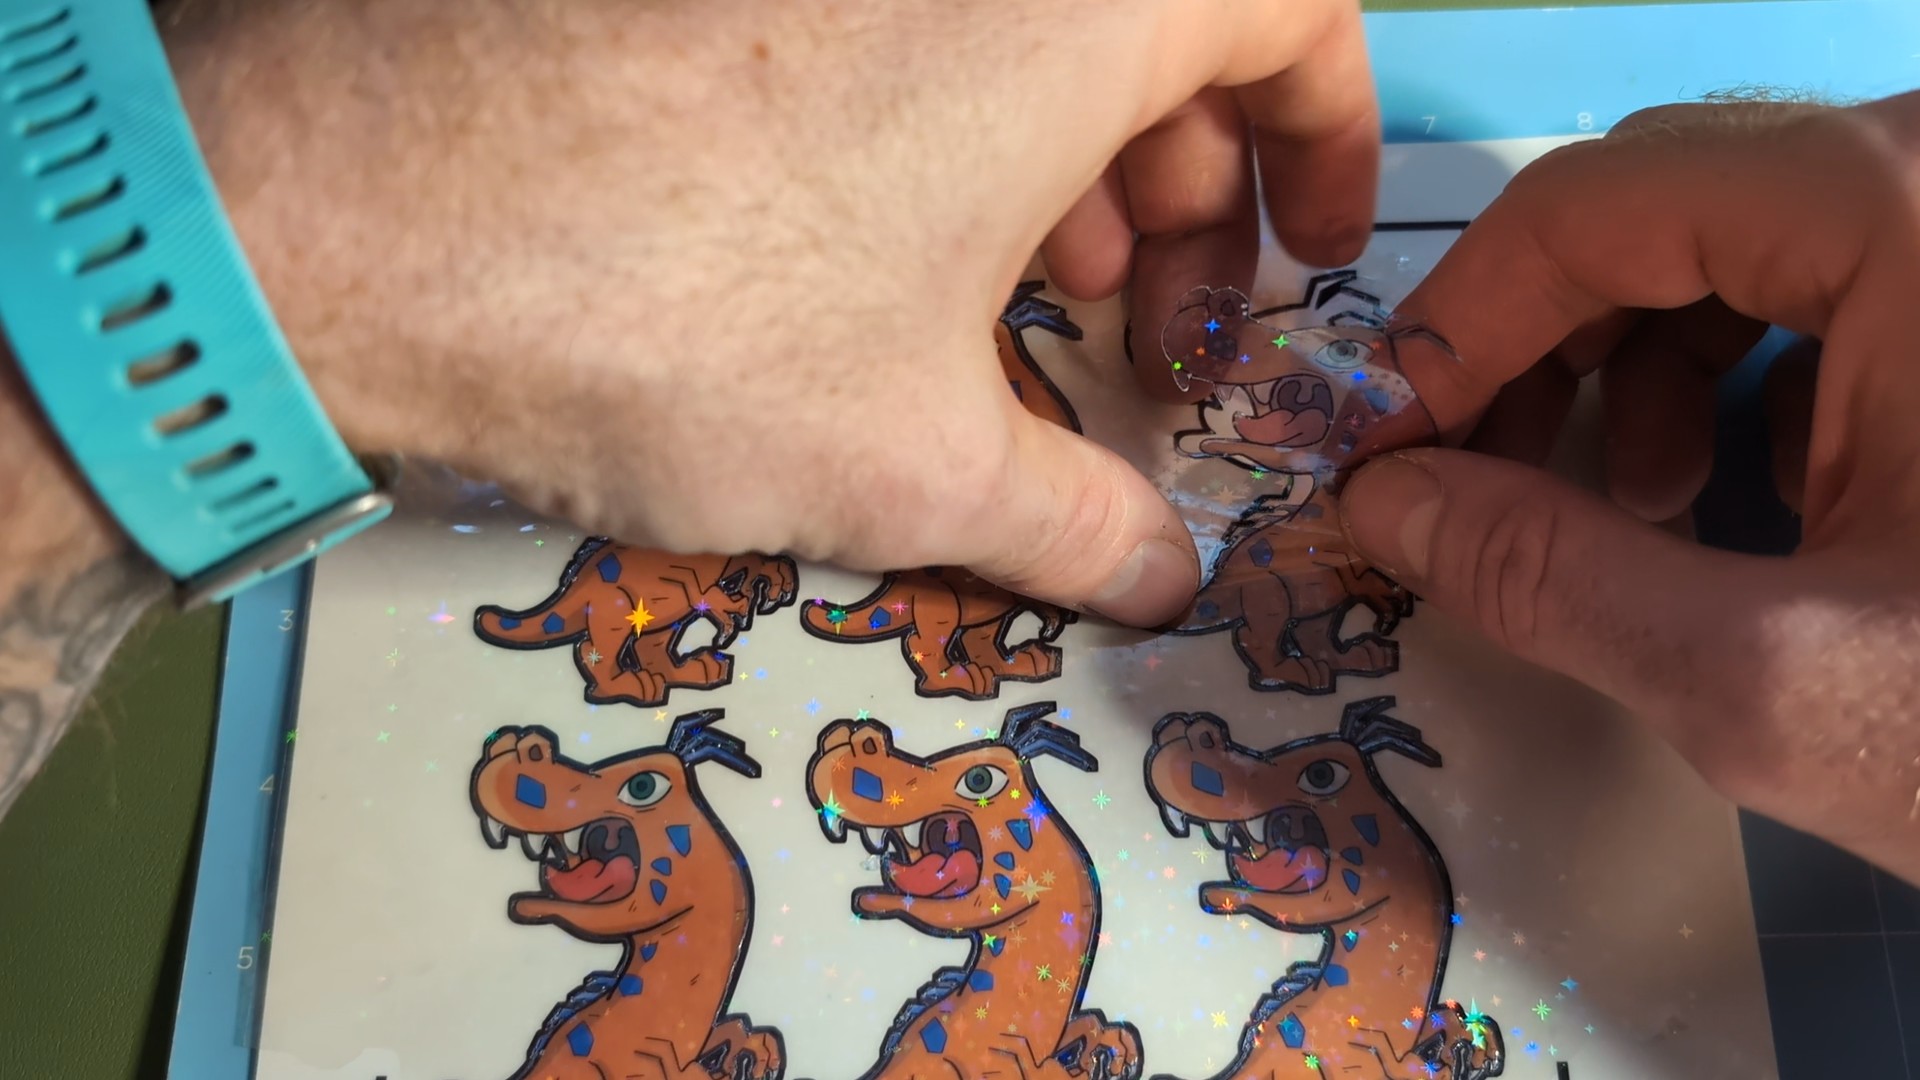
Extra Step – Adding a Holographic Touch
- Once your stickers are dry, place them flat on your Cricut mat.
- Carefully apply the holographic adhesive, smoothing out any air bubbles.
- Smooth out the adhesive to remove air bubbles.
- To ensure precise cutting, you must use a craft knife or scissors to remove the holographic adhesive from the Cricut guidelines. Excessive shine can prevent your Cricut from recognizing the cut lines.
Cutting the Vinyl
- Prepare Your Mat: Place your vinyl, with or without holographic adhesive, onto your cutting mat.
- Select the Right Setting: In Cricut Design Space, choose “Bonded Fabric” as the material type.
- Start Cutting: Press the “Cut” button to begin the cutting process.
Tips for Success
- Clean Surfaces: Ensure your surfaces are clean and free of dirt or debris before applying the stickers.
- Consider Durability: For outdoor use, choose weather-resistant vinyl.
Now you’re ready to create your own custom clear vinyl stickers! With a bit of know-how and some creative flair, you can personalize your belongings and add a unique touch to your projects.