Want to create custom vinyl stickers with your Cricut? This guide will walk you through the entire process, from choosing the right materials to applying your finished stickers.
Gathering Your Supplies
Before you dive into the creative process, make sure you have all the necessary tools and materials:
- Cricut Machine: Choose a model that suits your needs, such as the Cricut Maker or Cricut Explore, the Cricut Joy doesn’t offer the print and cut feature that you’d need (I’m currently using the Cricut Explore 2, not the newest model but it does the job).
- Sticker vinyl: Select adhesive vinyl in your desired color and finish (matte, glossy, or metallic). For extra durability, consider waterproof vinyl. In this blog, I will be using glossy vinyl.
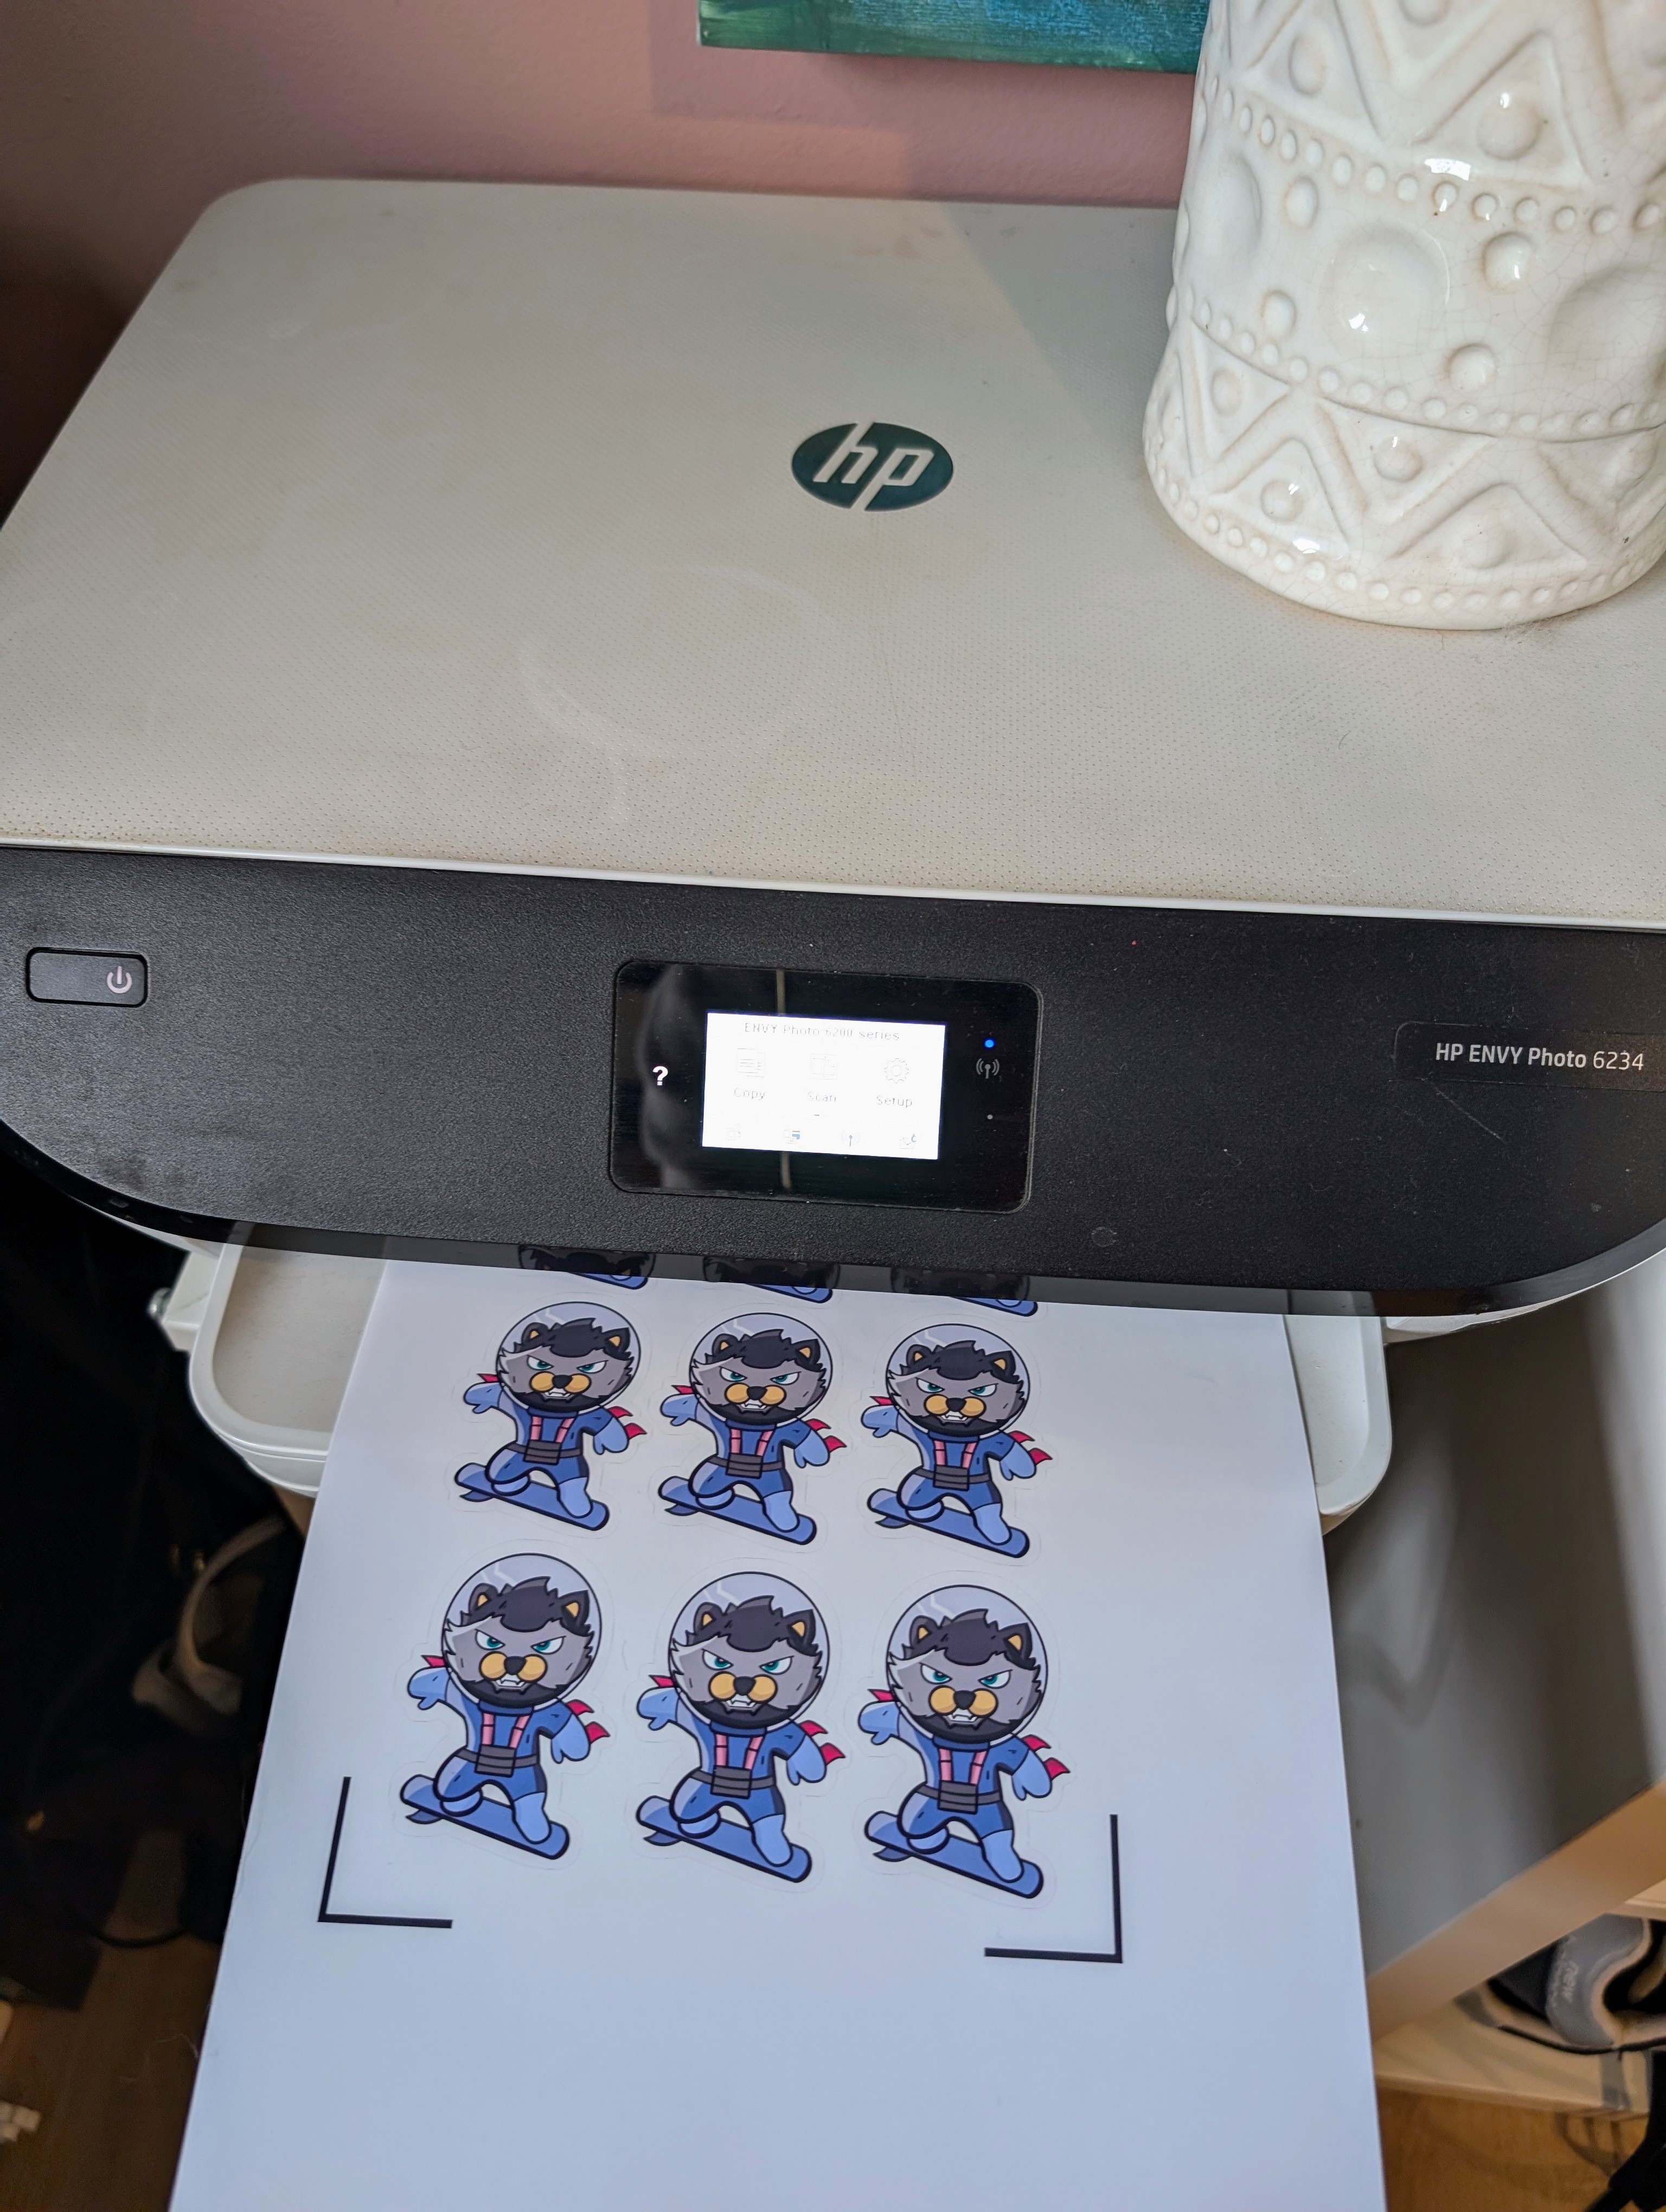
- Printer: A quality inkjet printer will ensure optimal color results. While a standard printer can be used, the color output may not be as vibrant or accurate. I’m using the HP Envy Photo 6234.
Designing Your Sticker
Now for the fun part: designing your sticker! Open Cricut Design Space and let your creativity flow.
- Choose a Design: Use a pre-made design, upload your own PNG image, or create something new with Cricut’s drawing tools.
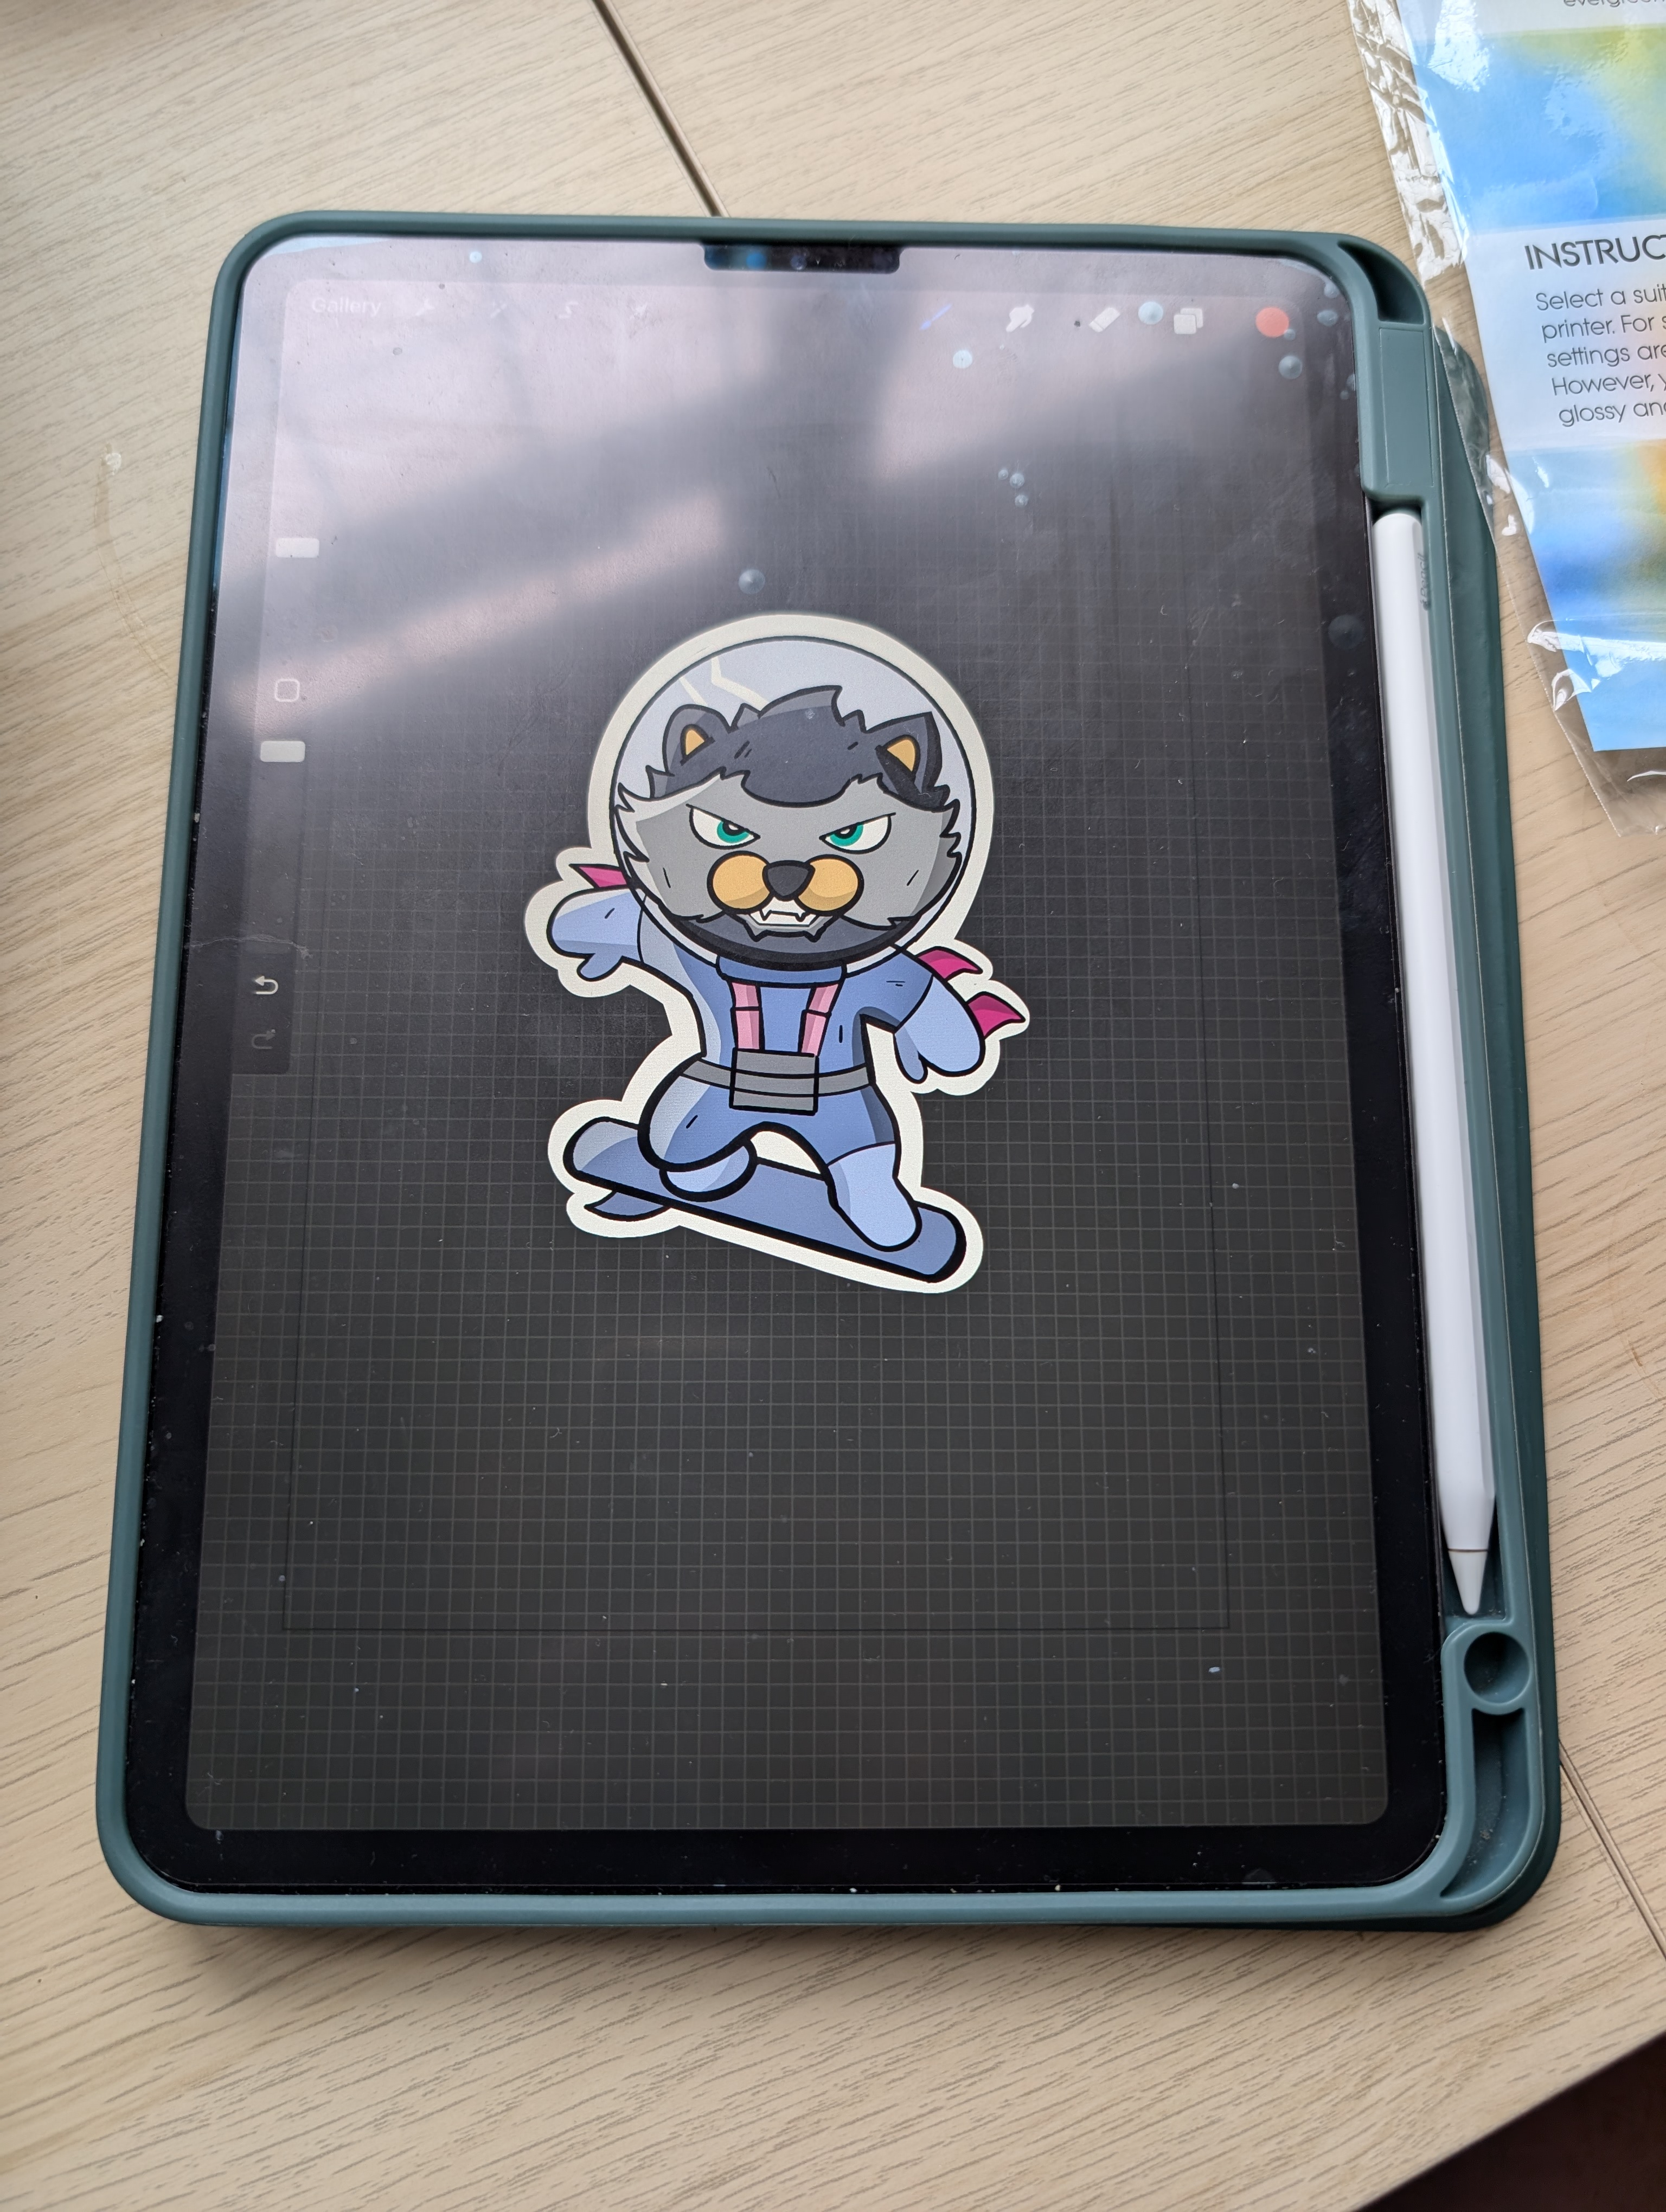
- Pro Create: Prefer digital drawing? Design your image in Procreate and export it as a PNG to upload to Cricut Design Space.
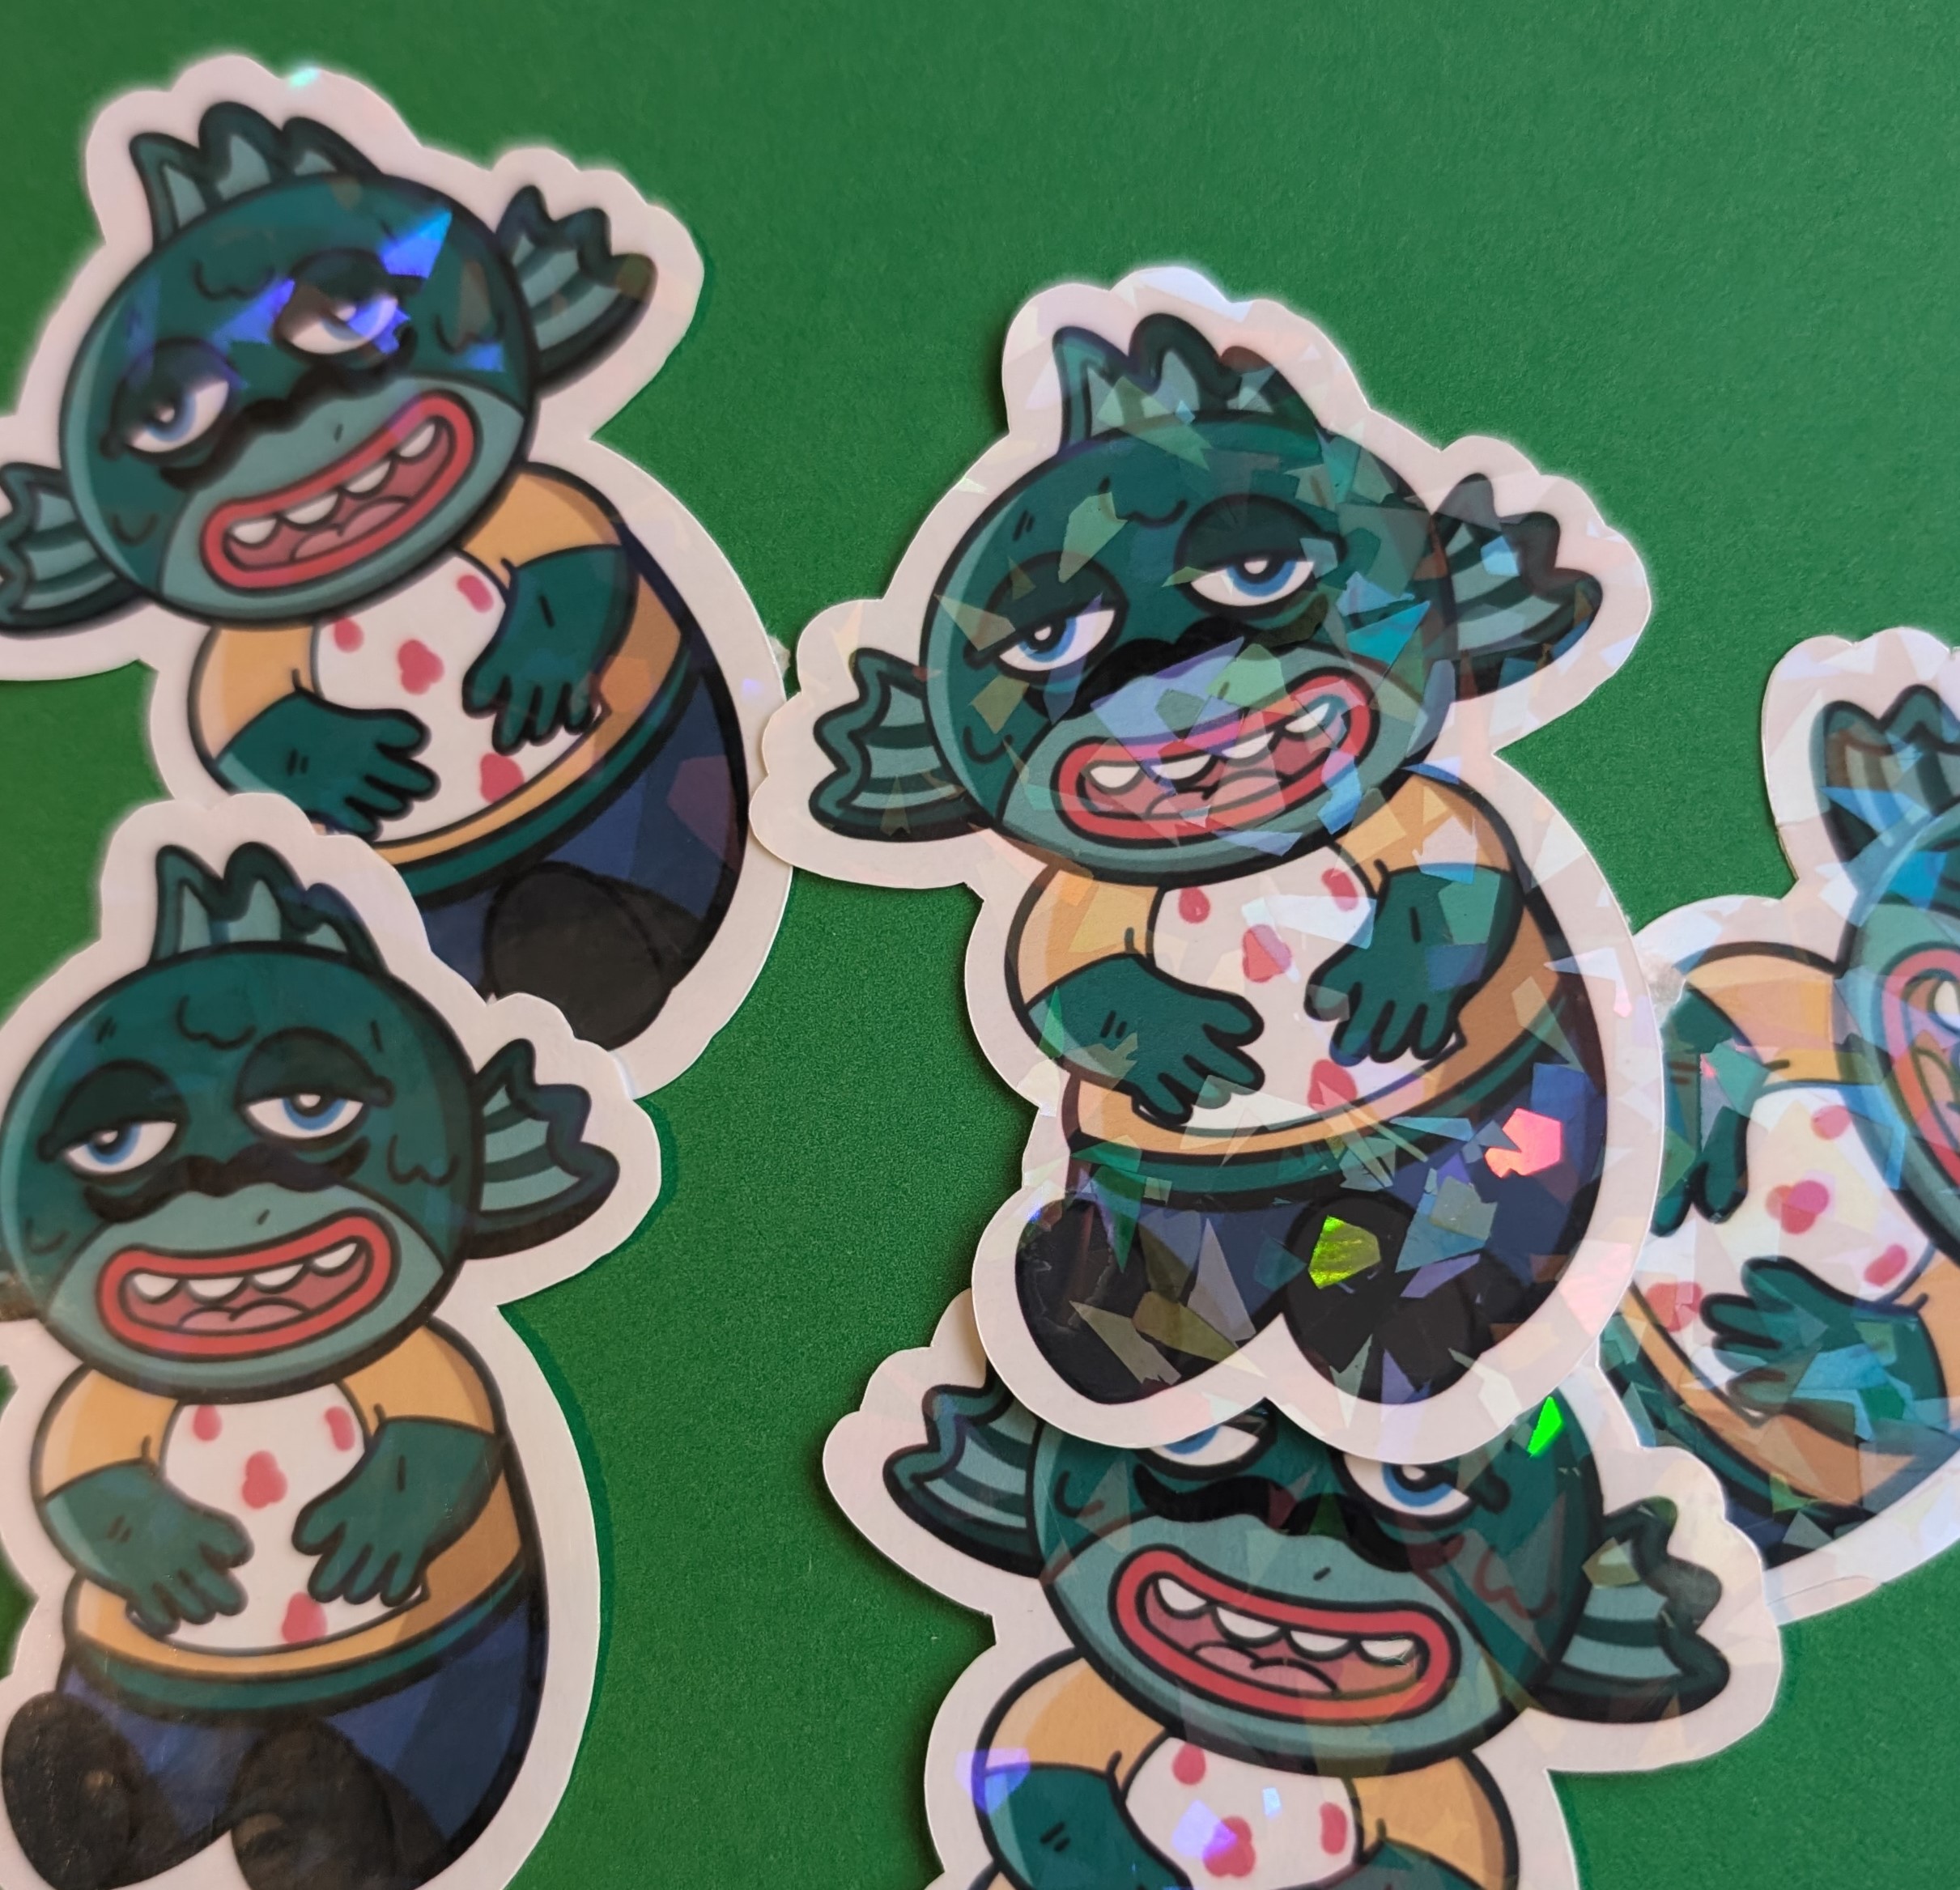
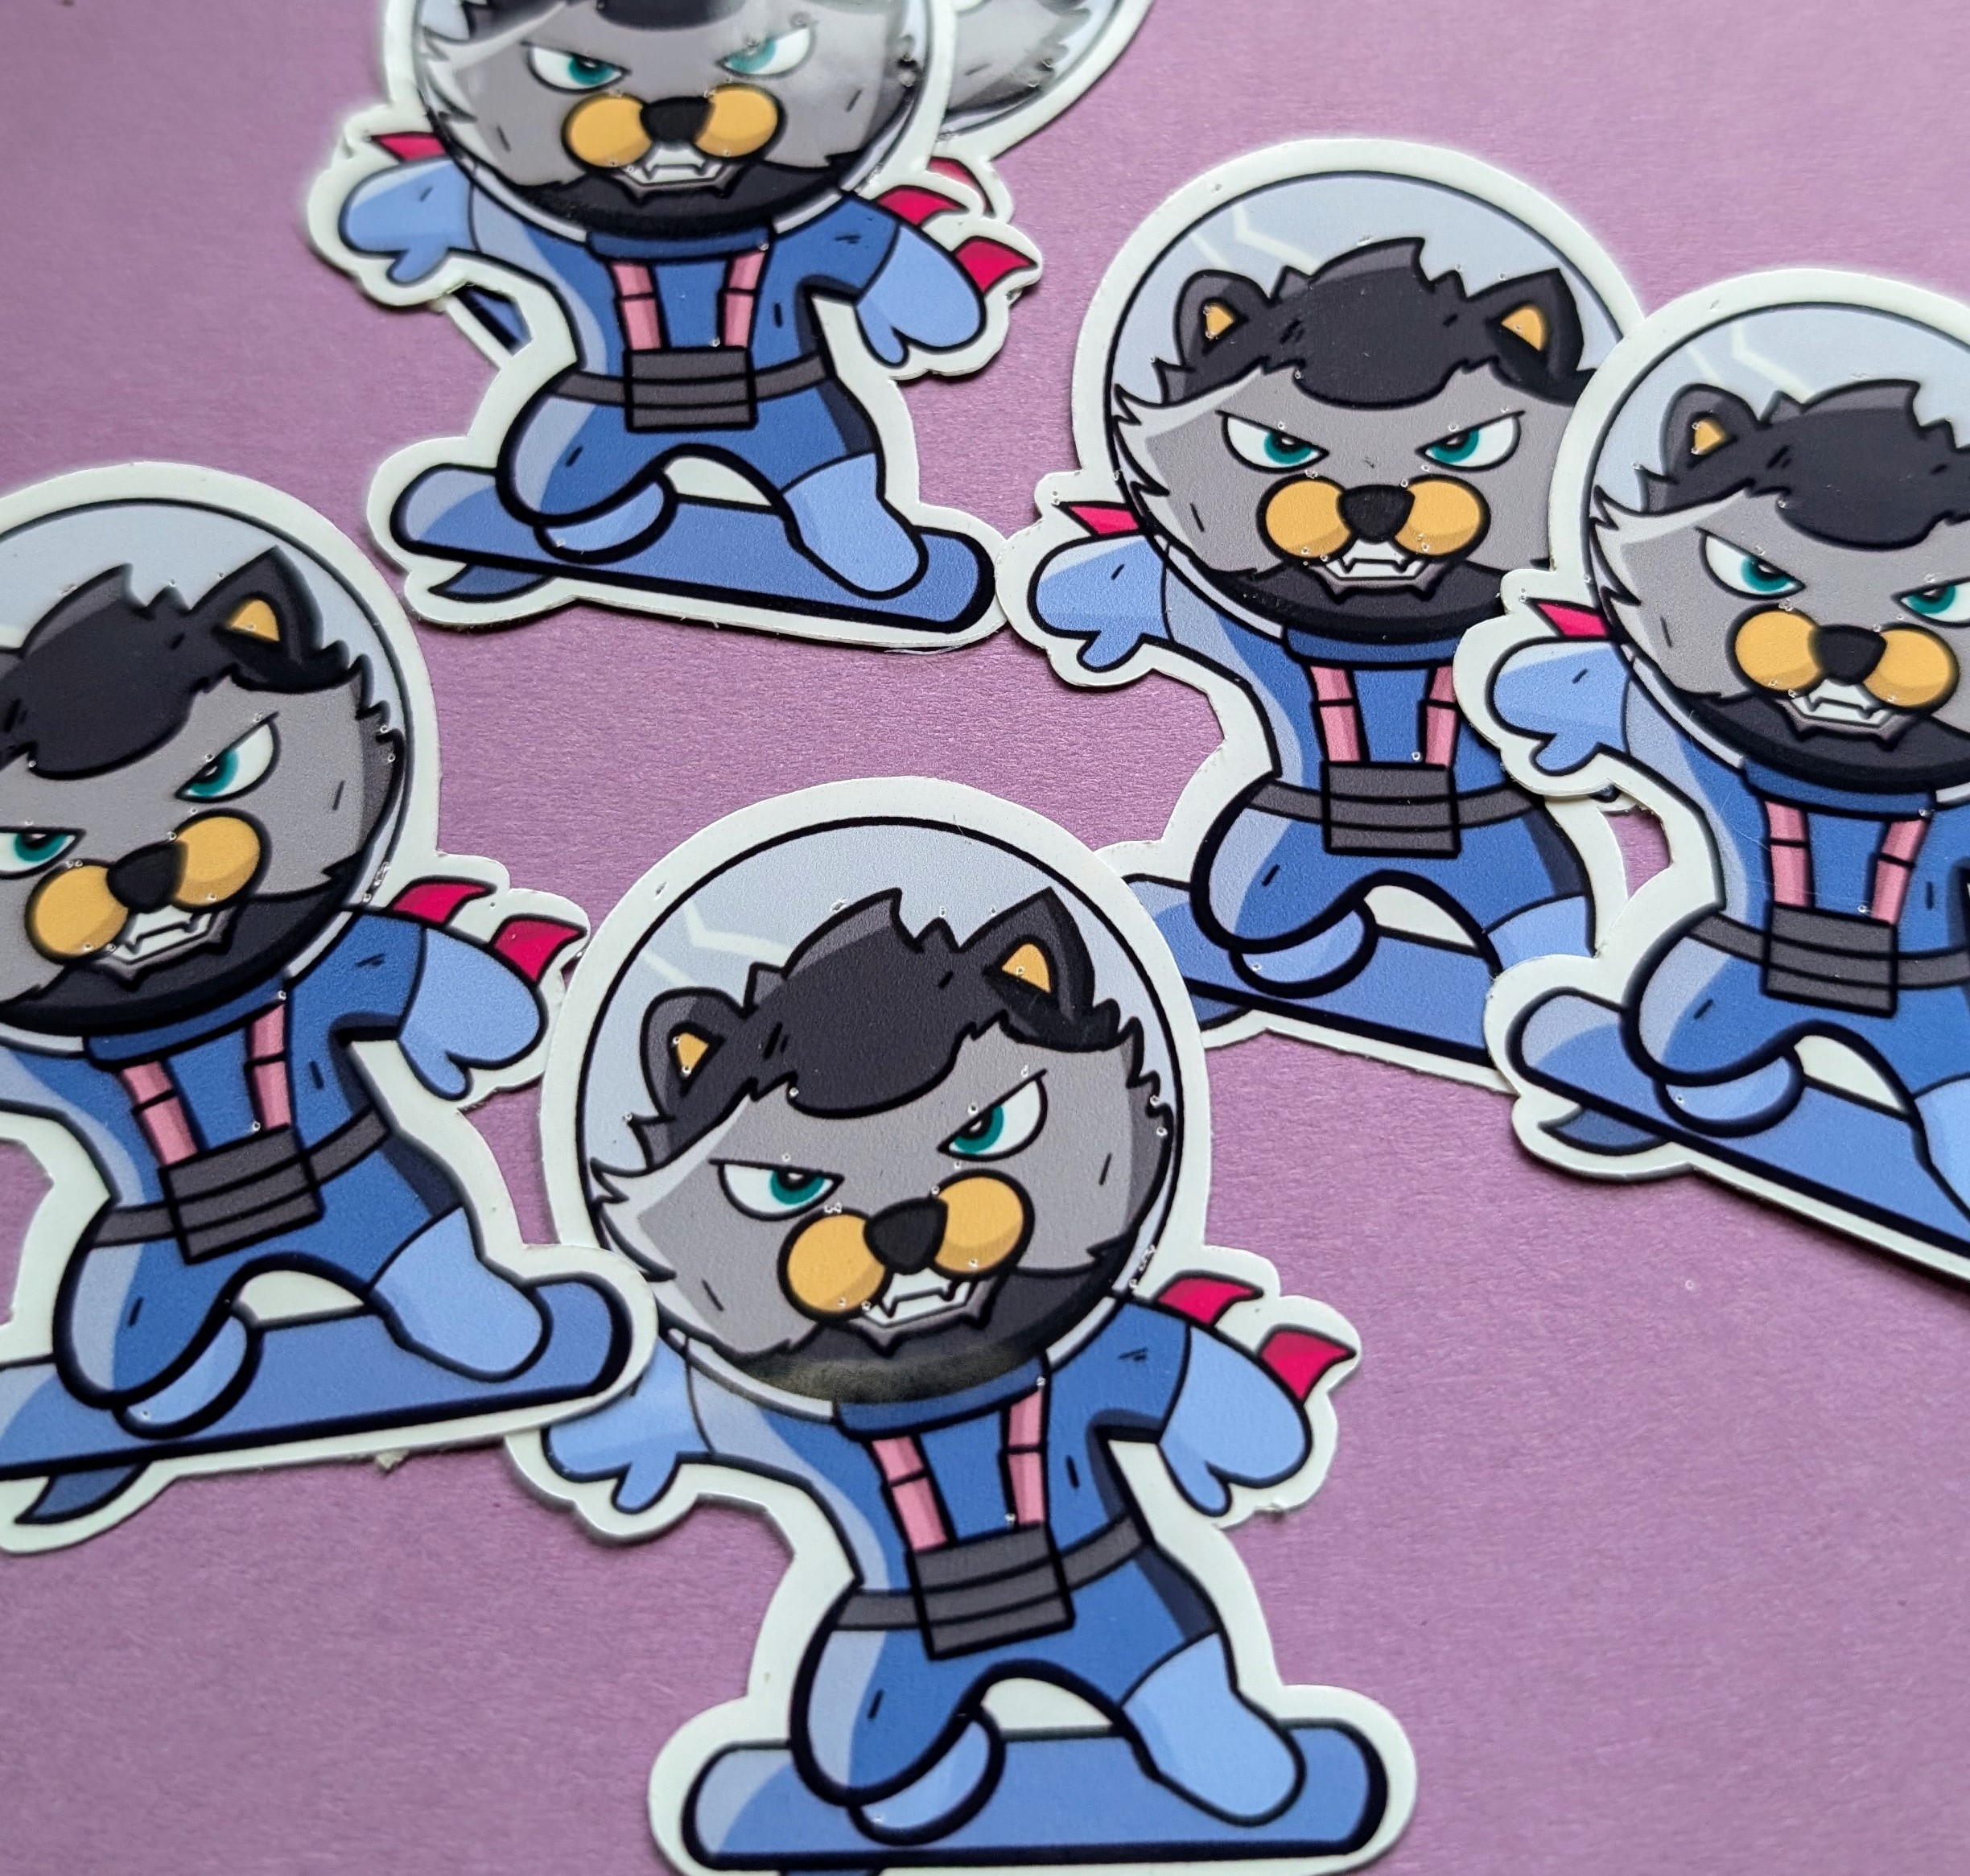
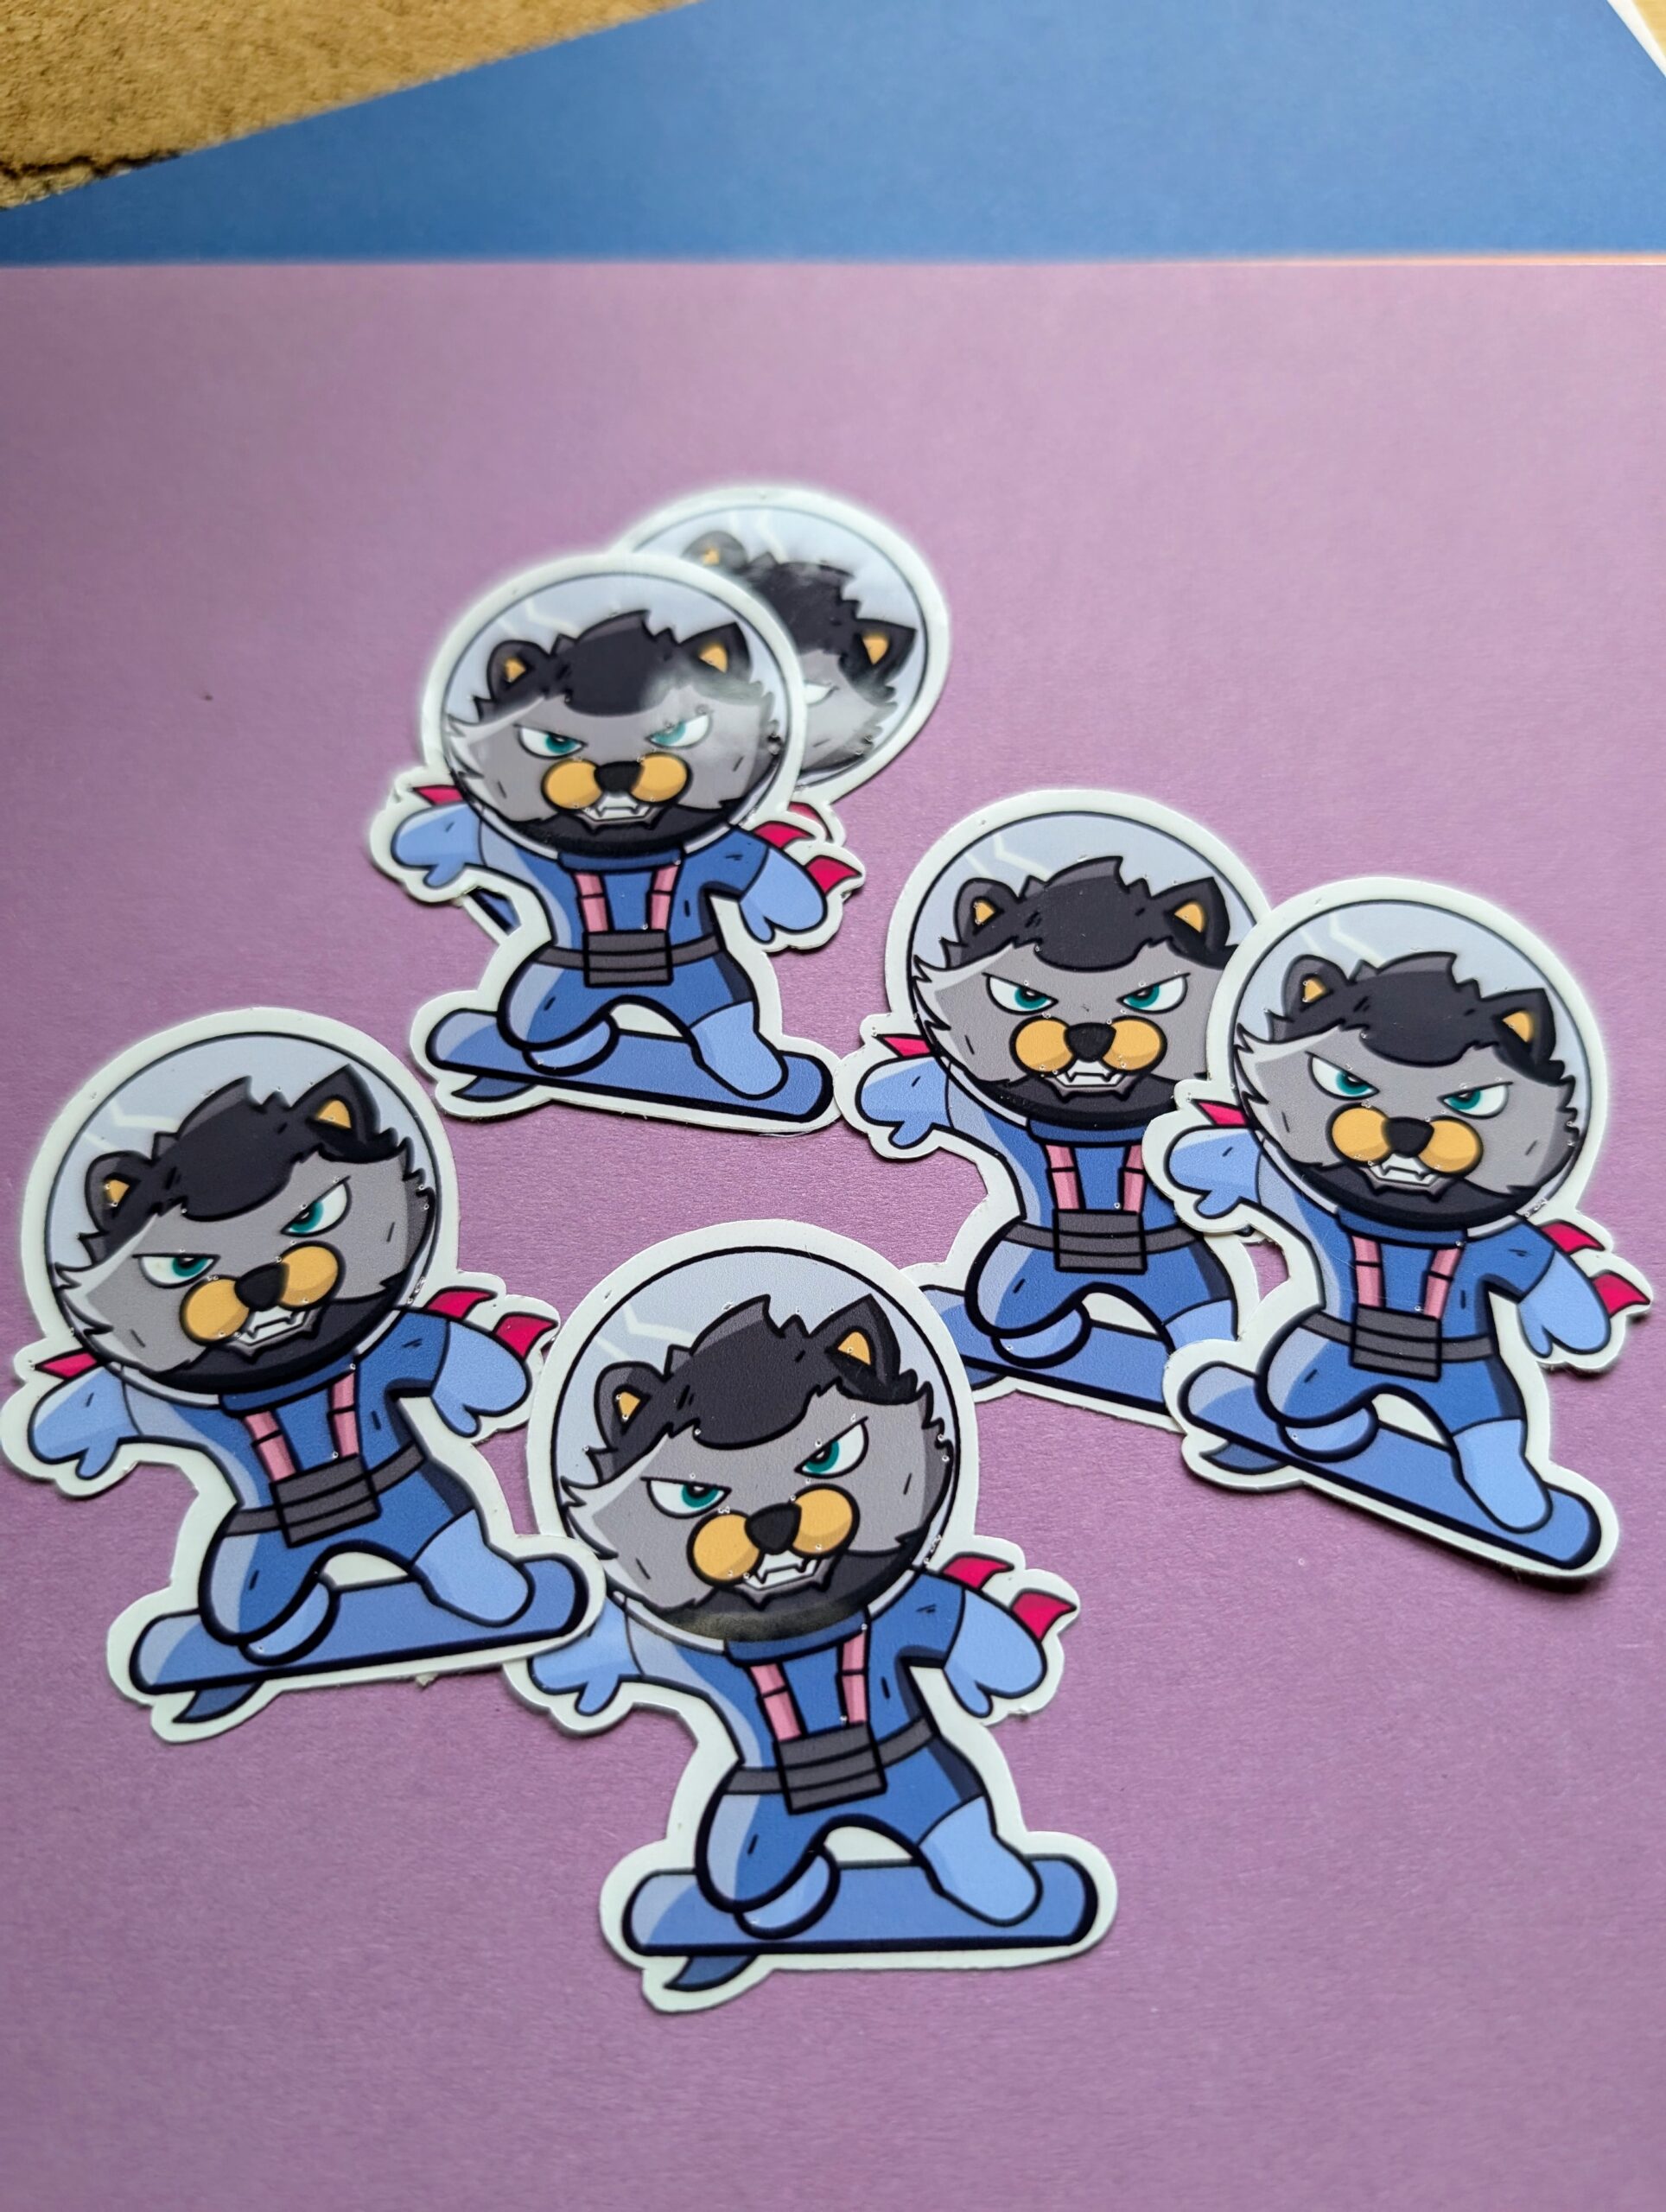
- Sticker Borders: Want perfectly cut stickers? Add a white border to your image. Use a design software like Procreate to add a layer behind your image.
- Size and Placement: Aim for a height of around 6cm to ensure your sticker isn’t too big or too small.
Uploading To Cricut & Settings
- Upload your image to Cricut Design Space.
- Select “Complex” from the image type options.
- Remove the background if necessary (usually not needed for PNGs).
- Select “Print Then Cut Image.”
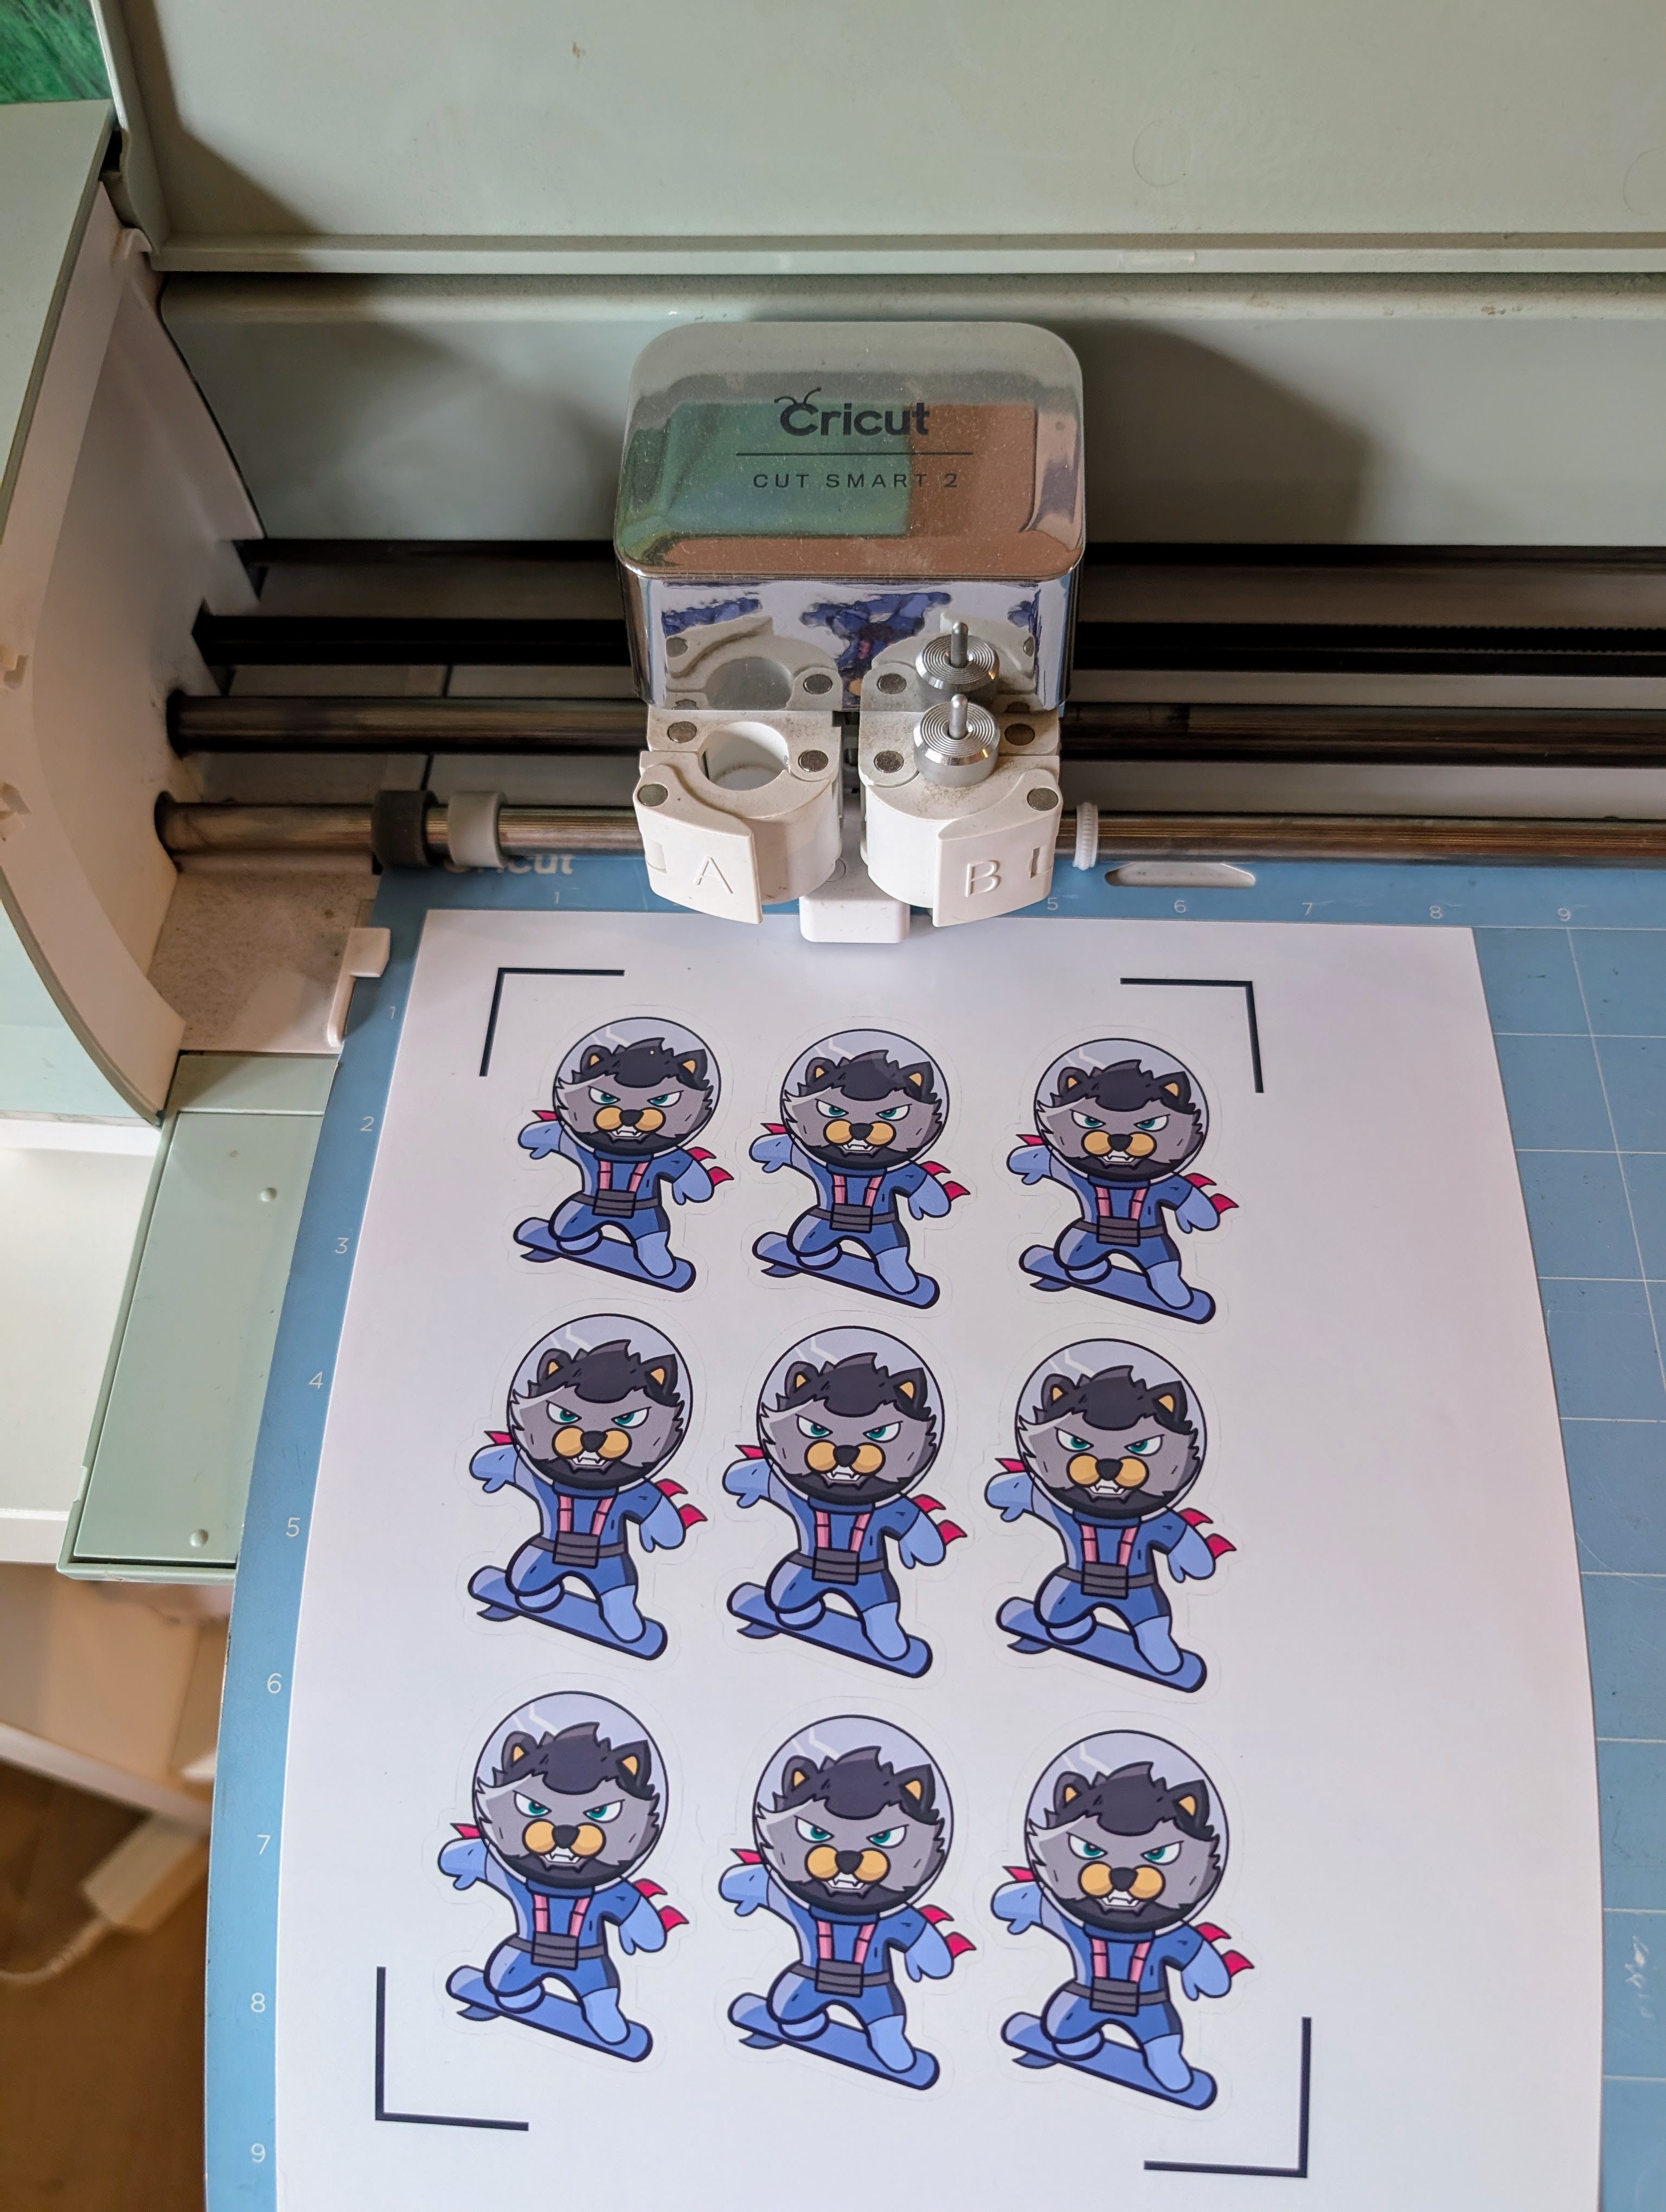
Printing the Stickers
- Click “Make It” in the top right corner.
- Select “Use System Dialog” to customize printer settings.
- Choose the highest-quality print setting.
- Select the correct paper type (e.g., glossy for glossy adhesive vinyl).
- Click “Print” to print your stickers with Cricut cut guides.
Cutting the Vinyl
Now it’s time to cut your vinyl. Experiment with different settings to find the best cut for your specific vinyl. I recommend using the “Vinyl+” setting for thicker, waterproof sticker paper.
- Load the Mat: Place your vinyl on the cutting mat, ensuring it’s firmly adhered.
- Select the Material: Select “Vinyl+” as the material type in Cricut Design Space.
- Cut: Press the “Cut” button to start the cutting process.

Tips for Success
- Practice Makes Perfect: Don’t be afraid to experiment and practice with different vinyl types and designs.
- Clean Surfaces: Ensure your surfaces are clean and free of dirt or debris before applying the stickers.
- Consider Durability: For outdoor use, choose weather-resistant vinyl and apply a sealant if necessary.
You’re now ready to unleash your creativity and create custom stickers. With a bit of practice, you can personalize your belongings and show off your unique style.