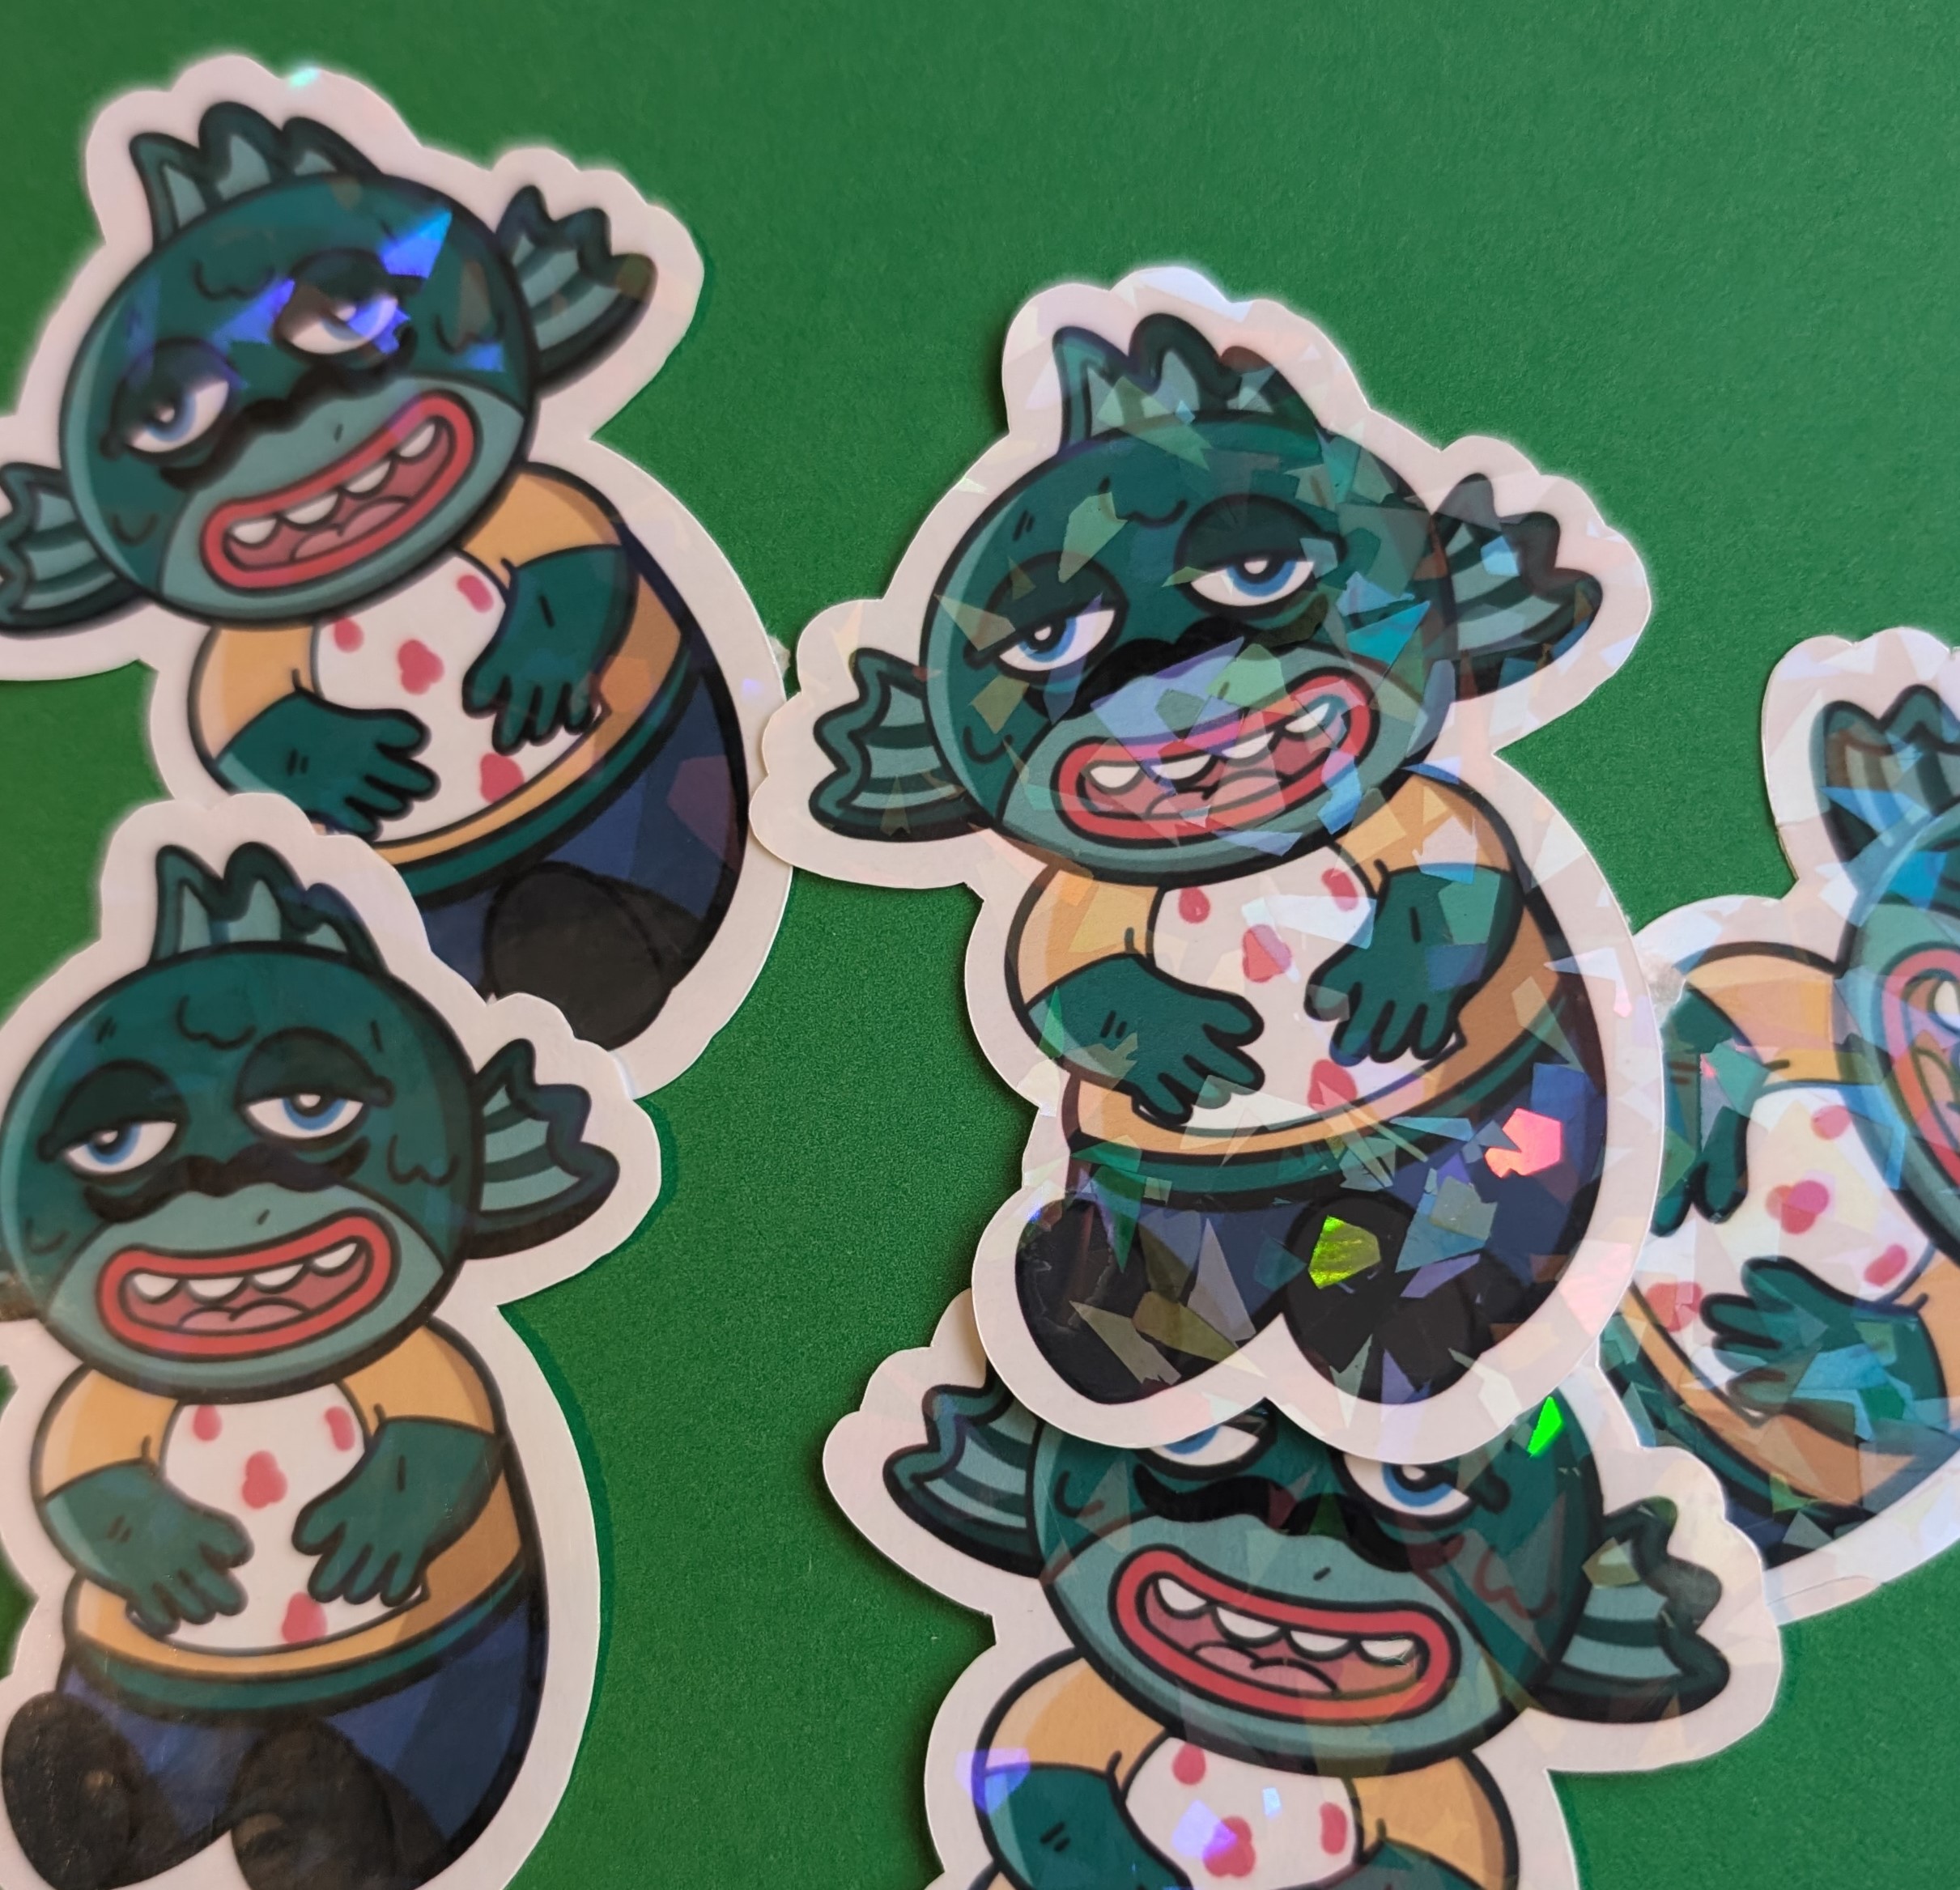
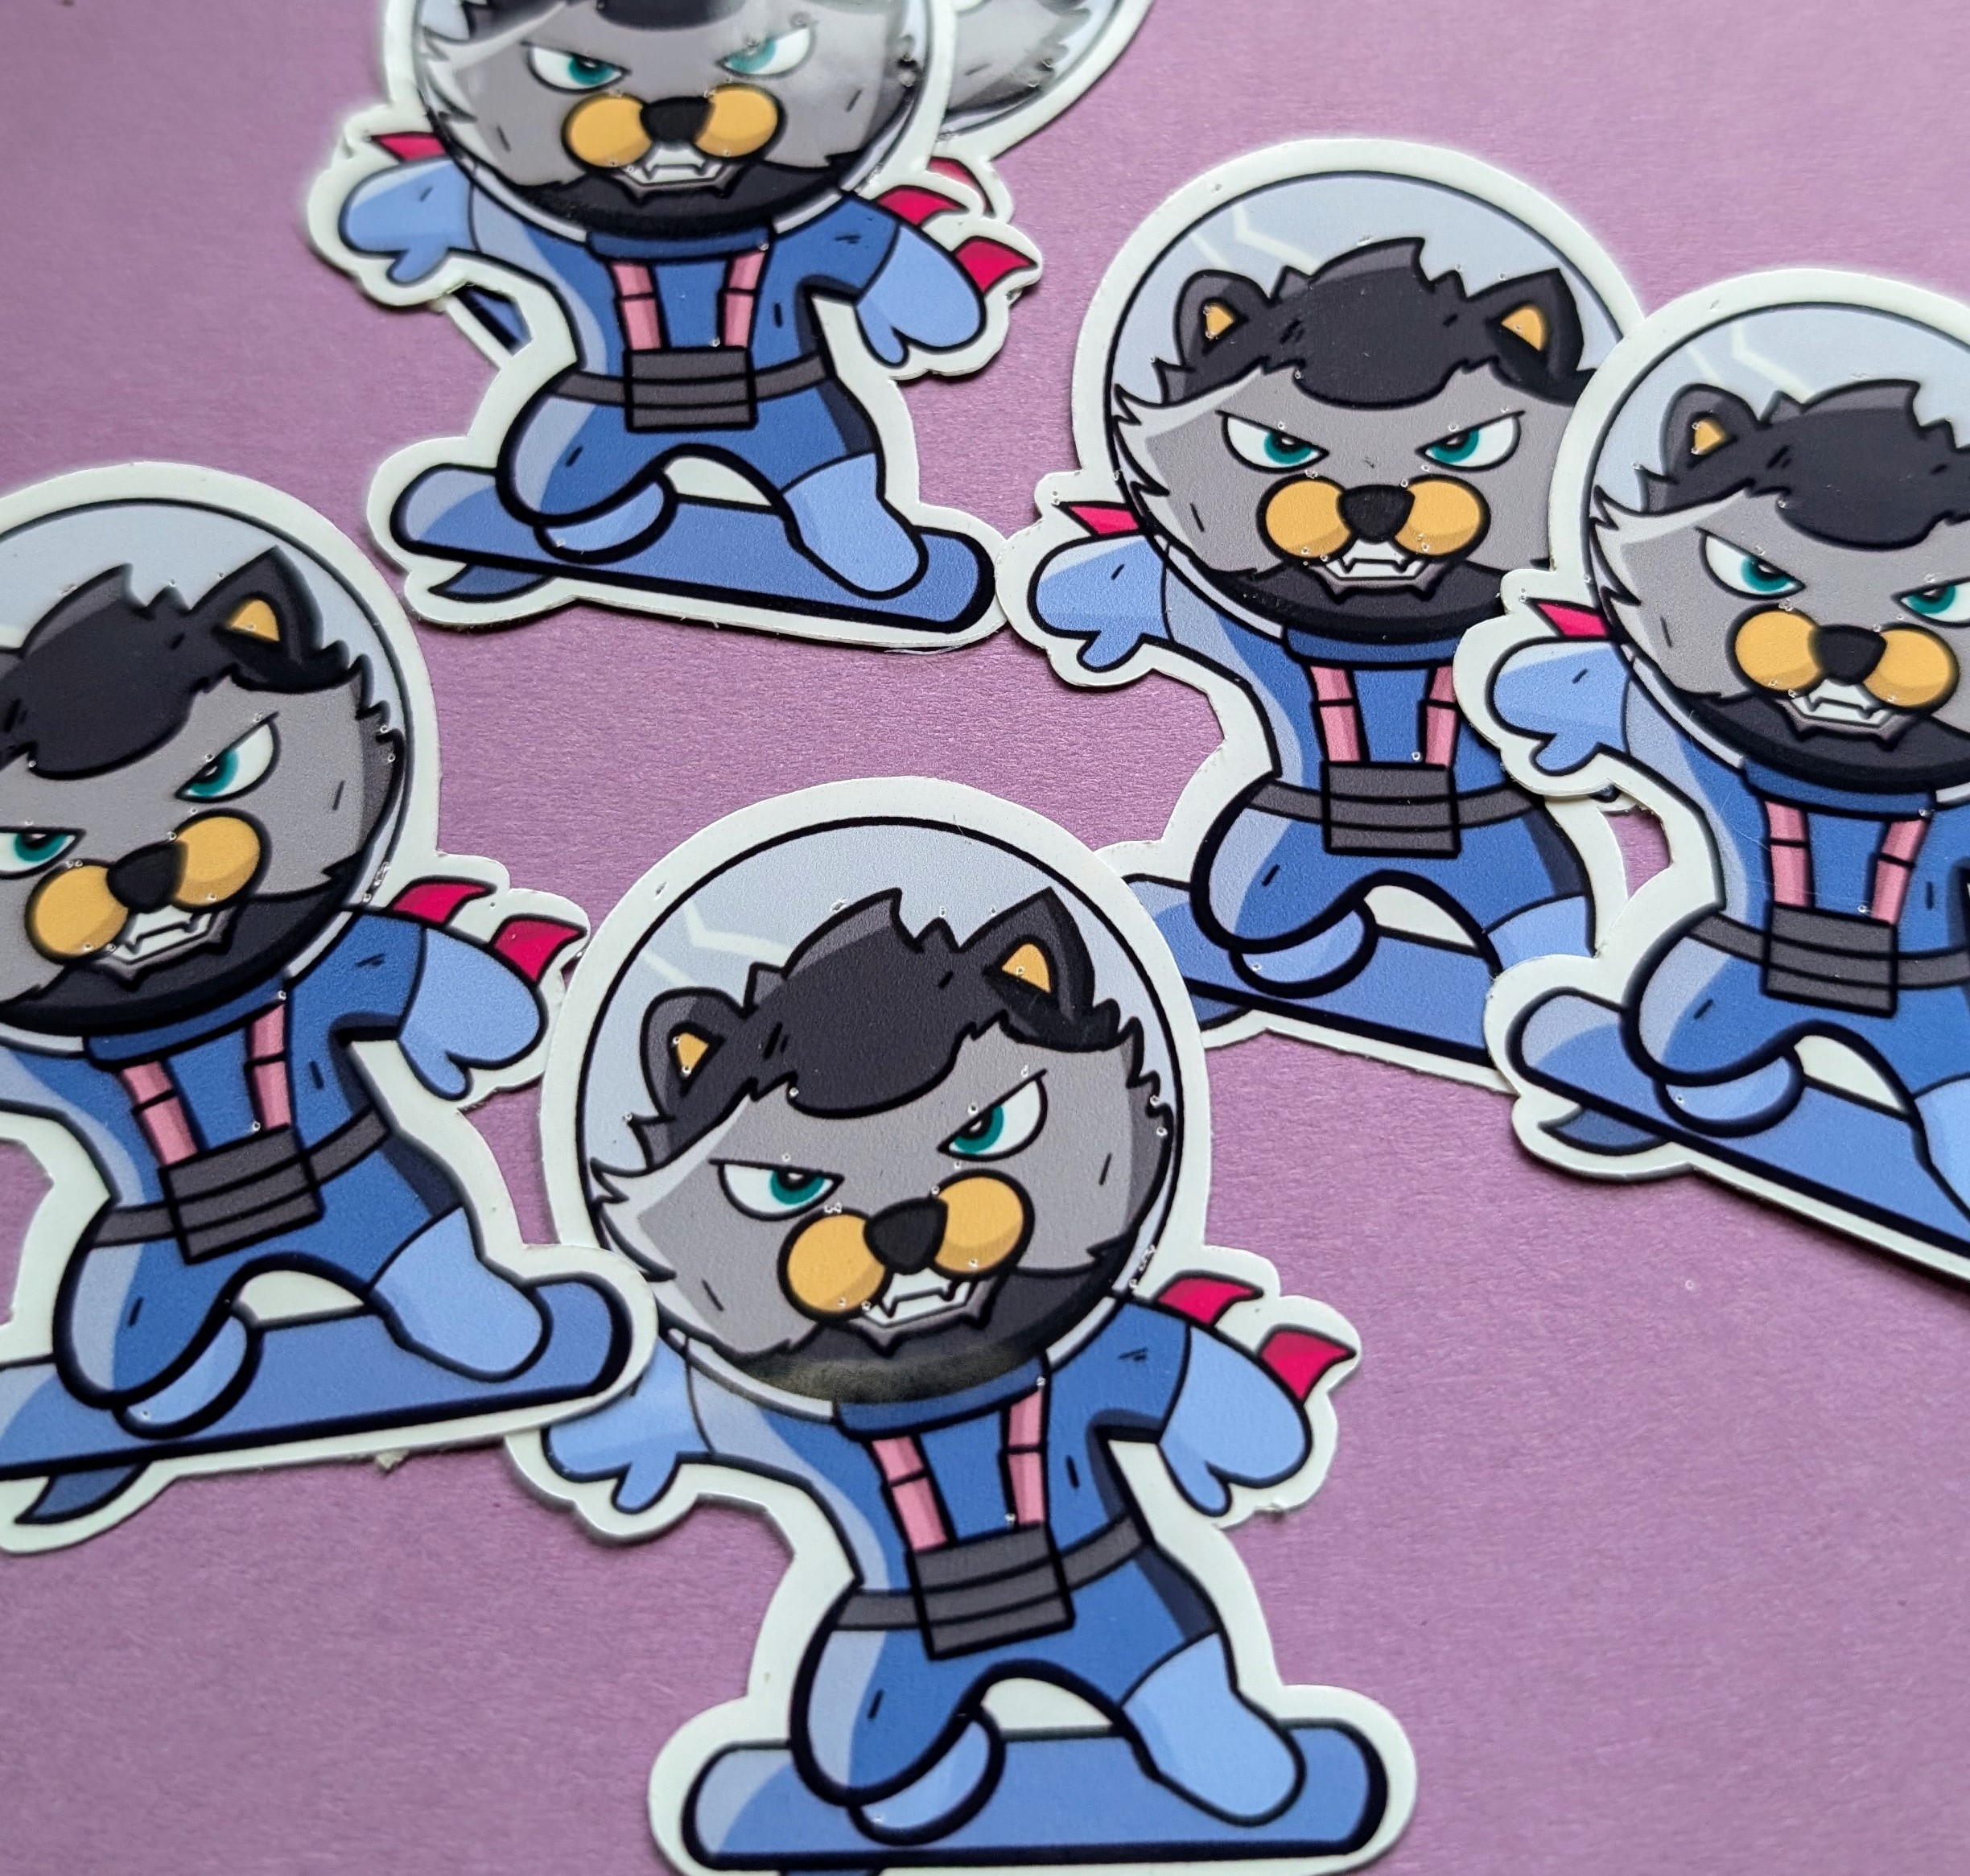
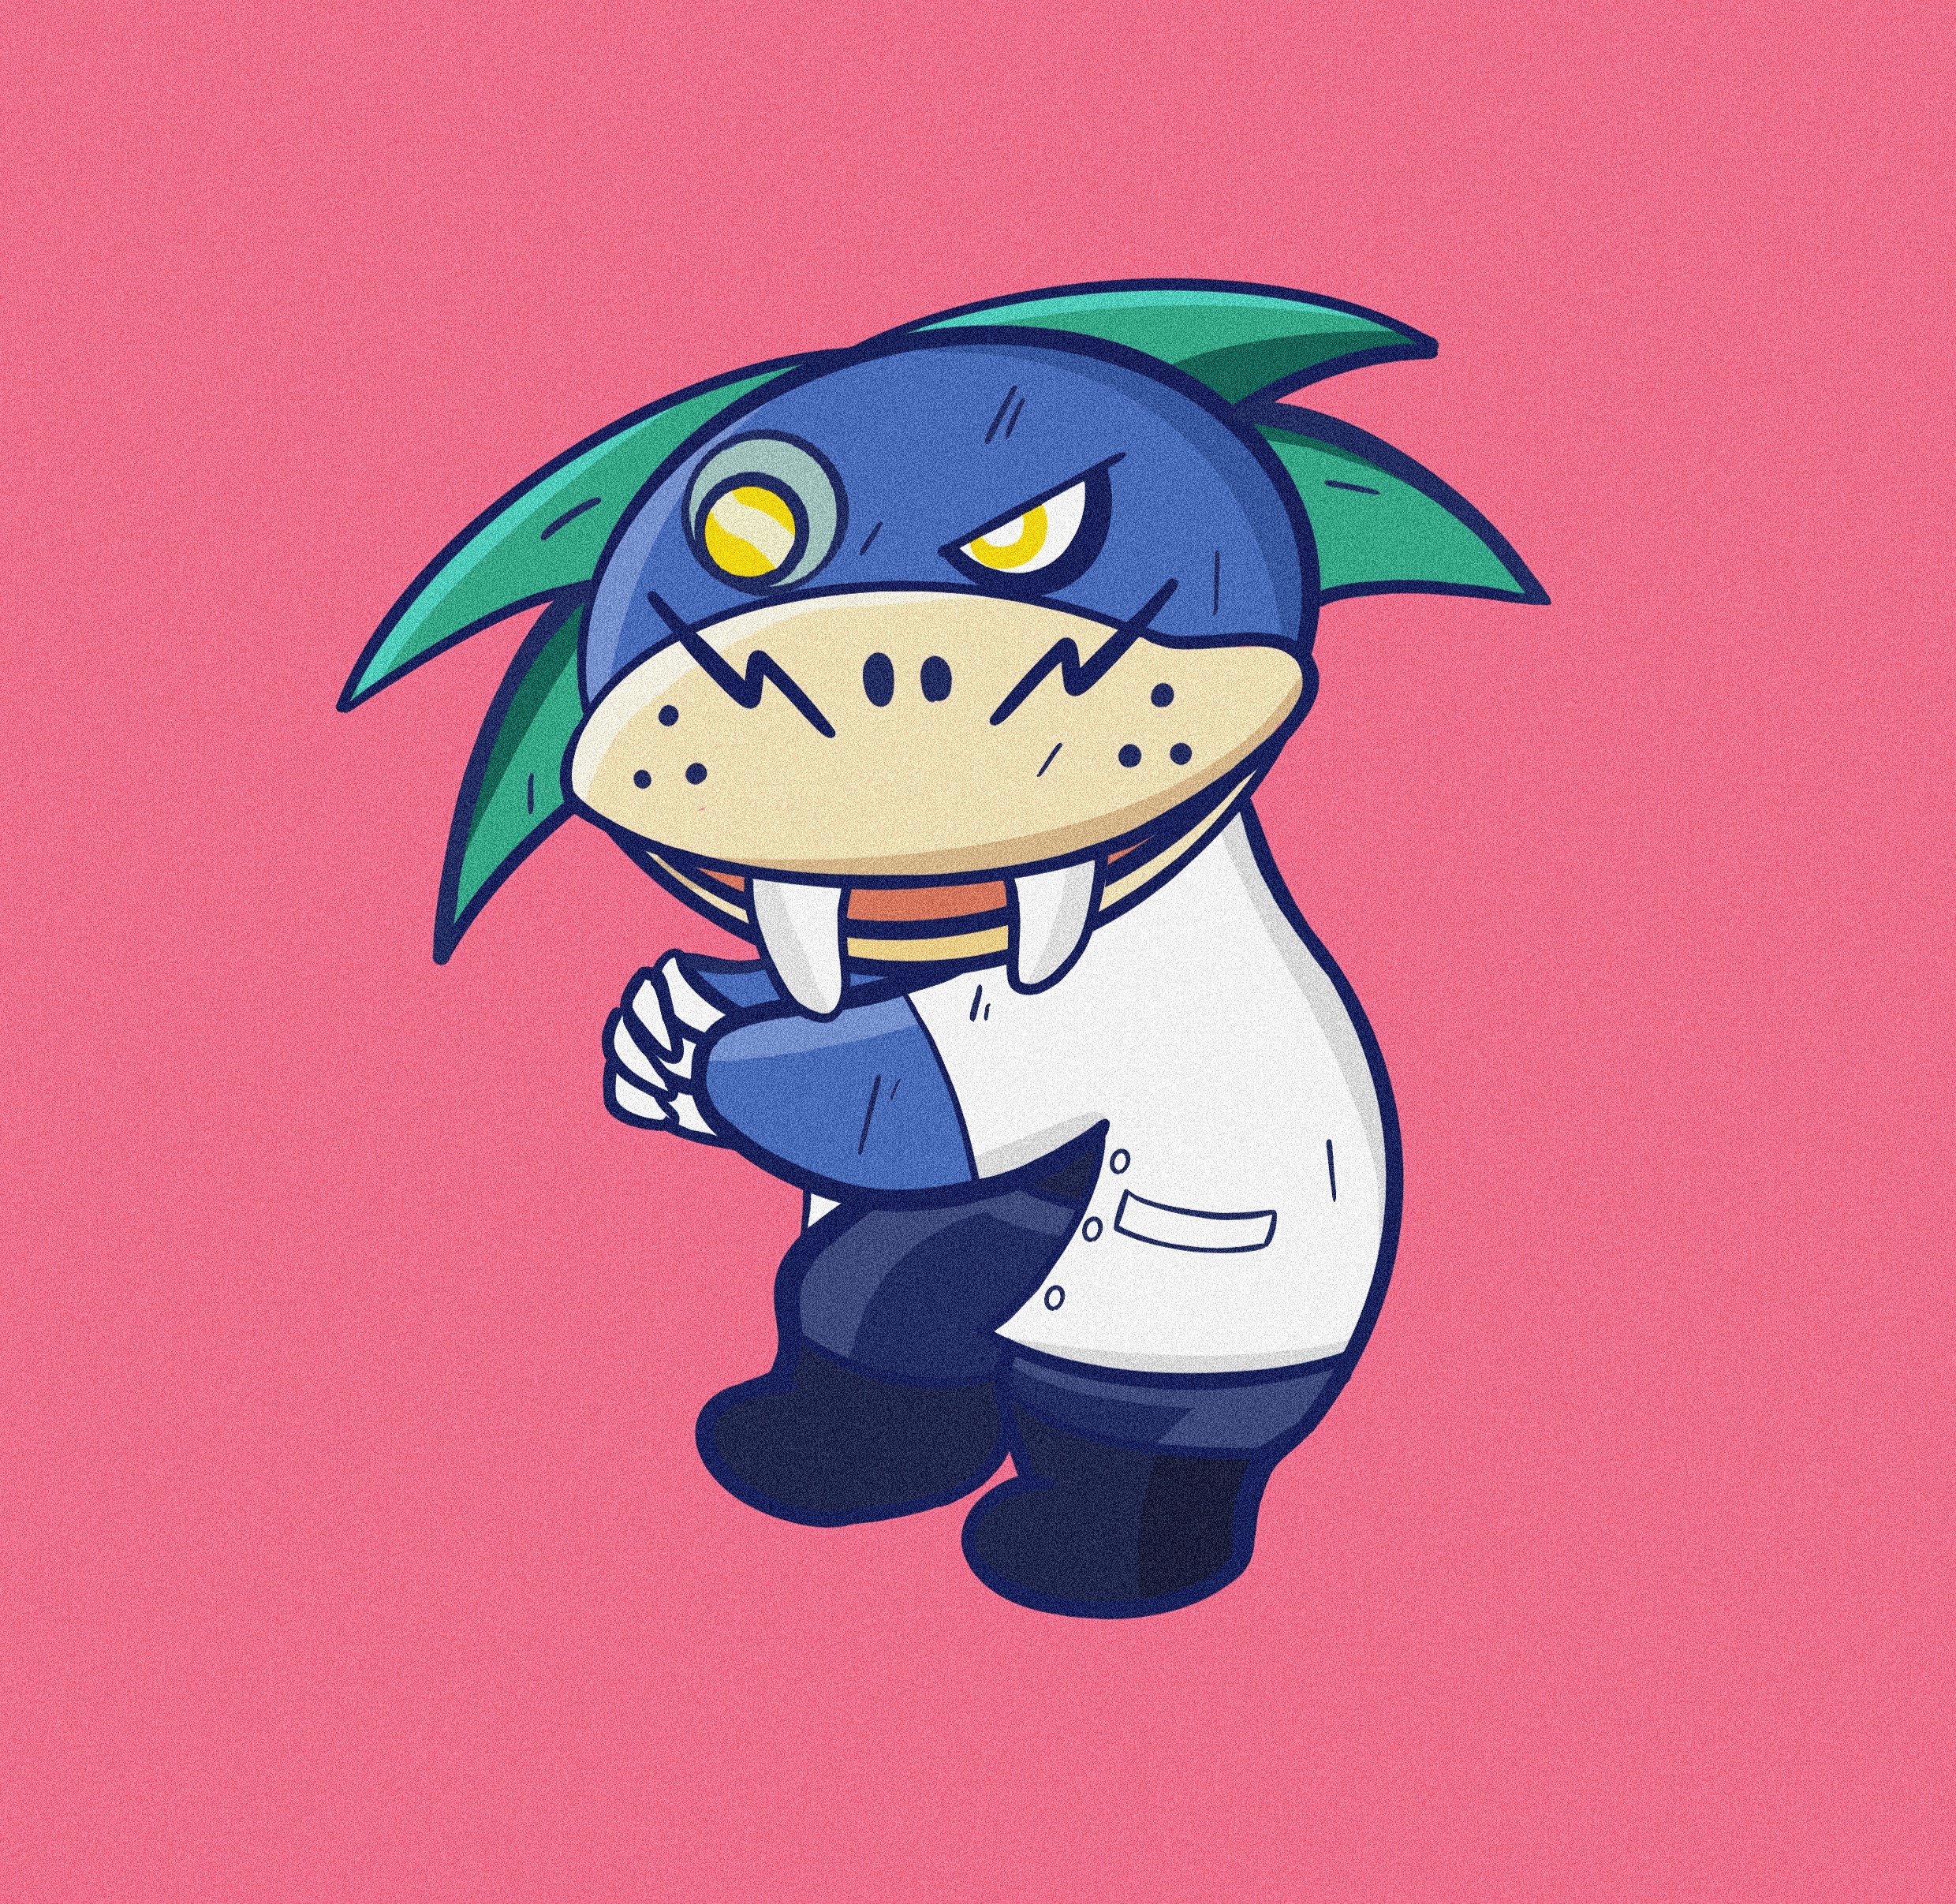
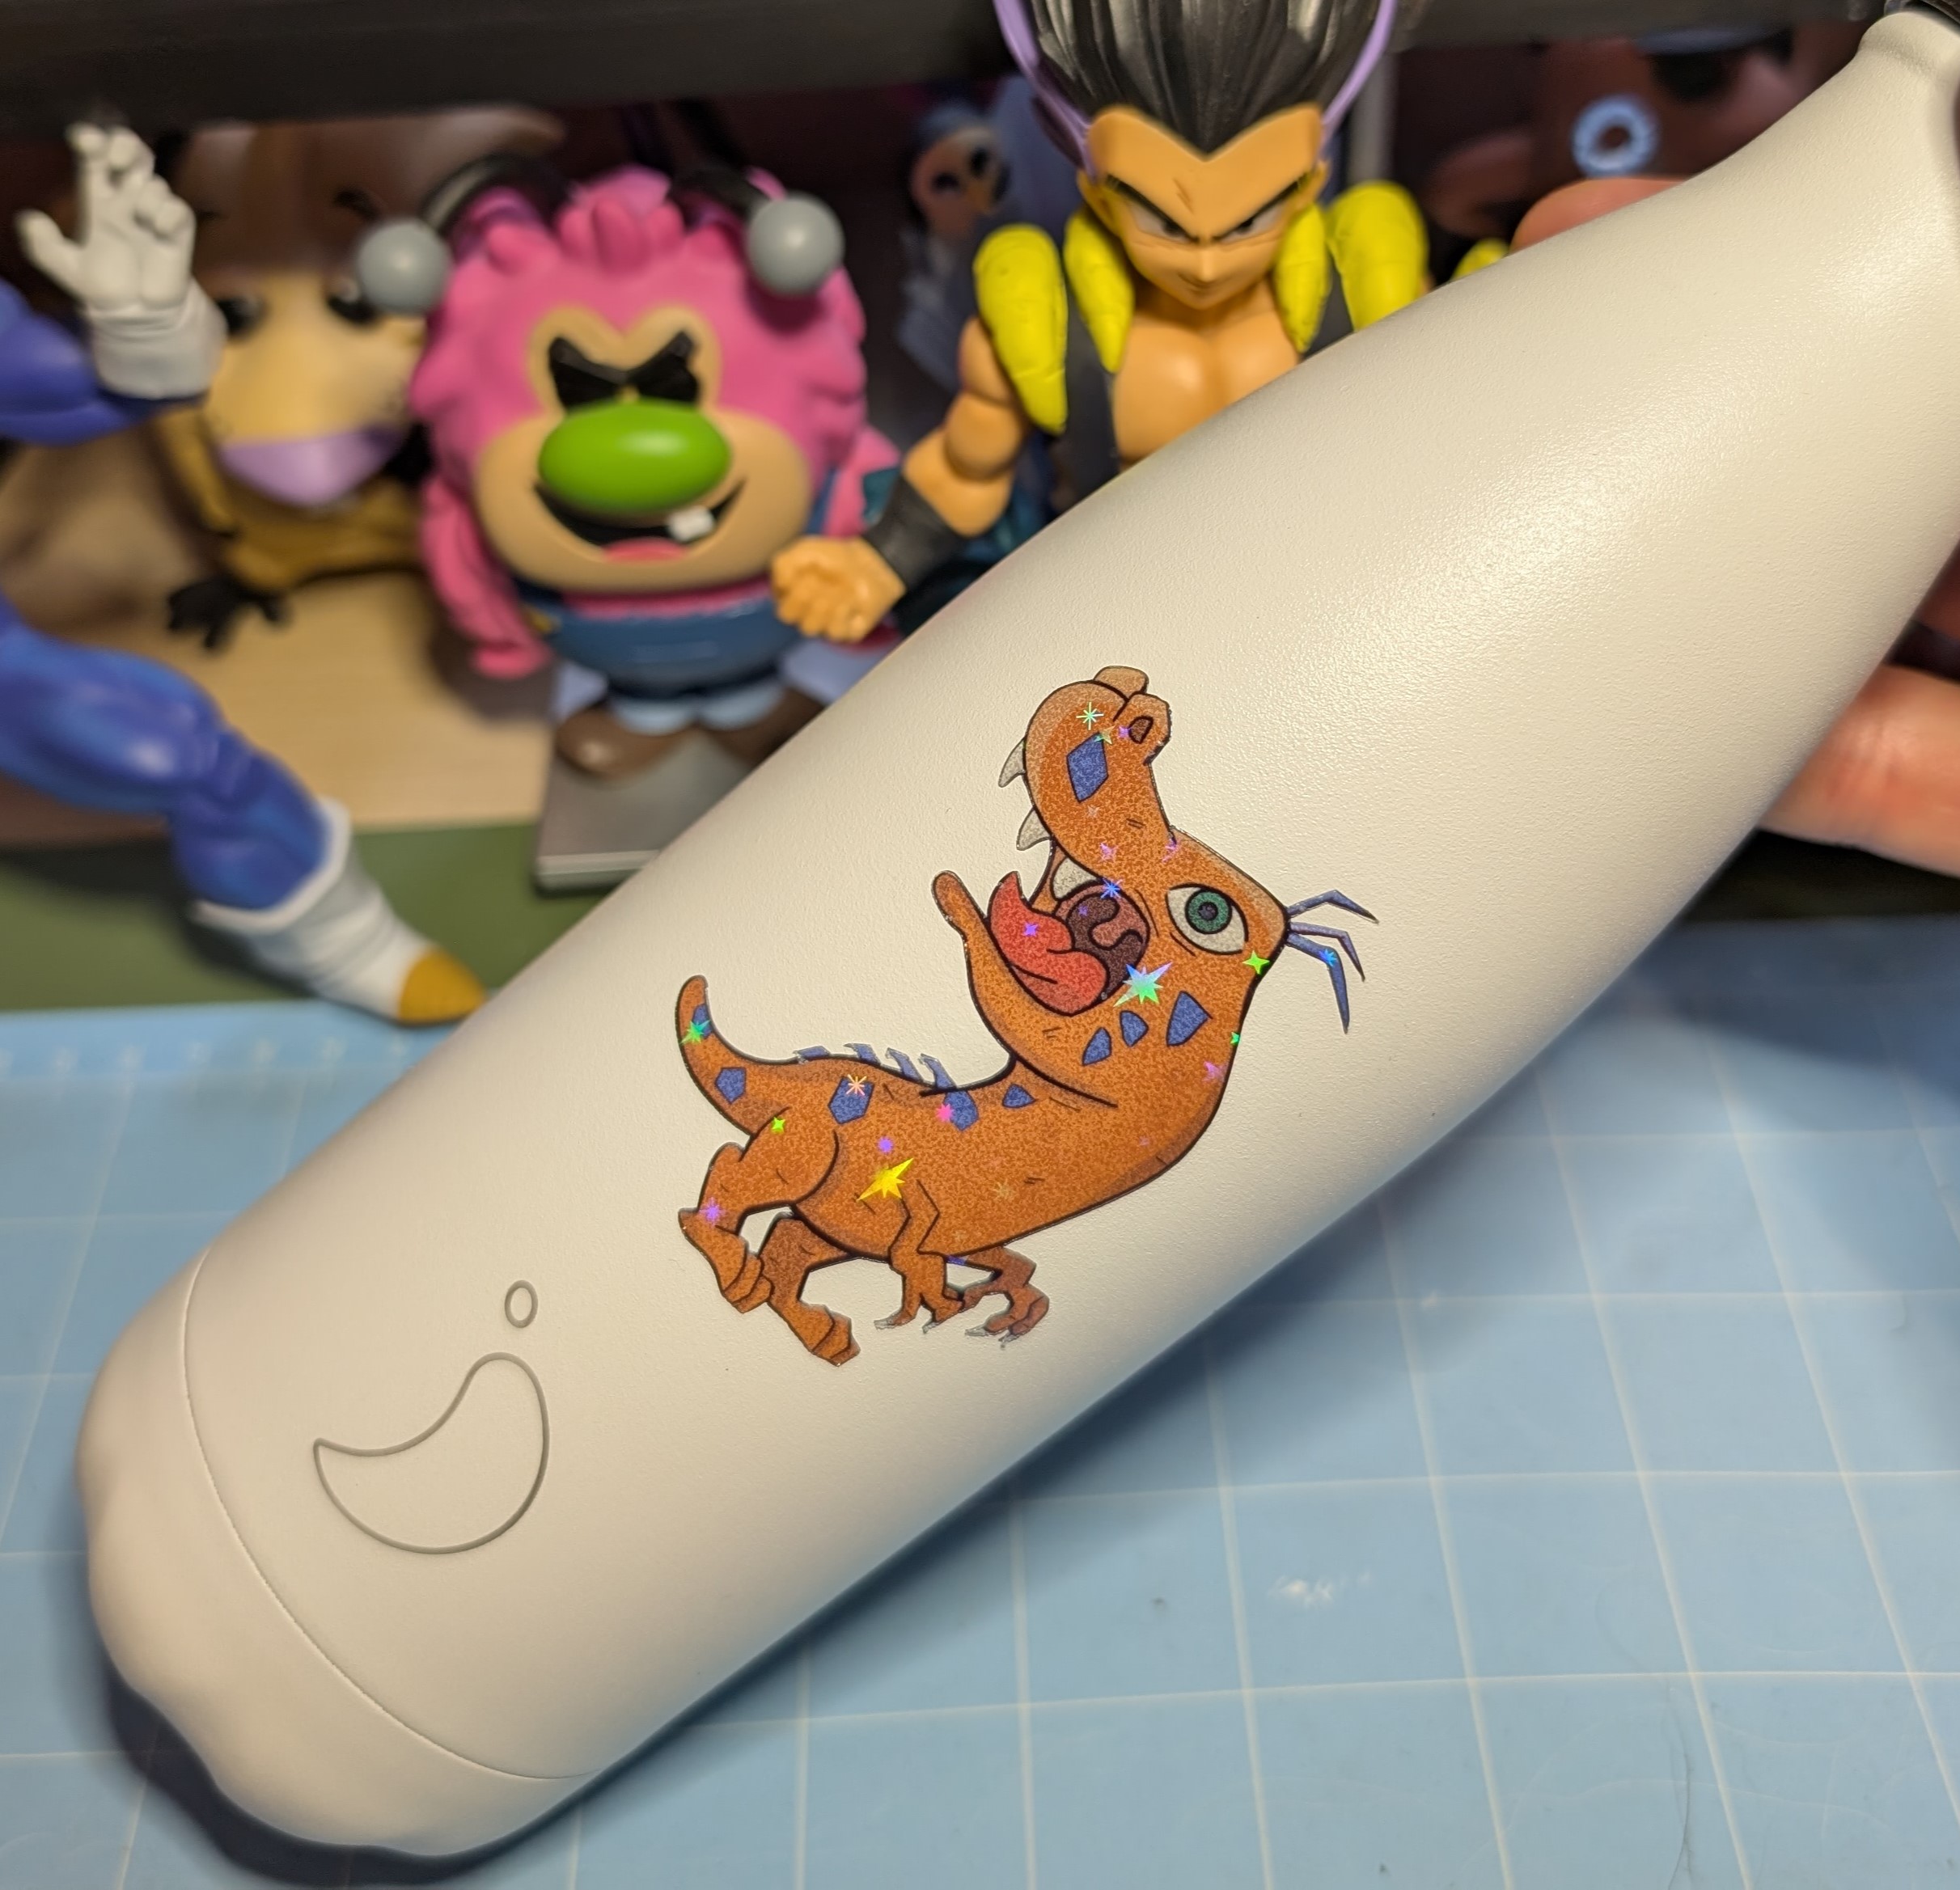
Creating holographic stickers is a straightforward process that’s similar to making vinyl stickers. The key difference lies in adding a layer of holographic adhesive for an enhanced visual effect.
Essential Supplies:
- Inkjet Printer: A quality inkjet printer ensures vibrant color reproduction.
- Cricut Machine: Choose a model like the Cricut Maker or Cricut Explore.
- Glossy Sticker Paper: Provides a better adhesive surface.
- Holographic Adhesive: Explore various patterns available.
Upload Your Sticker
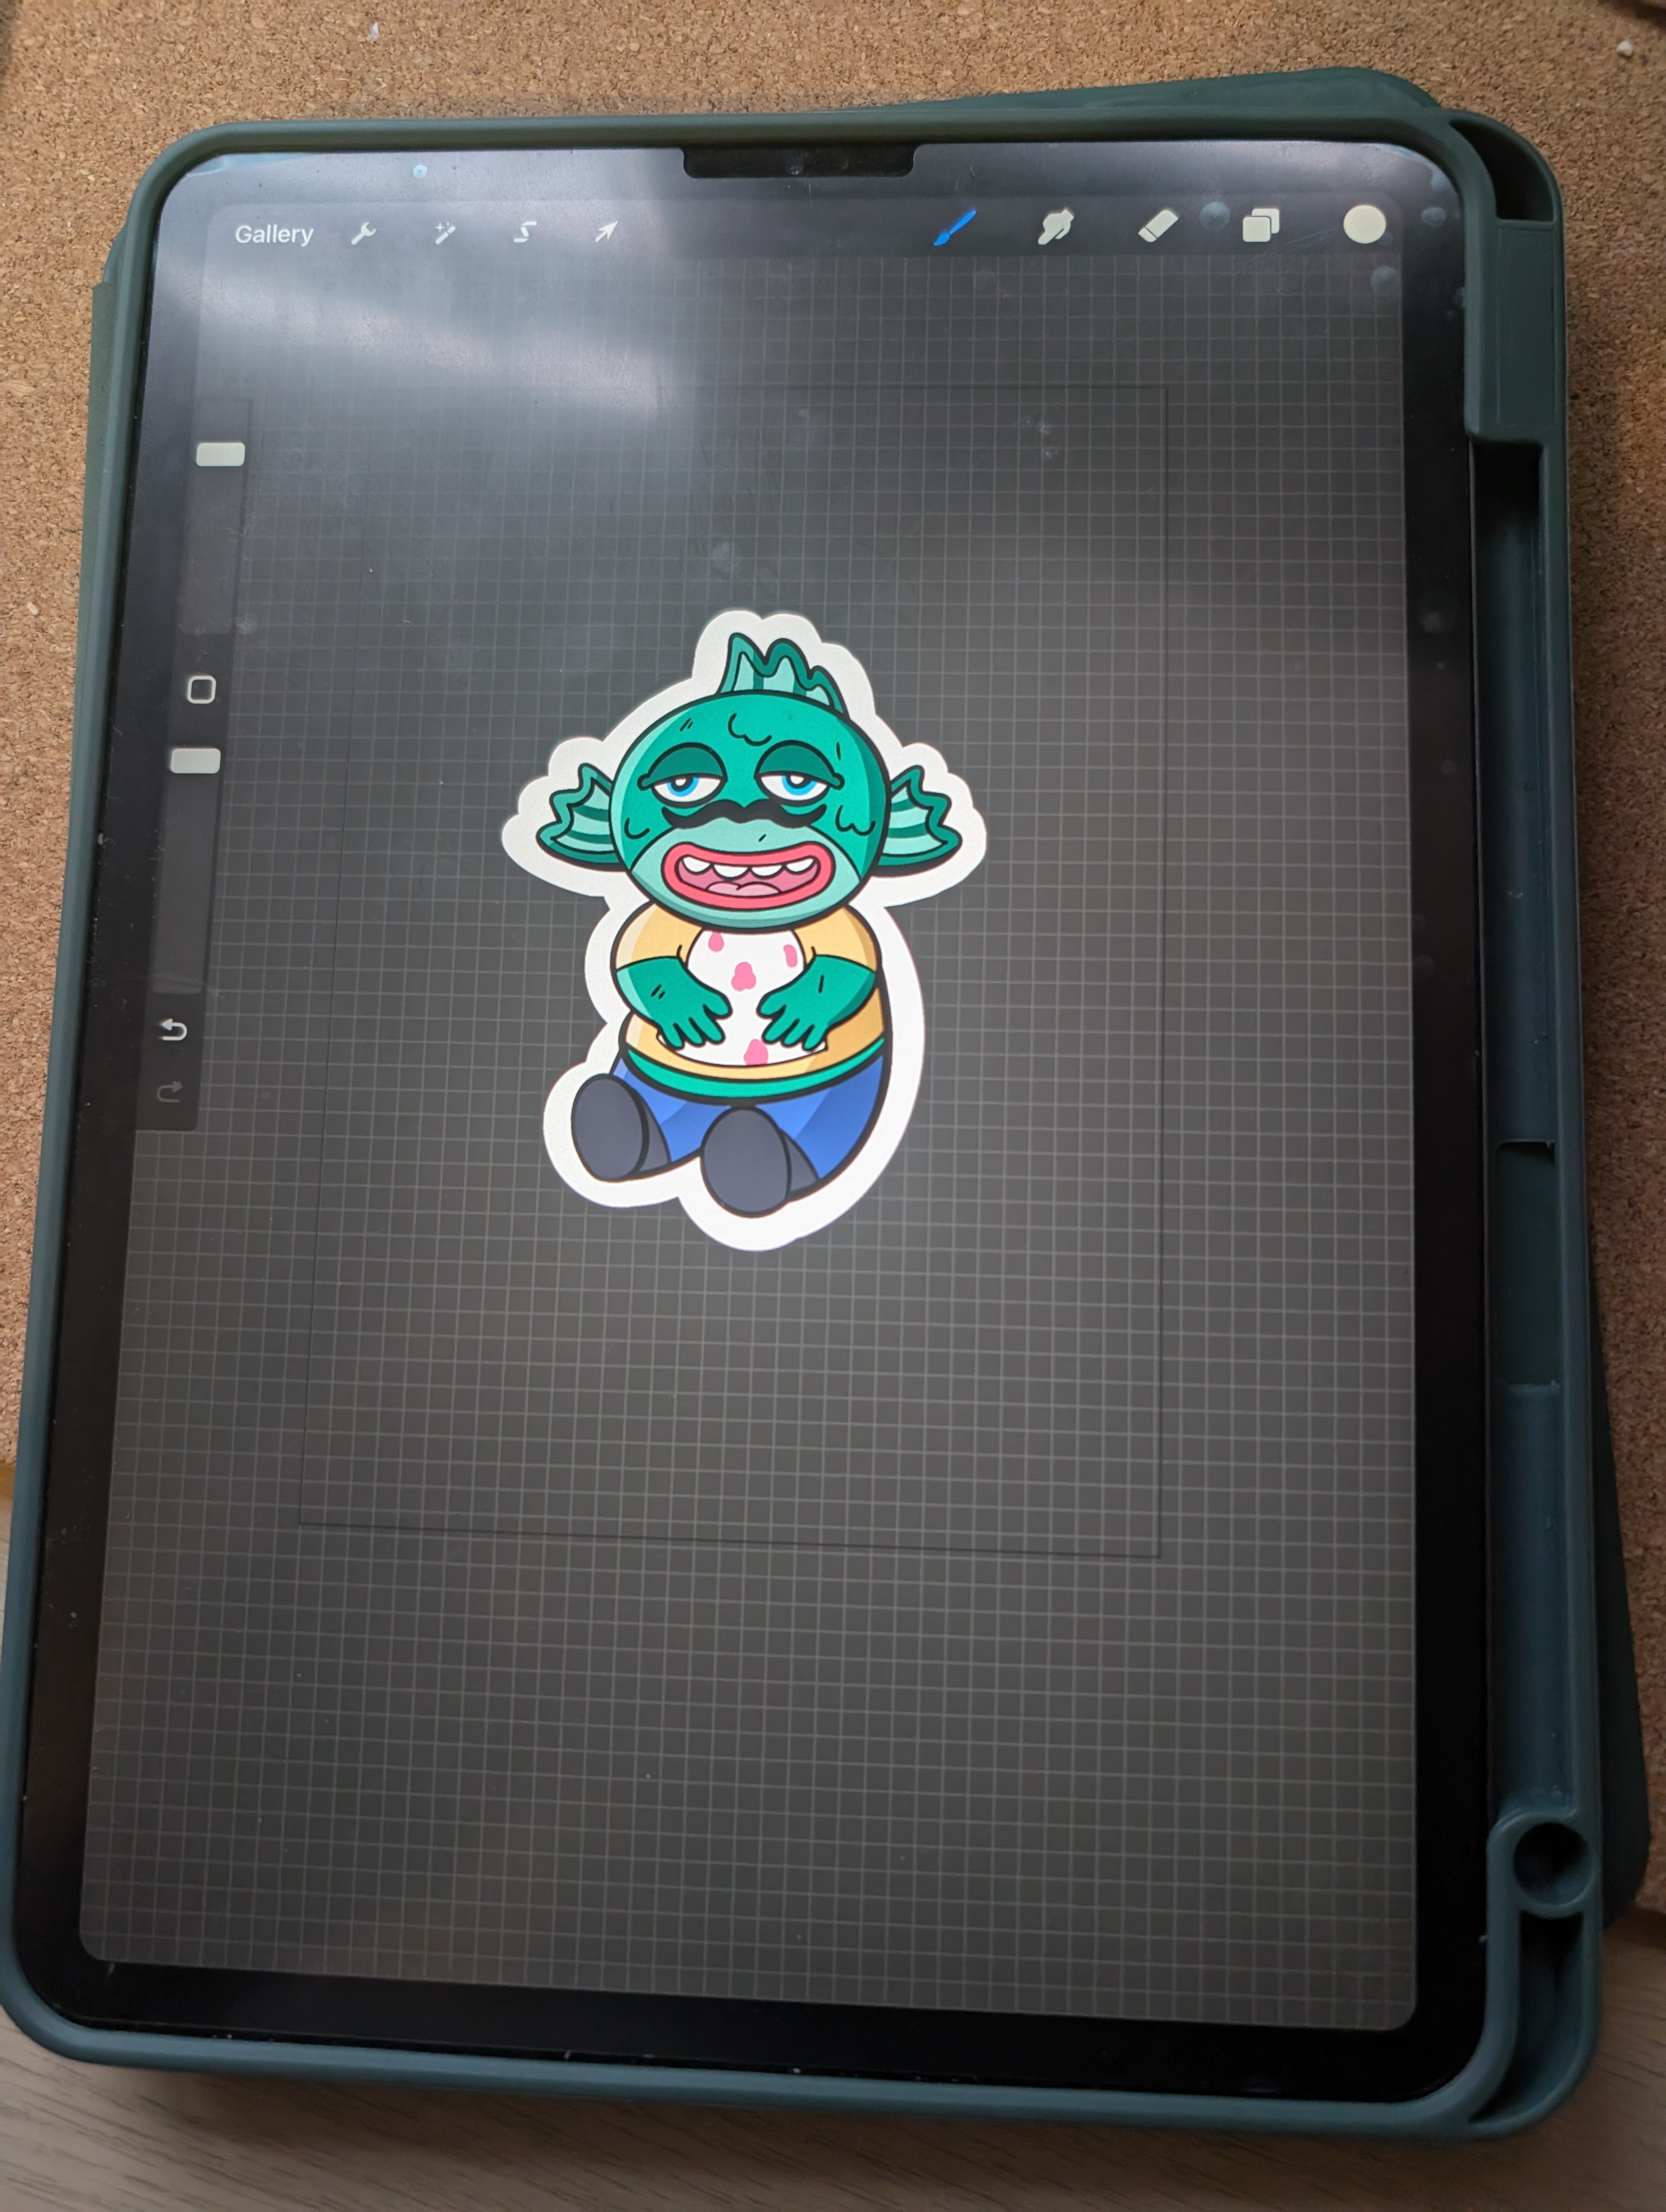
I exclusively use my own designs, so I’ll be uploading an image I created in Procreate to Design Space. For a detailed guide on how to do this, please refer to my other blog post.
Printing the Sticker
- Select “Make it” in the top right corner.
- Always choose “Use System Dialog” to customize printer settings.
- Select the highest-quality print option.
- Choose the correct paper type. I recommend “Glossy” for this sticker type.
Applying the Holographic Adhesive
- Once your stickers are dry, place them flat on your Cricut mat.
- Carefully peel and position the holographic adhesive on top.
- Smooth out the adhesive to remove air bubbles.
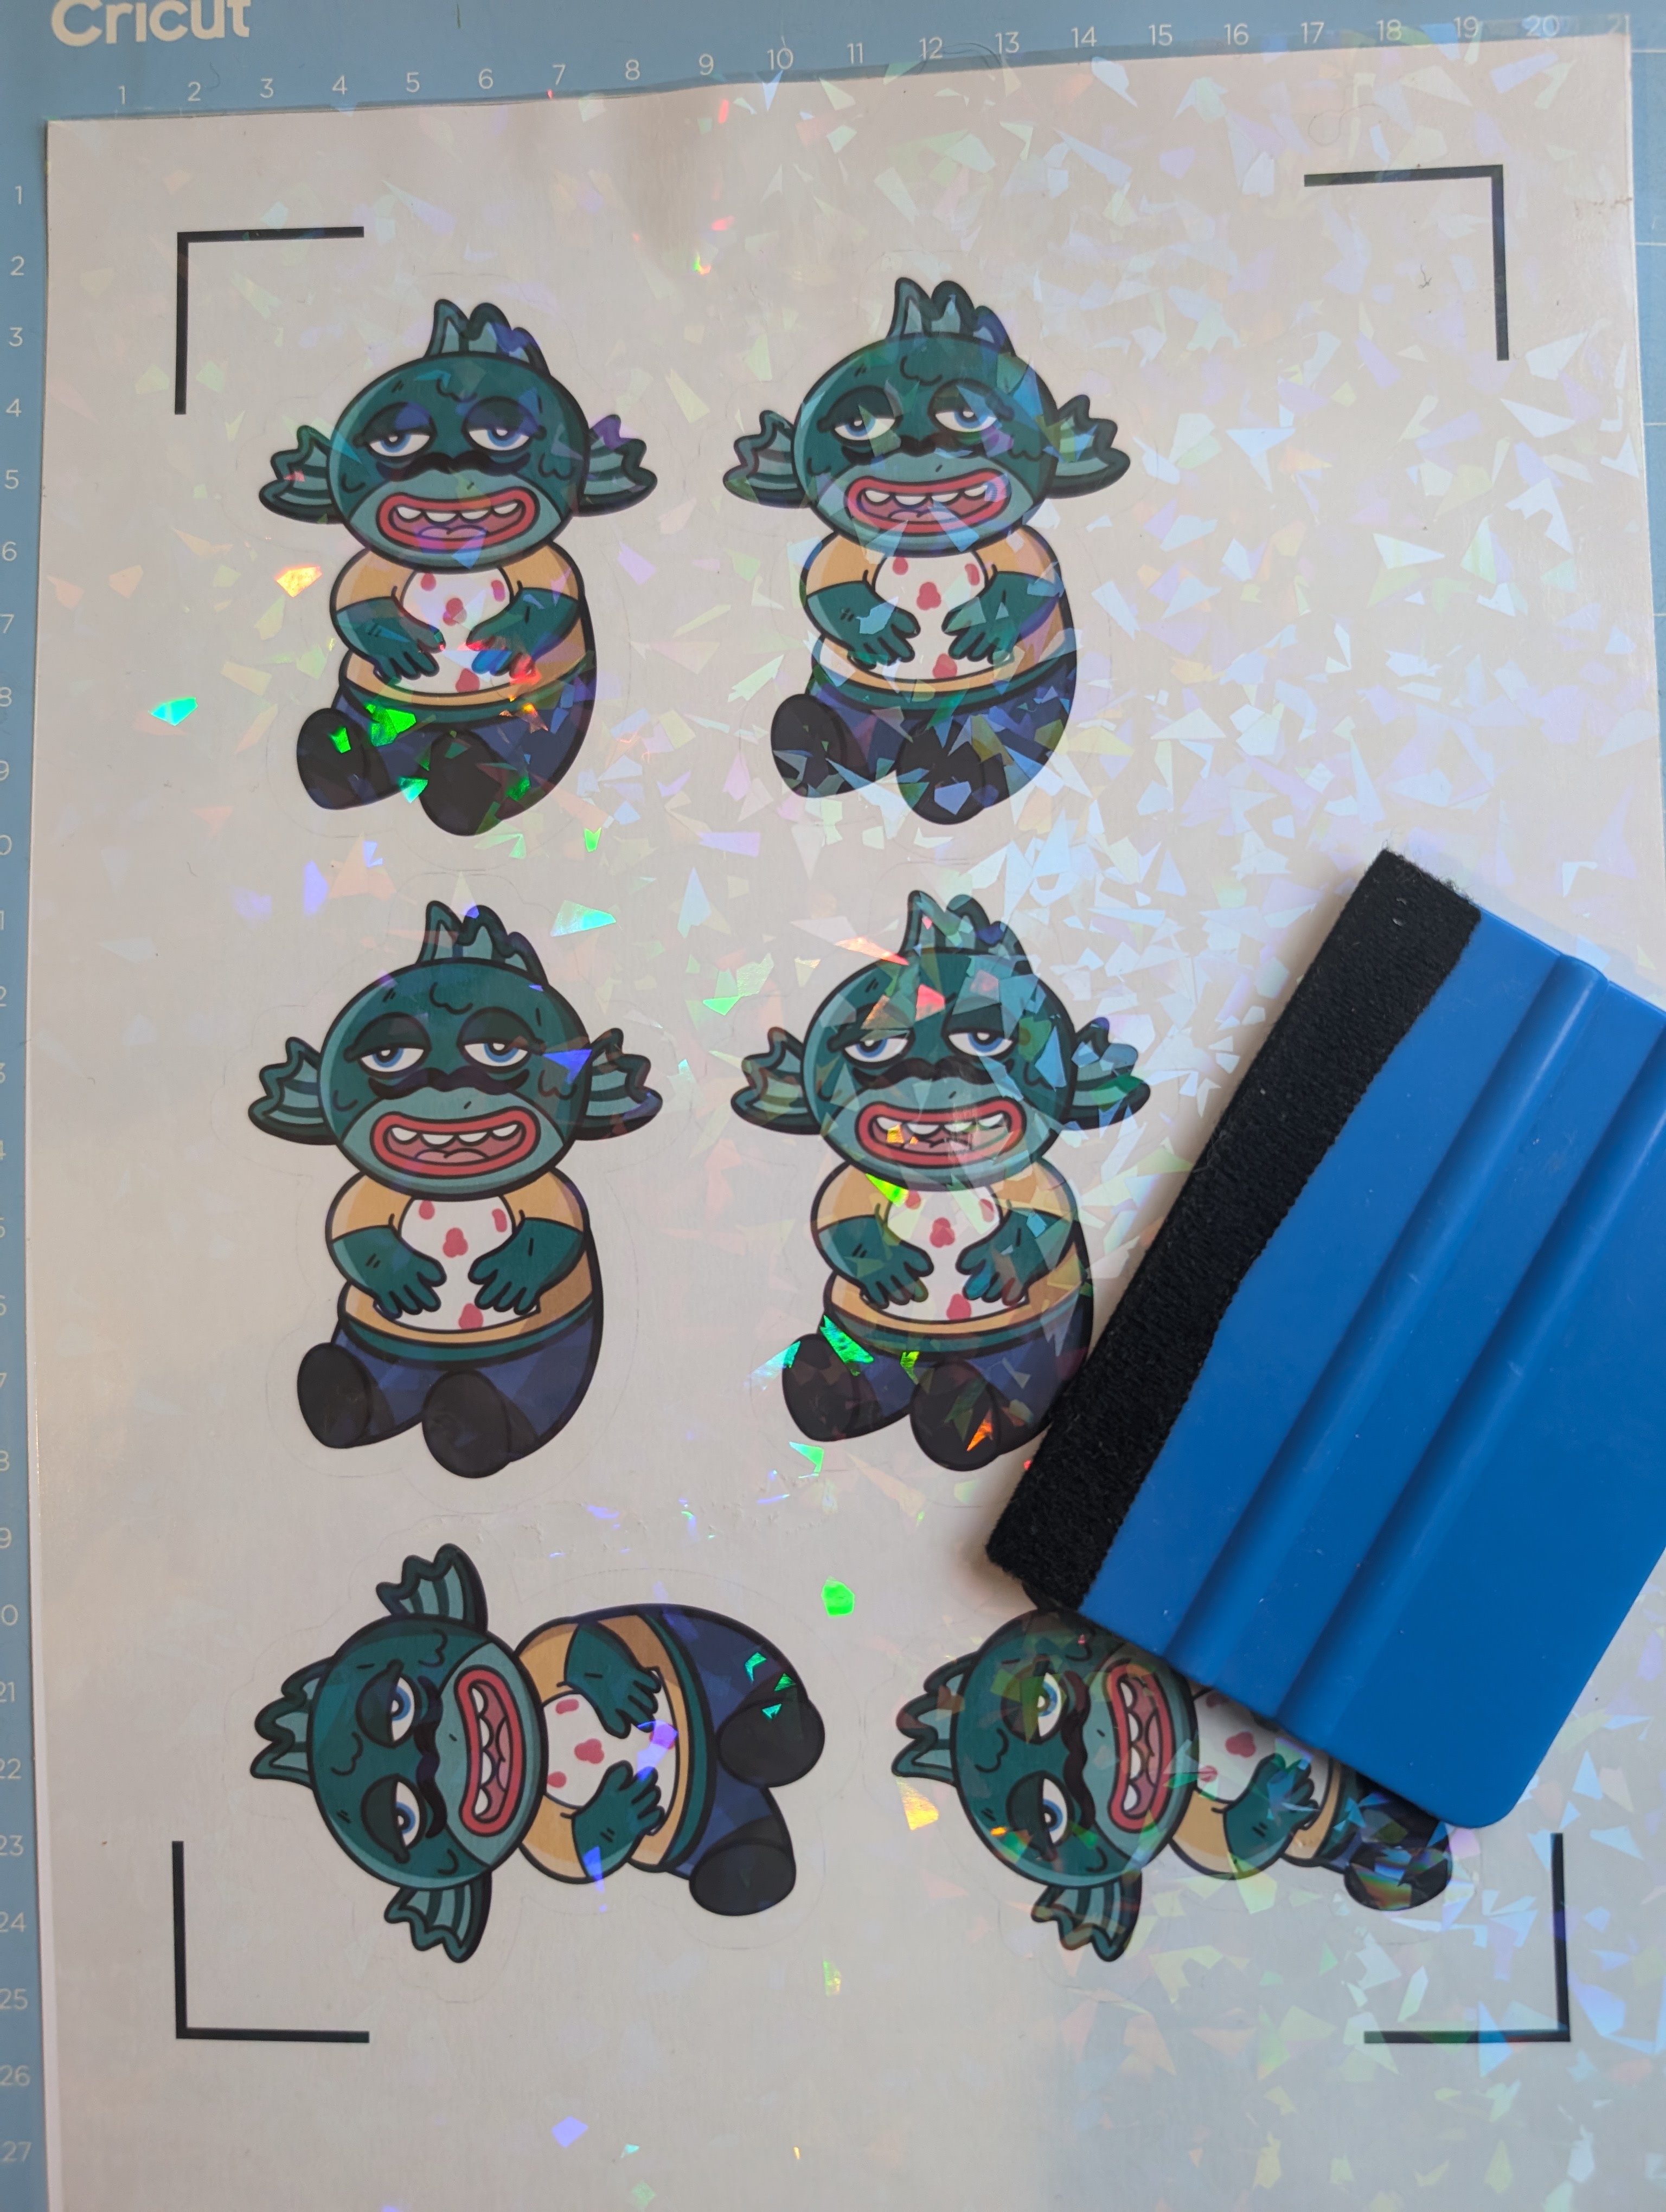
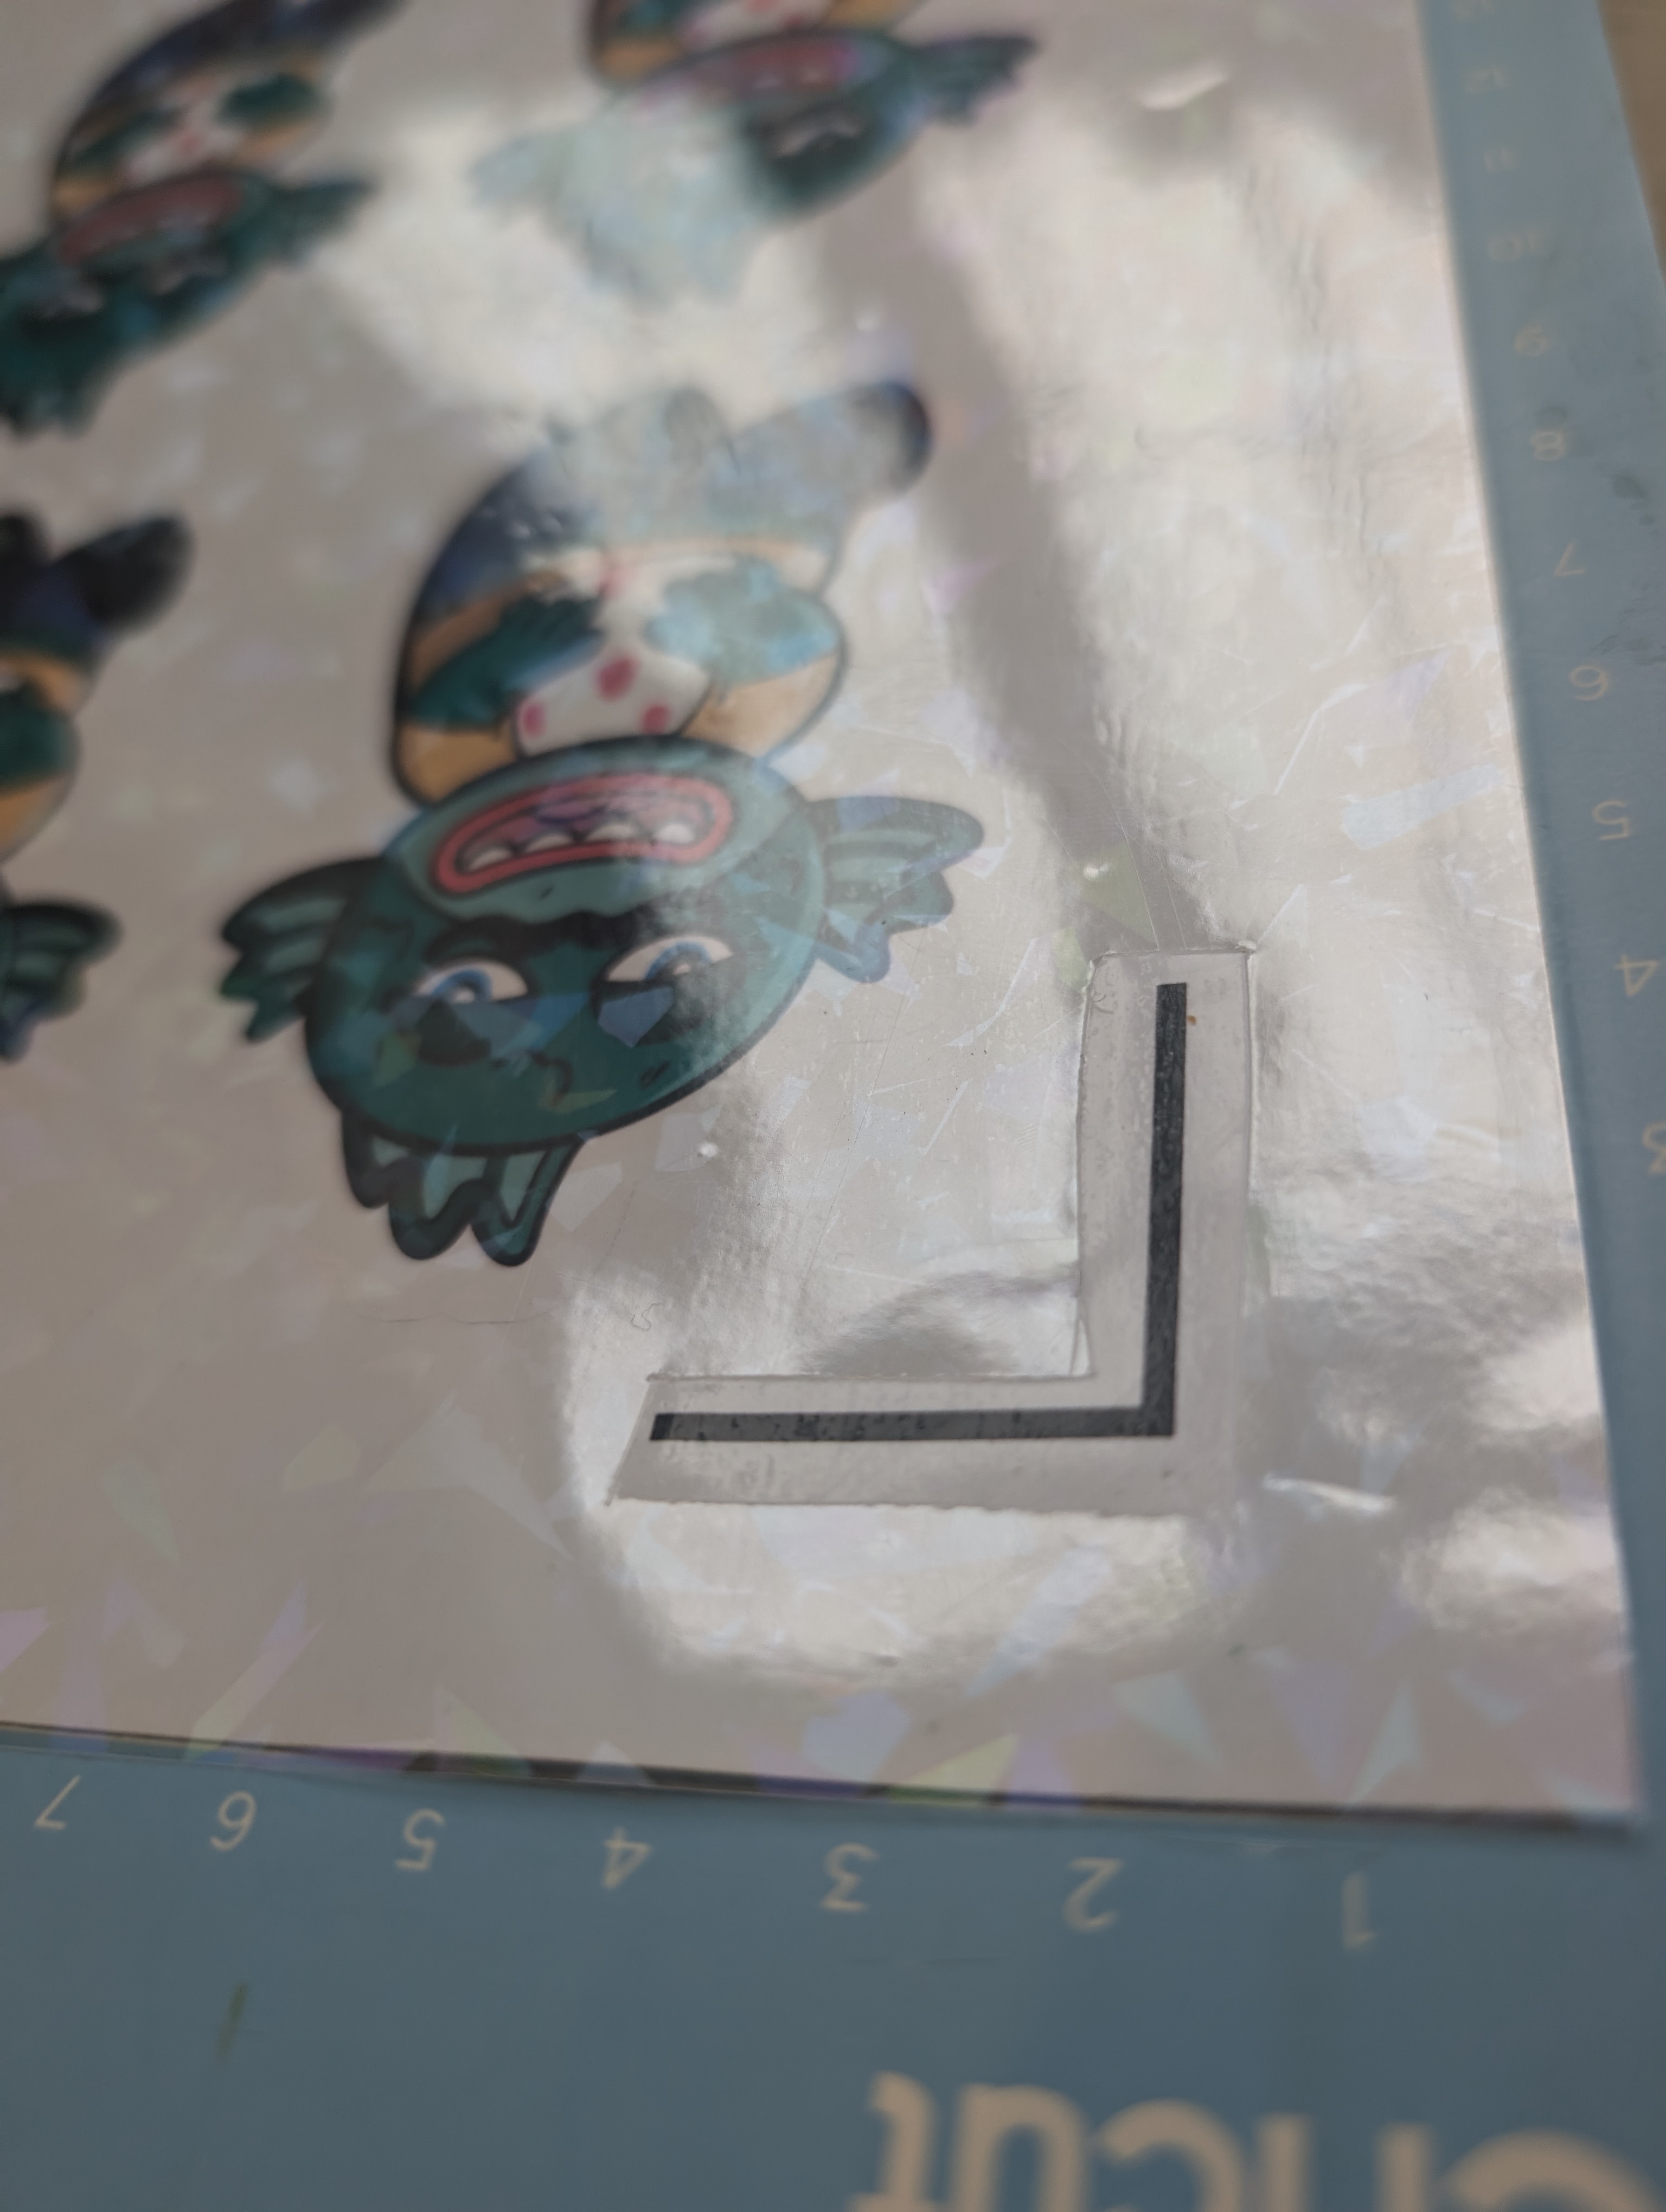
Print & Cut Error
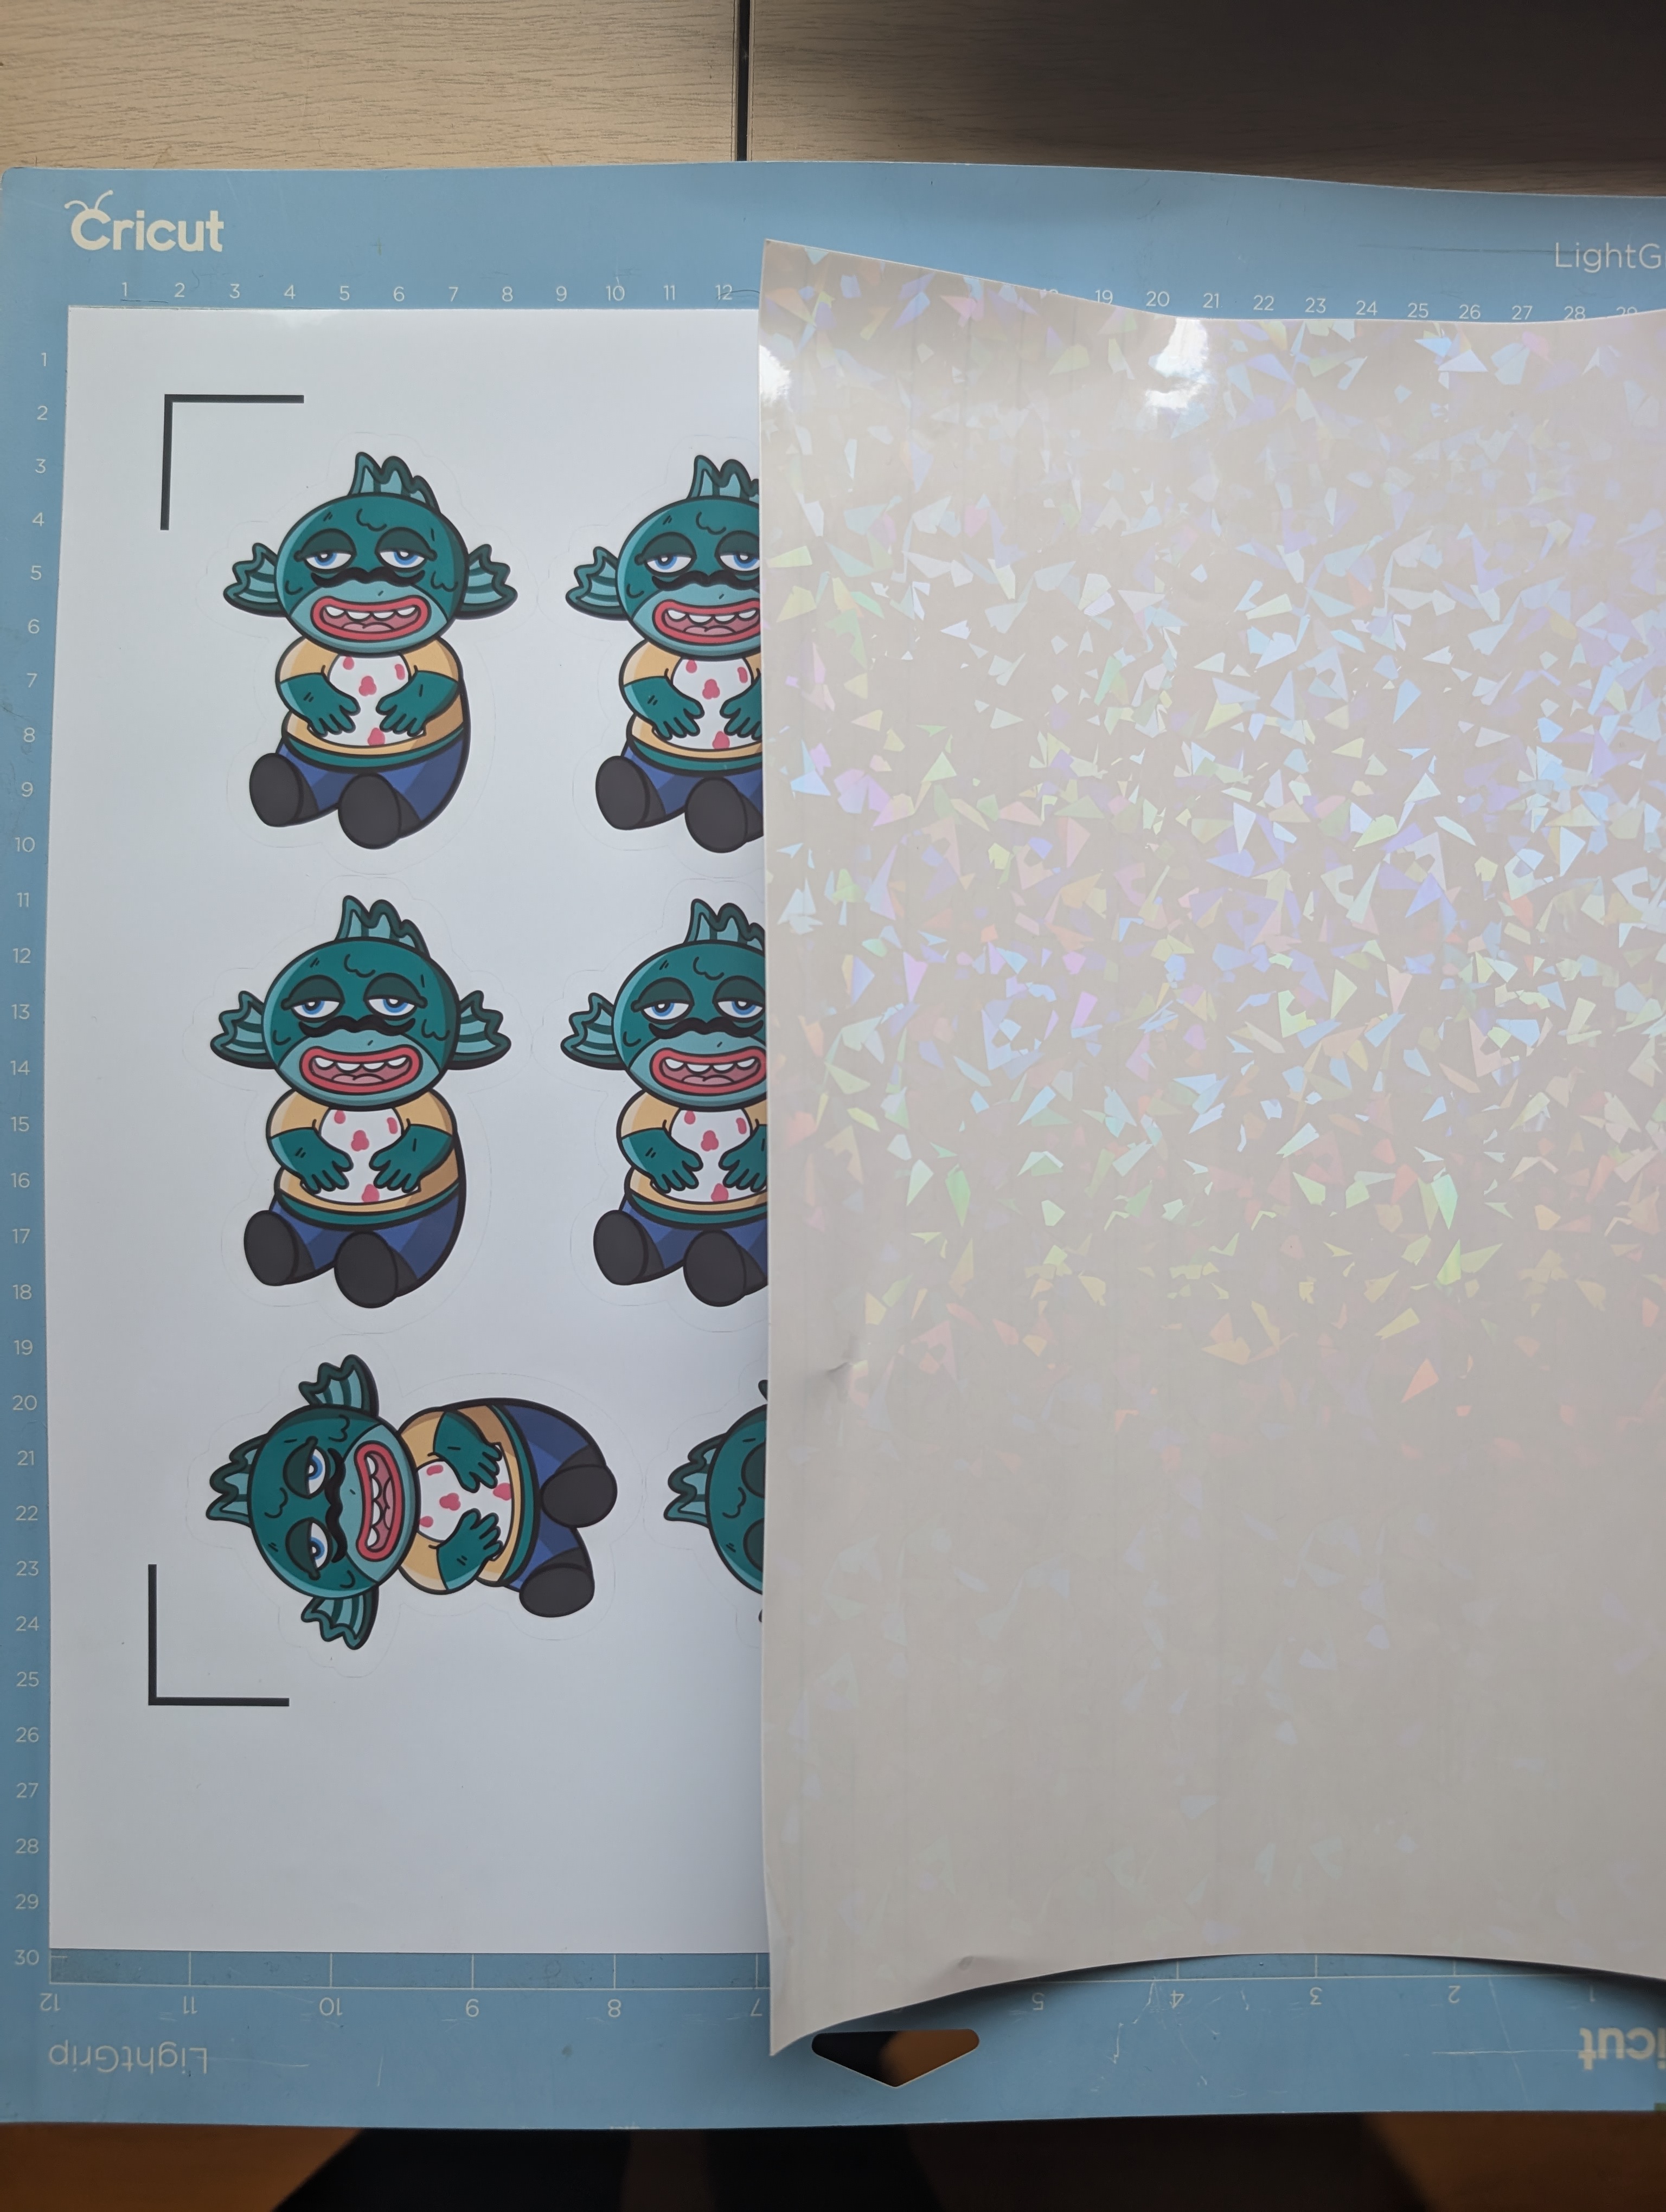
To ensure your Cricut can read the sticker paper correctly, You must remove the holographic adhesive from the Cricut guidelines.
- Position: Place the holographic adhesive over the entire A4 sticker paper.
- Cut away guidelines: Carefully use a craft knife to remove the top layer of holographic adhesive from the Cricut guidelines (See image above).
If the Cricut still encounters an error, try cutting away more holographic adhesive to create a greater distance between the guidelines and the holographic material. Be cautious to avoid removing any adhesive from your actual stickers.
Cutting your Stickers
- Load the Cricut mat into the machine.
- Select “Bonded Fabric” as the cutting material.
- Press the “Cut” button.
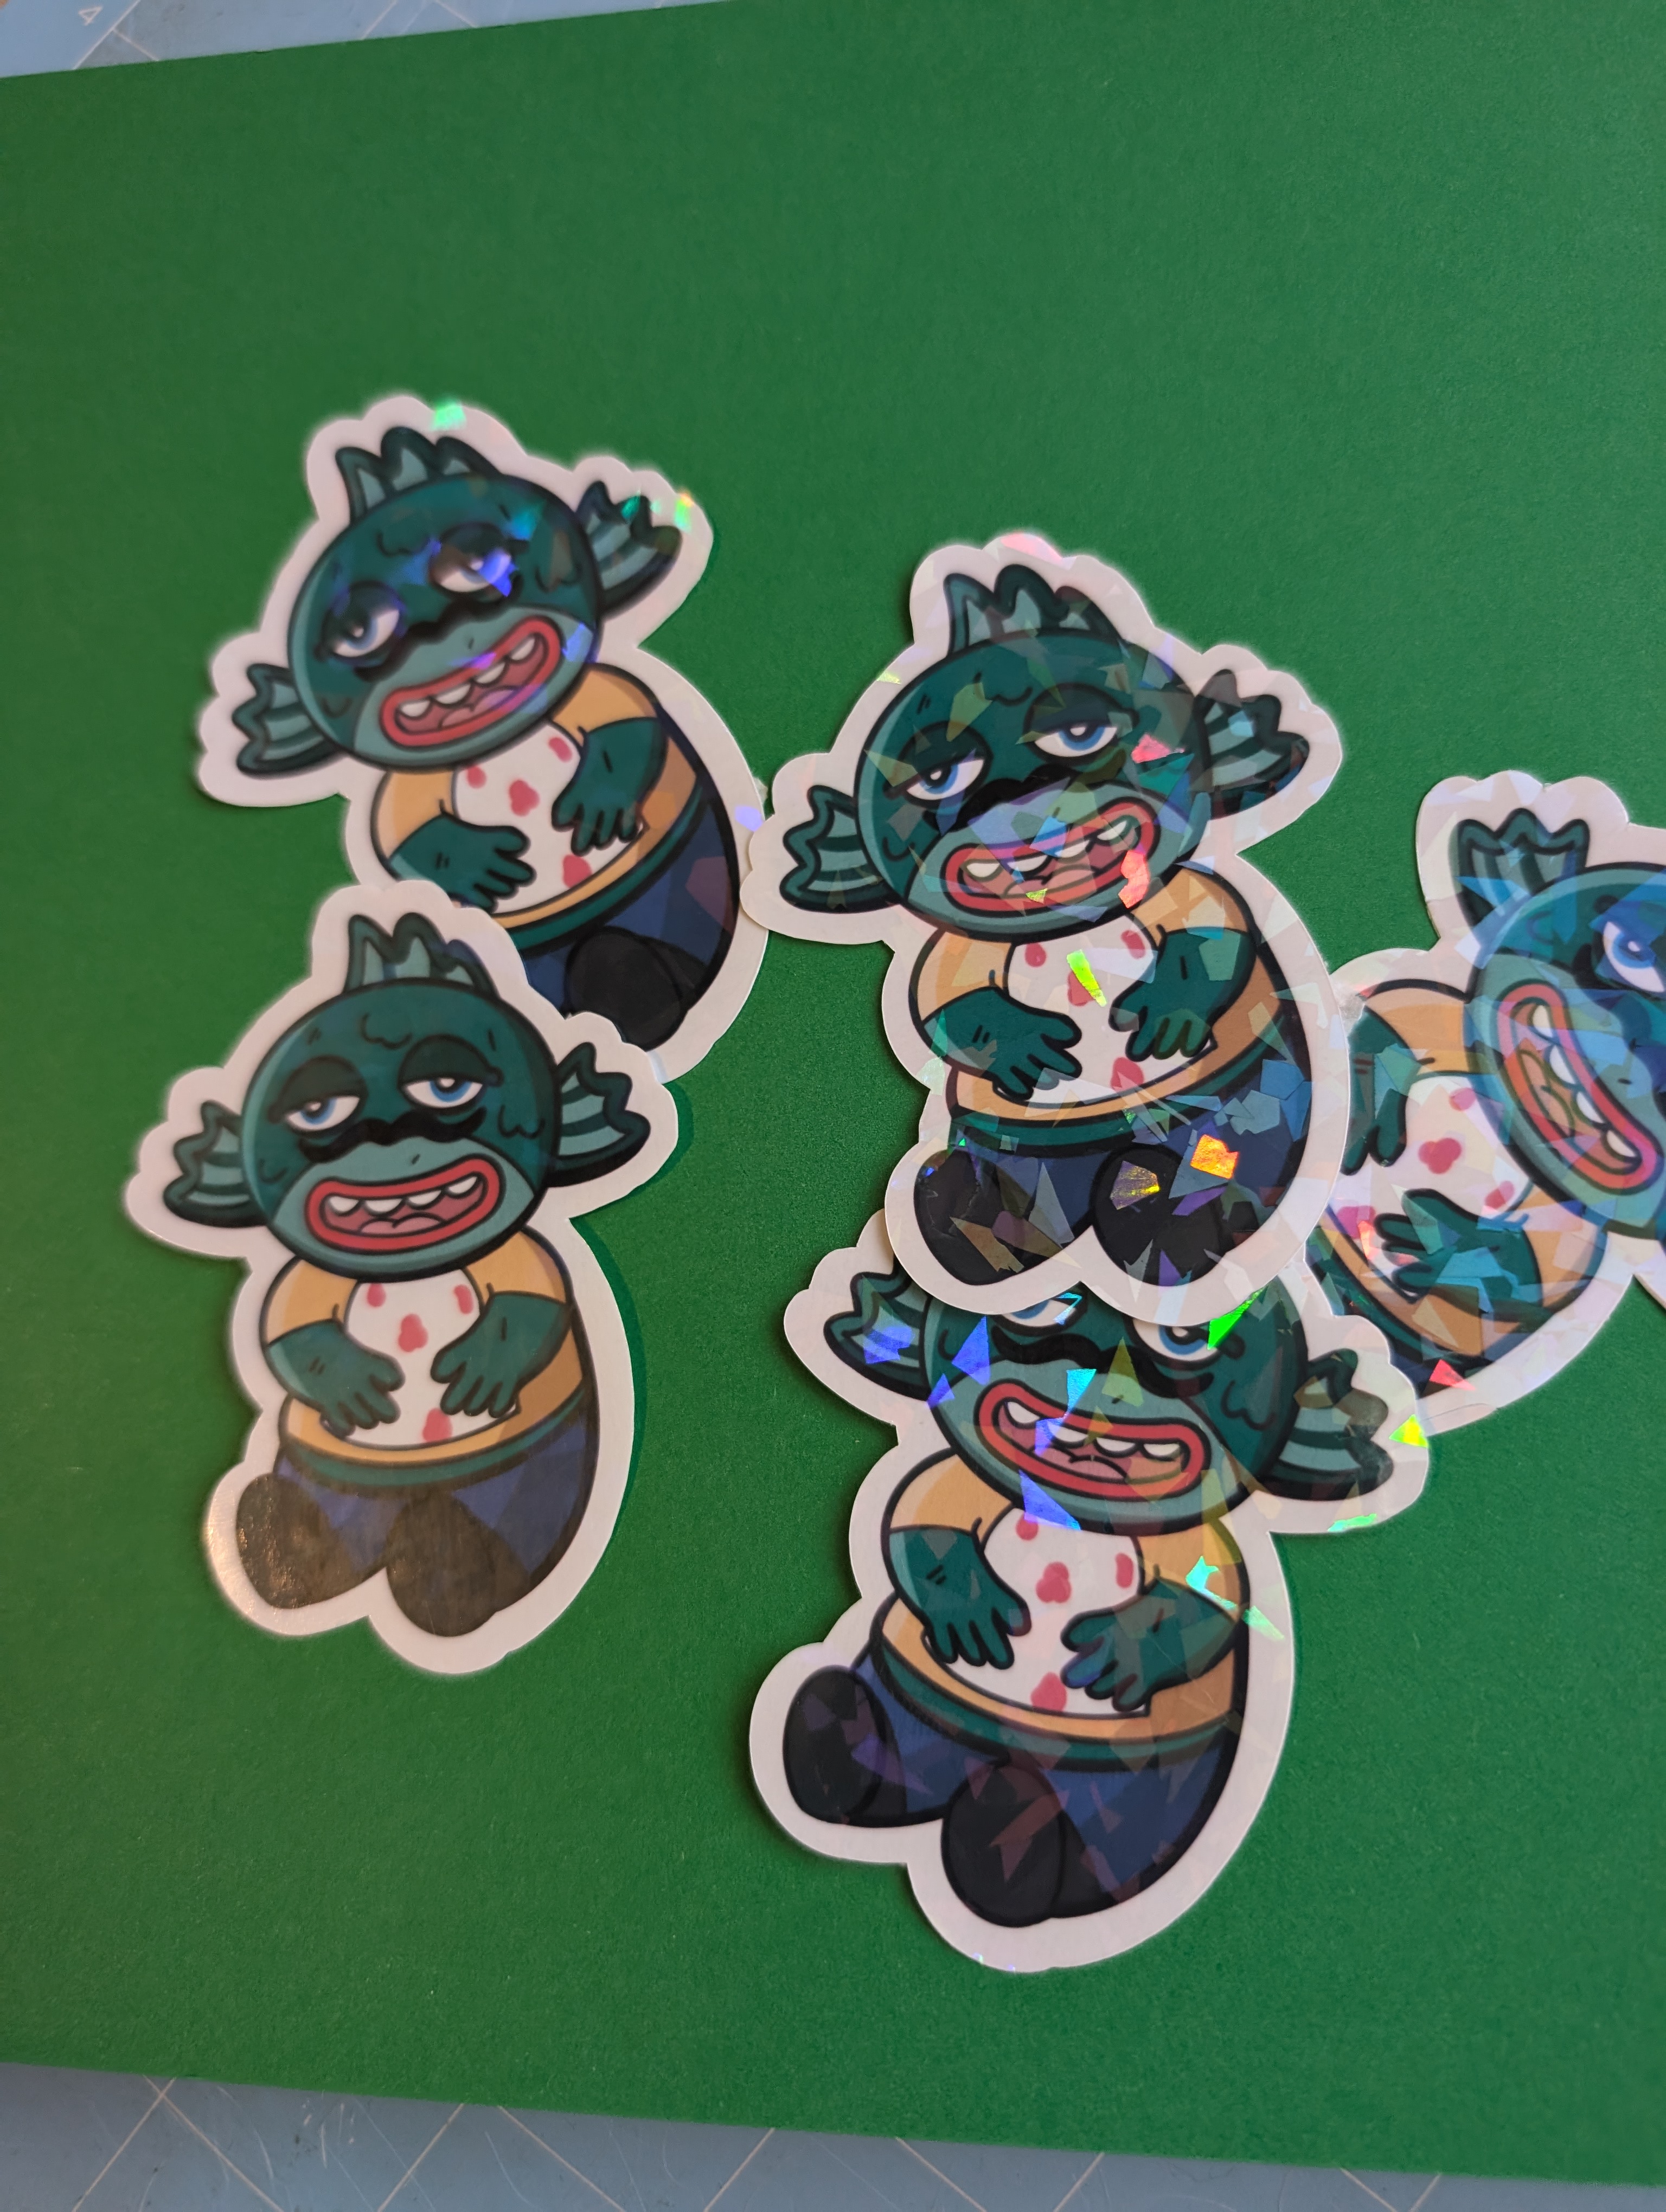
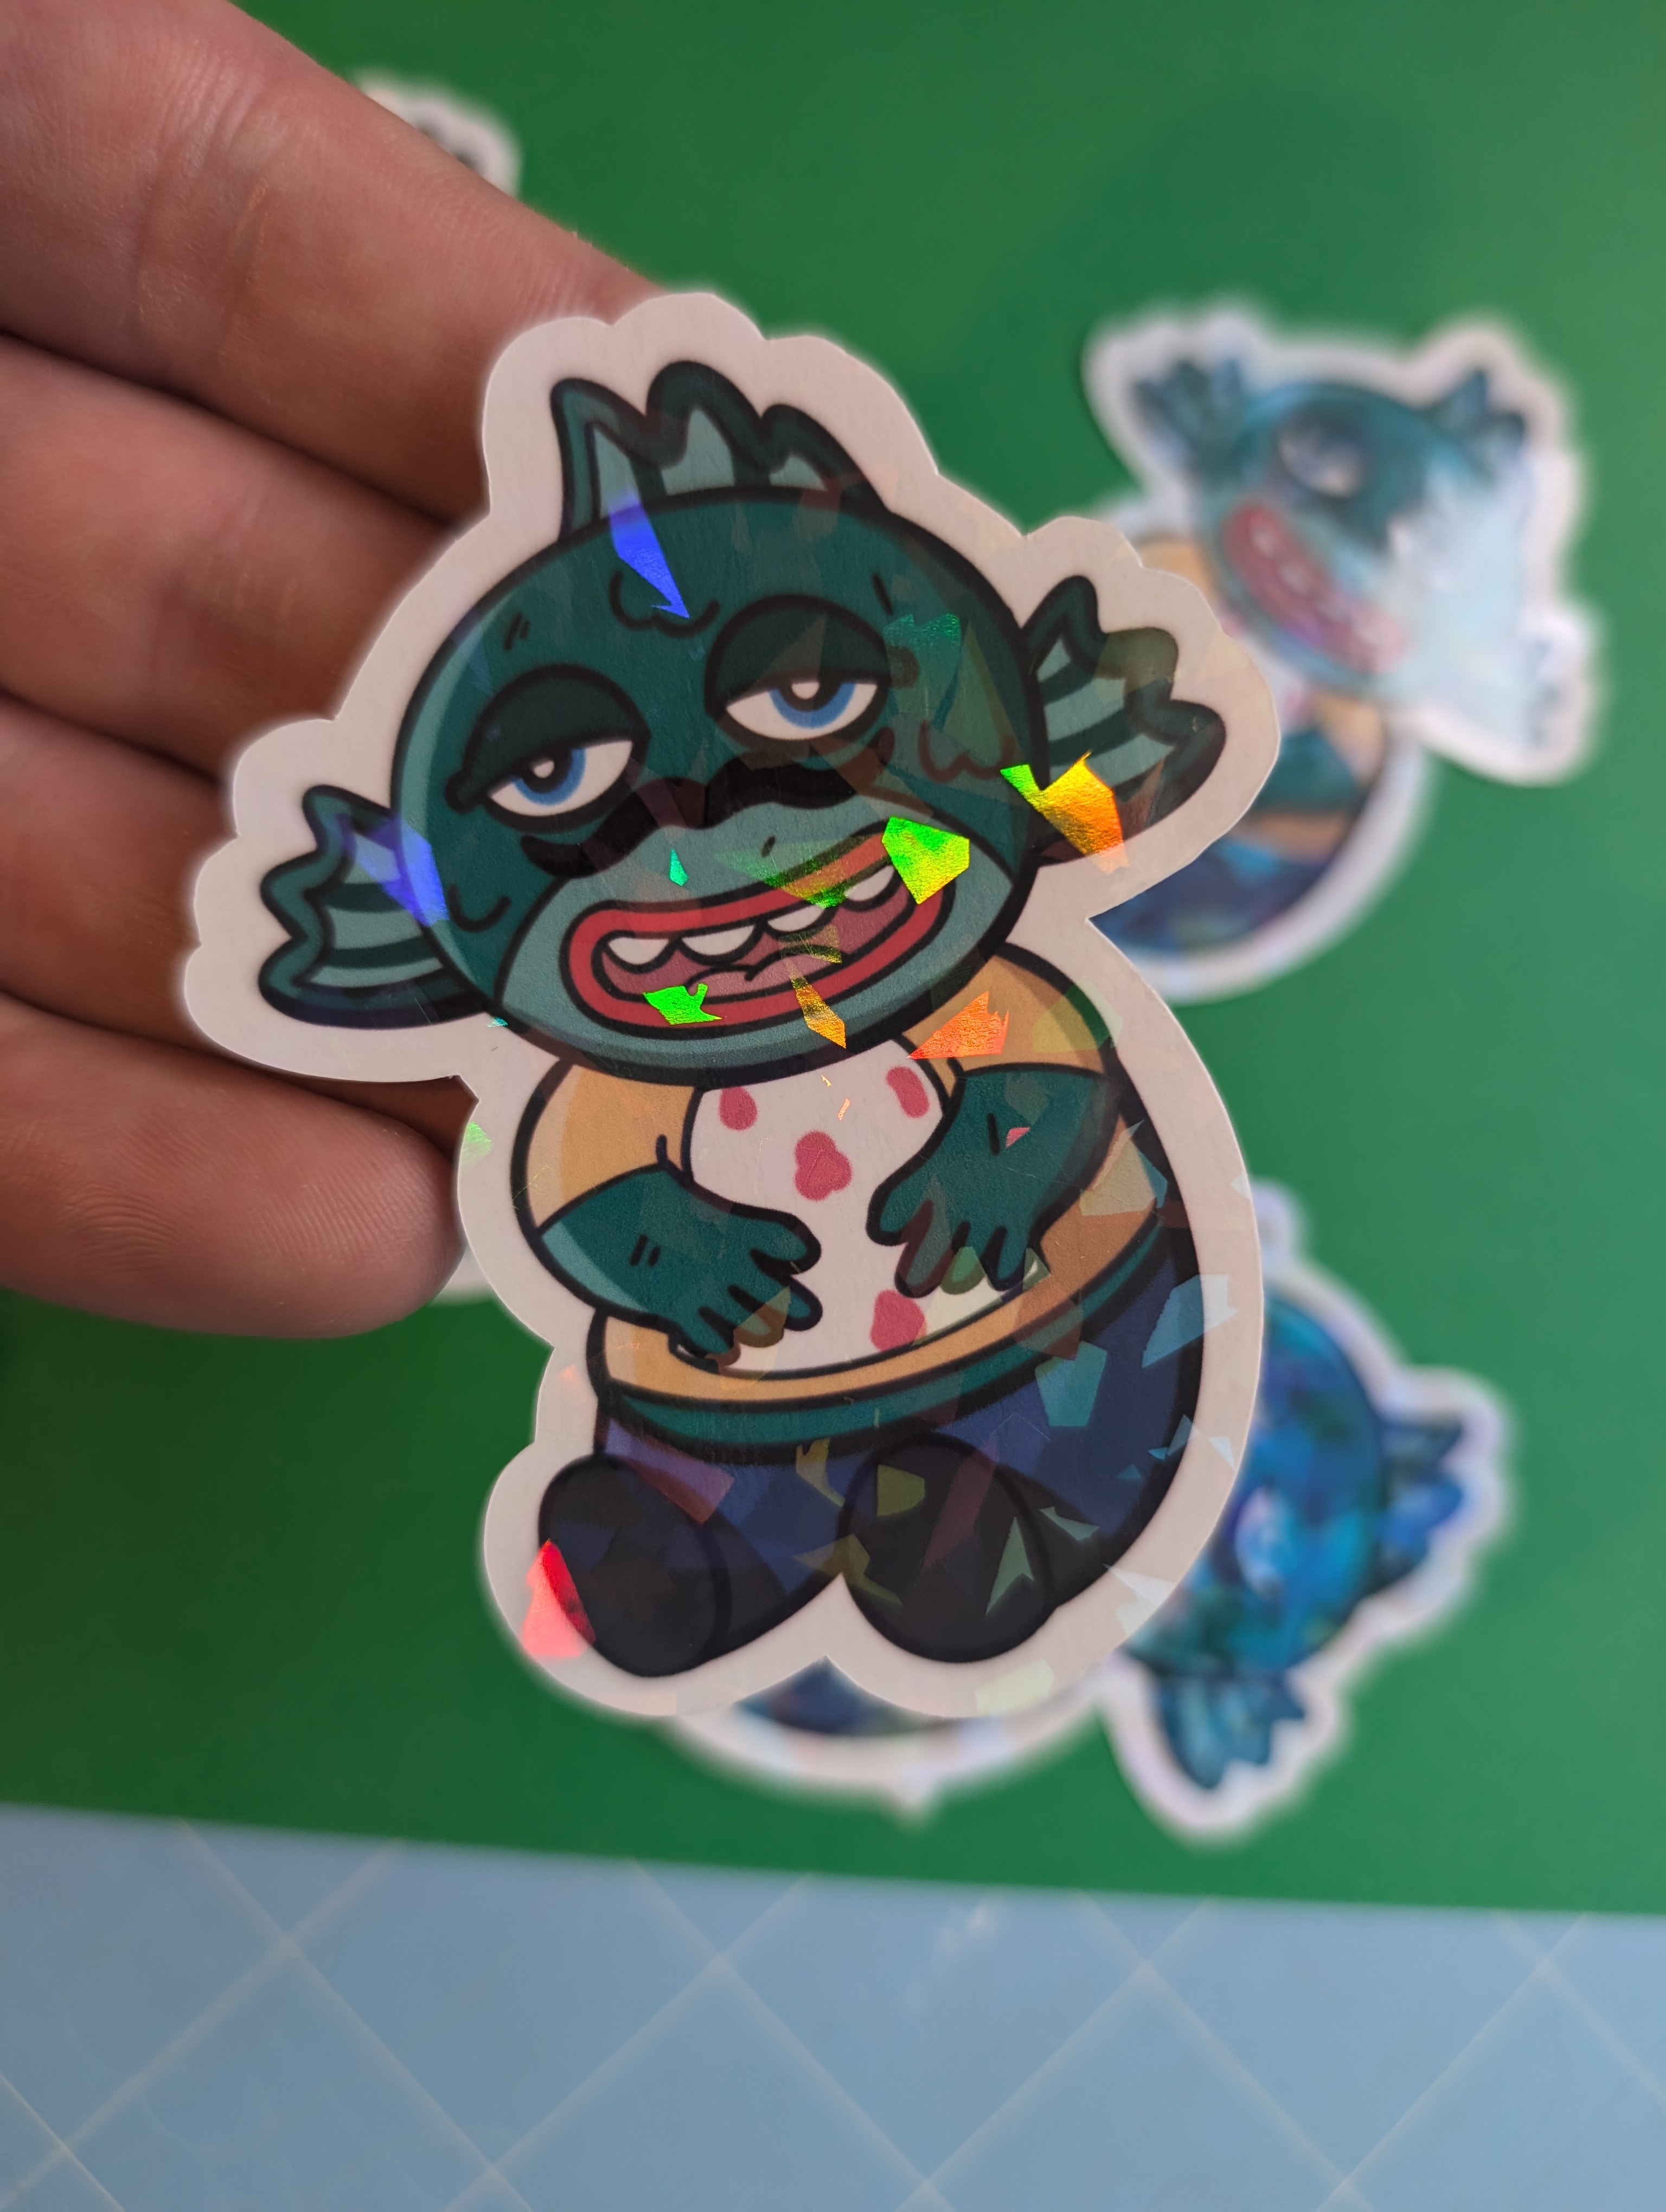
Tips for Success
- Experiment with designs: Try different shapes, sizes, and holographic patterns.
- Test cuts: Before cutting your final design, do a test cut on a scrap piece.
- Consider layering: For more complex designs, layer different holographic materials.
- Quality materials: Use high-quality sticker paper and holographic adhesive for optimal results.
- Clean surfaces: Ensure your workspace and tools are clean to prevent debris from affecting your stickers.
And that’s a wrap! You’re now ready to stick it to the world with your shiny new stickers. Follow these steps and let your creativity flow.
